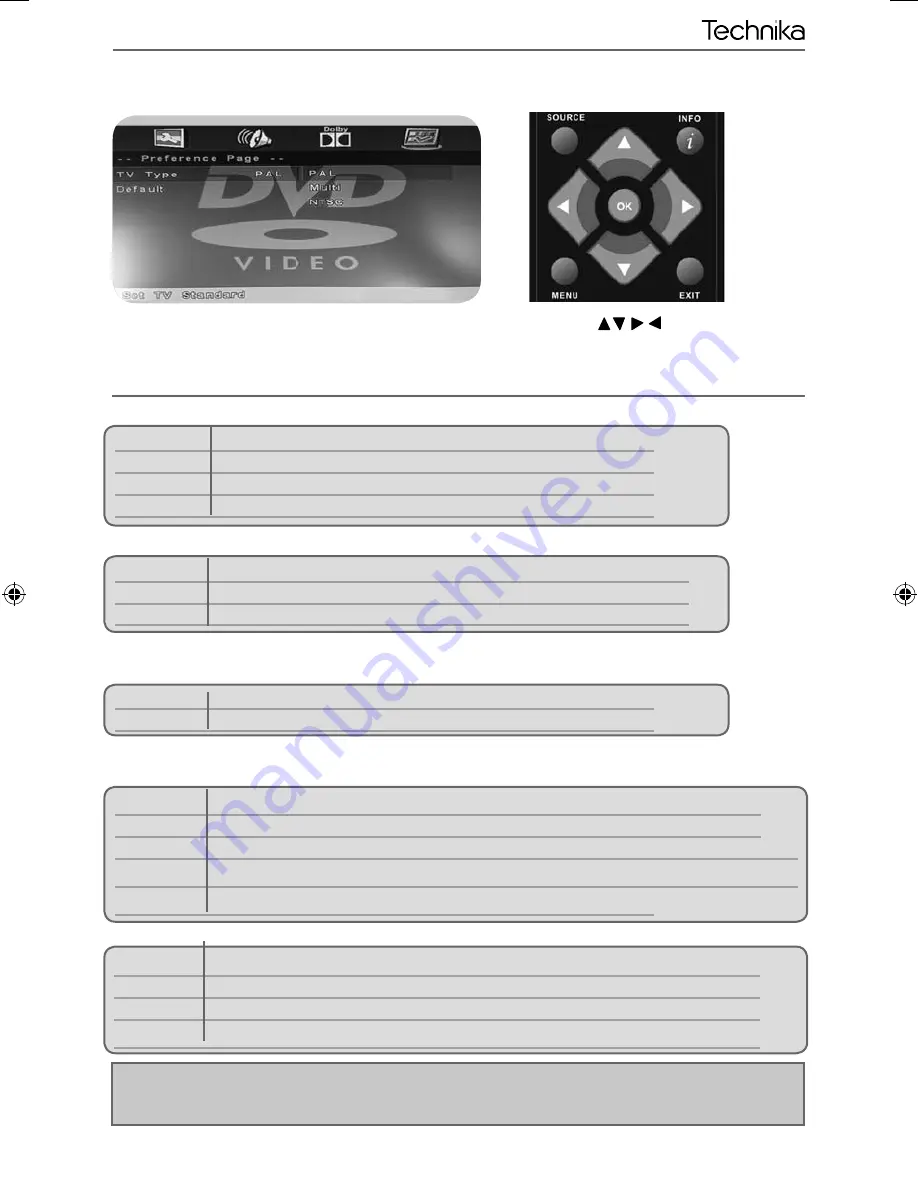
background image

23

23

DVD Menu Operation

AV

DVD MENU

If you wish to make changes to any of the default settings, use the scroll  

buttons. 

To confi rm any settings press [OK] button.

To exit this menu at anytime, press [EXIT] button.

TV Display

 - Choose from the following options

16:9 

Full screen picture format 

4:3 Pan scan  

PS Traditional picture format, often used on old fi lm 

4:3 Letter box   LB Traditional picture which has been adapted for widescreen 
Wide  

Widescreen picture format 

TV Type 

- Choose from the following options

PAL  

The standard for discs from UK/Europe, most of Asia, Australia etc 

Multi  

The standard for discs from UK/Europe, most of Asia, Australia etc 

NTSC  

Normally used for discs from North America, Japan etc 


Default 

- This option allows you reset all DVD settings to factory settings.

Downmix- 

 - Choose from the following options

LT/RT  

Converts from multi-channel sound to mono 

Stereo  

Converts from multi-channel sound to stereo 

Dynamic Range

 - This is the difference between the quietest and loudest sounds. This setting works only 

with DVD discs recorded in Dolby digital.
Full  

Set this to listen with the range recorded on the disc 


3/4  

Set this to listen with a range equivalent to a normal television   


1/2  

Set this to listen with a smaller difference between the maximum and minimum volume

1/4  

Set this to listen with a smaller difference between the maximum and minimum volume

Off 

Set  dynamic range to off 

Dual Mono


Stereo 


Outputs 2 channels of sound both left and right 


Mono L 


Outputs left side sound 


Mono R 


Outputs right side sound 


Mix Mono  

Outputs a single channel of sound but mix between right and left  

Tip: This TV/DVD player is pre-set to play Region 2 DVDs. In the event you wish to use the TV/DVD 
in  another country that uses different region discs, please visit www.umc-uk.co.uk. Select ‘Product 
Support’, ‘Changing Region’.

User Guide -Technika 24-E231COM.indd   Sec1:23

User Guide -Technika 24-E231COM.indd   Sec1:23

6/28/2013   10:53:55 AM

6/28/2013   10:53:55 AM

Содержание 19-248COM

Страница 1: ...Model No 19 248COM 22 248COM 24 E231COM 24 E242COM HD Ready LED TV with Freeview DVD USB Media Player User Guide...

Страница 2: ...entre repair the item and then return it to you If we believe we cannot offer a permanent repair we will replace the item Helpline Information Telephone UK 0871 2000 463 ROI 01443 3940 Web support www...

Страница 3: ...on top of the power cable as the weight of the television may damage the cable and cause a safety hazard Never place mobile phones speakers or any other device which may cause magnetic or radio interf...

Страница 4: ...d is not repairable under warranty How do I dispose of this product UK Waste electrical products should not be disposed of with household waste Separate disposal facilities exist For your nearest faci...

Страница 5: ...al Set Up 11 TV Buttons and Input Source Menu 12 Remote Control 13 Connections 14 15 TV Menu Operation 16 21 Channel Menu 16 Picture Menu 17 Sound Menu 18 Time Menu 19 Feature Menu 20 Option Menu 21 D...

Страница 6: ...le to package it correctly The safest way to package your item in the event of warranty service repair is in it s original box packaging WHAT IS INCLUDED IN THE BOX 1 x User Guide 1 x Quick Start Guid...

Страница 7: ...hing the Stand To complete stand installation you will need a Philips screwdriver fig 1 Attach the stand neck b to the body of TV a fig 2 Secure the stand neck to the TV with the 4 screws supplied fig...

Страница 8: ...y holes in the wall ensure you are not drilling where there could be any electric wires water or gas pipes 1 Remove the four screws highlighted below 2 The wall mount can now be easily attached to the...

Страница 9: ...Fig B 4 Insert the batteries supplied into the Remote control and press the Standby button to power on the TV Tip If the TV nds some but not all of the Digital channels the TV is functioning correctly...

Страница 10: ...TV BUTTONS SOURCE MENU Choosing Mode Input Source To switch between the different input connections A Using the buttons on the remote control 1 Press SOURCE AV The source menu will appear 2 Press or...

Страница 11: ...To display favourites menu VOL To increase decrease the sound level SUBTITLE To switch the dialogue at the bottom of the screen on off ASPECT To switch the screen between the different picture formats...

Страница 12: ...Analogue RF IN TV Aerial Wall Socket DVD or VCR HDMI 1 HDMI input Video Component Video input R L Audio in Audio input for Video Ypbpr Component HD HD input Ypbpr RF IN RF TV Aerial Input USB USB port...

Страница 13: ...to HDMI Option 2 via Component cable If you are supplied with a cable from the device which has RED GREEN BLUE RED WHITE connectors you must connect via Component for picture and by phono cable for so...

Страница 14: ...o stations and analogue channels Freeview Manual Tuning Allows you to manually tune your digital signal Analogue Manual Tuning Allows you to manually tune your analogue signal Programme Edit Allows yo...

Страница 15: ...he TV will switch itself to Standby mode after 4 5 hours in the event that the TV buttons or remote control buttons are not pressed see the time menu to de activate this function Contrast Switch the b...

Страница 16: ...ive and full sound for movies Personal Selects your personal sound settings Sports Emphasises sound for sports Tip Treble and bass levels can only be adjusted when the sound mode Personal is selected...

Страница 17: ...or a certain day Time Zone Change your current time zone Sleep Timer Lets you set the sleep timer so the television automatically switches off after a set amount of time Off 10min 20min 30min 60min 9...

Страница 18: ...Information Pay per view services require a smartcard to be inserted into the TV If you subscribe to a pay per view service the provider will issue you with a CAM and a smartcard The CAM can then be i...

Страница 19: ...ebsite To access this menu press MENU button on the remote control To enter a menu press OK If you wish to make changes to any of the default settings use the scroll buttons To con rm any settings pre...

Страница 20: ...ptions LT RT Converts from multi channel sound to mono Stereo Converts from multi channel sound to stereo Dynamic Range This is the difference between the quietest and loudest sounds This setting work...

Страница 21: ...the start and end time of all programmes and on all channels for the next 7 days and set reminders 1 Press TV GUIDE The following 7 Day TV Guide will appear 2 Navigate through the menu using You can n...

Страница 22: ...u will only see 1 item 3 You can now access the item Press OK to view 4 While viewing you control the item using or by pressing i and using and OK USB mode offers playback of various different types o...

Страница 23: ...ore the Sky box channel if you still have and use analogue channels 1 5 you may for example decide that channel 6 is the best option for you 3 Press the corresponding number on the remote control to s...

Страница 24: ...your VCR DVD Recorder and another aerial cable from the VCR DVD Recorder to the TV General Can I stop my TV turning off after 4hrs Yes 1 In the picture settings menu de select Eco home 2 In the time...

Страница 25: ...8 5 47cm 21 5 55cm 23 6 60cm 23 6 60cm Resolution 1366 x 768 1920 x 1080 1366 x 768 1920 x 1080 Contrast Ratio 1000 1 1000 1 3000 1 1000 1 Brightness cd m2 250 cd m2 250 cd m2 250 cd m2 280 cd m2 RF 7...

Страница 26: ...tallation 11 Frequently Asked Questions 28 Getting Started 11 Language 20 Manual Search 16 Noise Reduction 17 Picture Mode 17 Remote control 13 Reset to default 21 Returning to default DVD 23 Sharpnes...

Страница 27: ...TEC MAN 0058...

Отзывы: