


-
19
-
Using the TV features
Using the GENERAL SETTINGS menu
1) Press MENU button to enter main menu.
2) Press [VOL+ or VOL-] button to select the item GENERAL SETTINGS.
3) Press [CH+ or CH-] button to select DEINTERLACER.
4) Press [ VOL+ ] button to enter the DEINTERLACER.
5) Press [ CH+ or CH-] button to select the feature.
MADI: Motion Adaptive De-Interlacing, by selecting the function, the quality of motion picture will be improved. As a
result, the areas that are not moving in a image will be fully static(flicker free) and the objects that are moving
will have a smooth edge.
LADI: Low Angle Diagonal Interpolation, by selecting the function, a smooth edge on moving objects with diagonal
pattern will be obtained.
DEINTERLACER
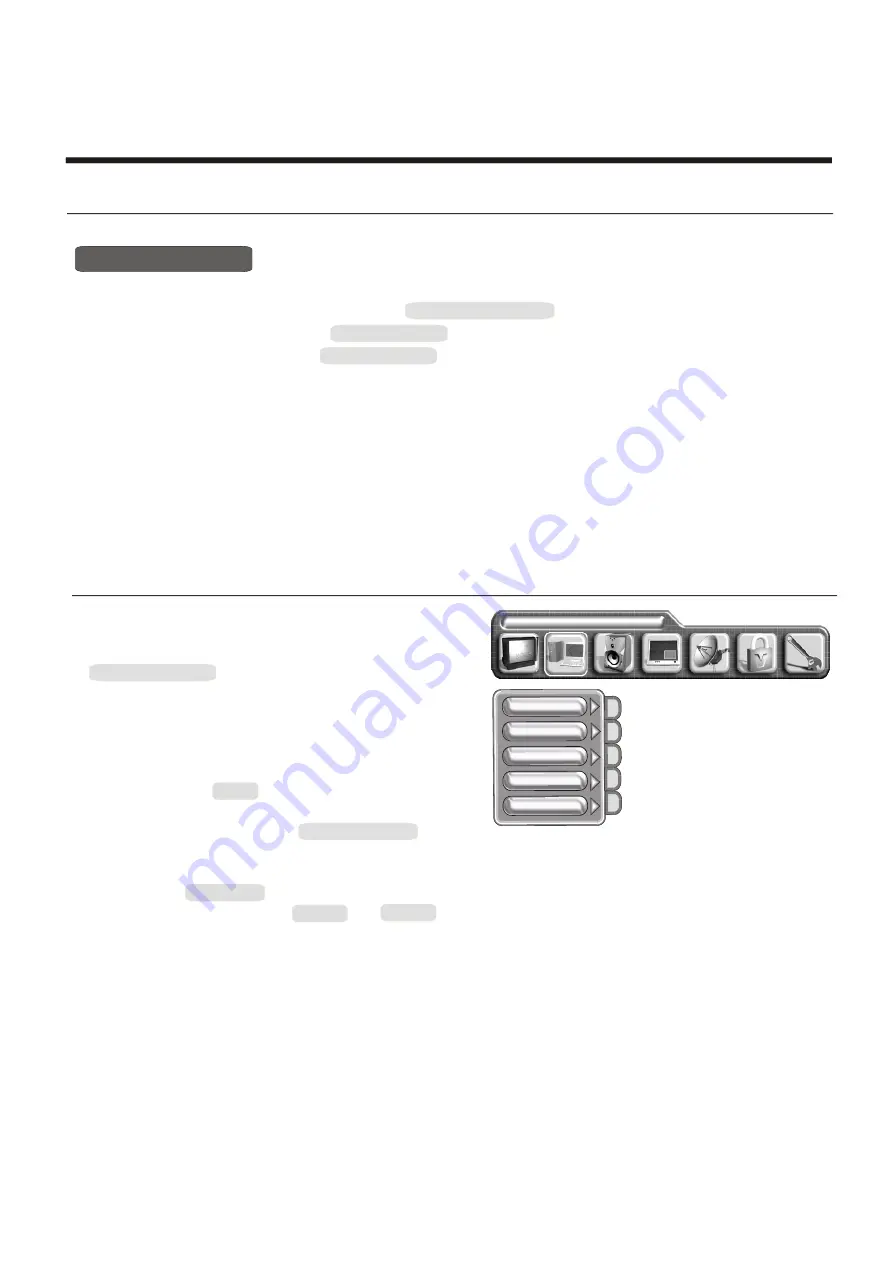
Using the PC menu
1) Press MENU button to enter main menu.
2) Press [VOL+ or VOL-] button to select the item
PC PARAMETERS.
3) Press [CH+ or CH-] button to select the item you
want to adjust.
NOTE: 1) PC menu is used only on VGA and
YPbPr mode.
2) The item AUTO is used to adjust position
of picture automatic and it is effective
The item
The item CLOCK and PHASE
can adjust
only on
VGA mode.
AUTO COLOUR
is used to adjust quality of picture manually
when signal is not good sometimes.
The
item POSITION is used to adjust the position
of picture.
quality of picture
Detail.
LANGUAGE ENGLISH
AUTO
CLOCK
AUTO COLOUR
PHASE
POSITION
PC PARAMETERS
Содержание LCHD3240
Страница 1: ......
Страница 12: ...1 2 P o w e r S t a n d b yP o w e r o n o f f...


