


30
TV Operation and System Setup
OSD Time Out
This item is used to set the duration of the OSD on the screen.
Press the
▲▼
button to select
OSD Time Out
and press the
◄►
button to select desired time.
DVR File System
Press the
▲▼
button to select
DVR File System
and
press the
►
or ENTER button to enter the sub-menu, as
shown:
Press the MENU button to return to the previous menu.
Press the EXIT button to exit.
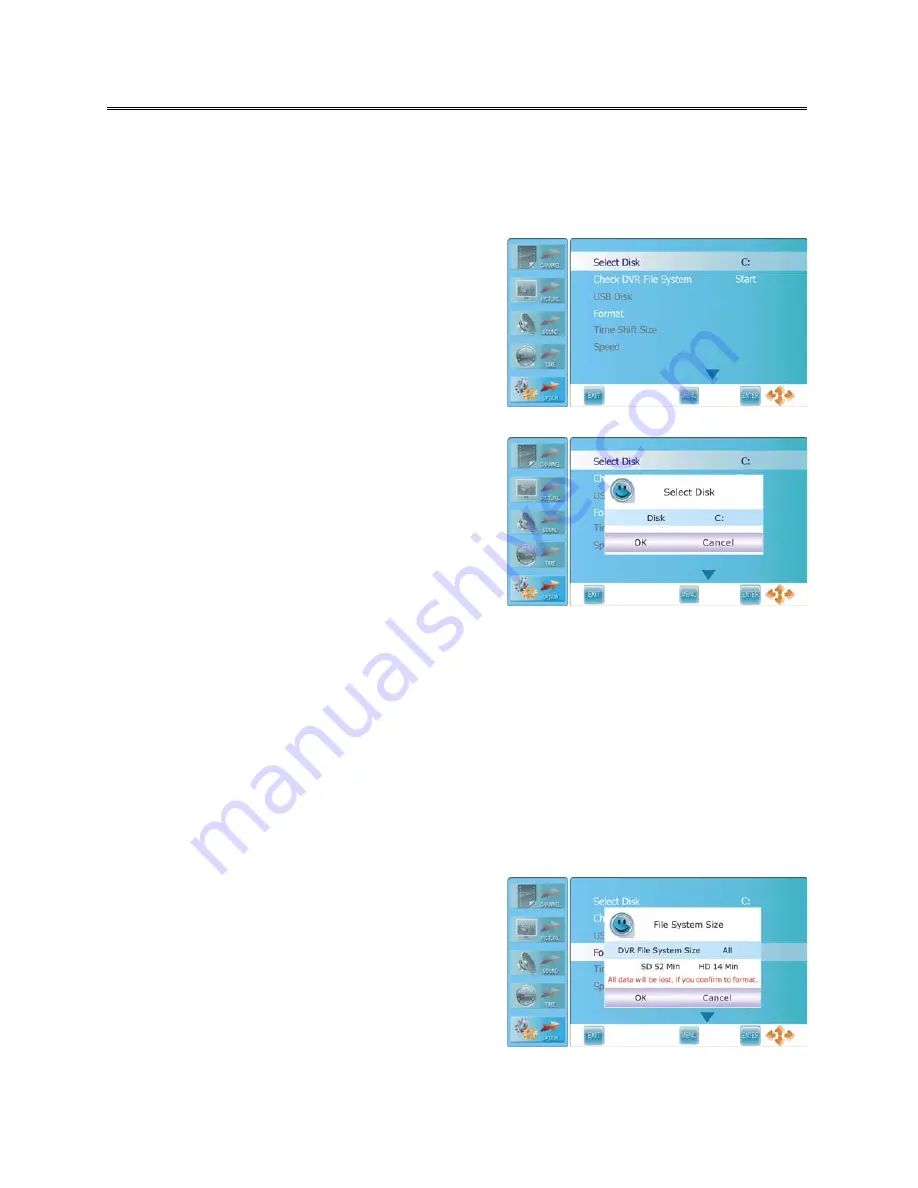
Select Disk
Select a disk to store the recorded file.
Press the
▲▼
button to select
Select Disk
and press
the
►
or ENTER button to prompt a sub-menu, as
shown:
The item
Disk
is highlighted and press the
◄►
button select desired disk. The available item
varies depending on the external USB device
connected to the unit.
Press the
▼
button to highlight OK and press the ENTER button to confirm.
Check DVR File System
Press the
▲▼
button to select
Check DVR File System
and press the
►
or ENTER button to start to
check the DVR File system.
After
checking
DVR file system, the item “USB Disk” will display “Pass” indicating the file system in the
USB disk connected has been
checked and ready to use. If the USB disk does not have a DVR File
System, then unit will prompt a message asking user to format it.
Format
Press the
▲▼
button to select
Format
and press the
►
or ENTER button to prompt a sub-menu which
occurs only when the USB device
is plug in for the
first time
, as shown:
The item
DVR File System Size
is highlighted
and press the
◄►
button
to choose the capacity
to be format
. The available
capacity
varies
depending on the external USB device connected
to the unit.
Press the
▼
button to highlight OK and press the ENTER button to format the disk you selected.


