


33
Chapter Search/ Time Search (DVD)
Chapter Search
You can start playback from the beginning of the specified chapter.
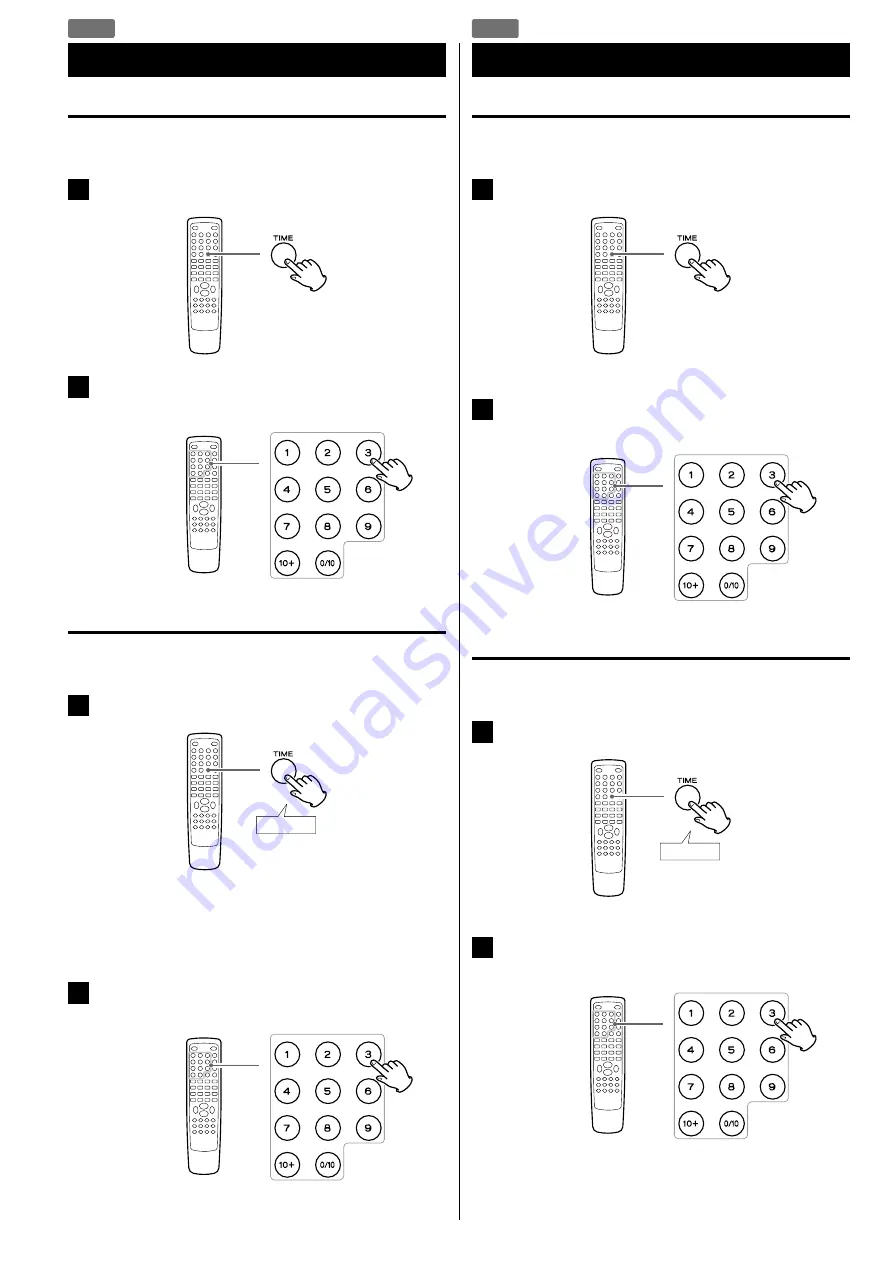
1
During playback, press the TIME button.
2
Within 7 seconds, enter your desired chapter number
(2 digit) using the Number buttons.
Playback starts from the beginning of selected chapter.
Time Search
You can start playback from the specified hour/minute/second.
1
During playback, press the TIME button twice.
Press twice
If you want to search within the current title, press the TIME
button twice.
If you want to search within the current chapter, press the TIME
button three times.
2
Within 7 seconds, enter your desired hour, minute and
second using the Number buttons.
Playback starts from the selected part.
Chapter Search
You can start playback from the beginning of the specified chapter.
1
During playback, press the TIME button.
“SELECT - - -” appears on the screen.
2
Within 7 seconds, enter your desired file number (3 digit)
using the Number buttons.
Playback starts from the beginning of selected file.
Time Search
You can start playback from the specified hour/minute/second.
1
During playback, press the TIME button twice.
Press twice
“GO TO -:- -:- -” appears on the screen.
2
Within 7 seconds, enter your desired hour, minute and
second using the Number buttons.
Playback starts from the selected part.
Chapter Search/ Time Search (DivX)
DVD
DIVX


