EN-
10
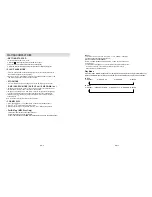
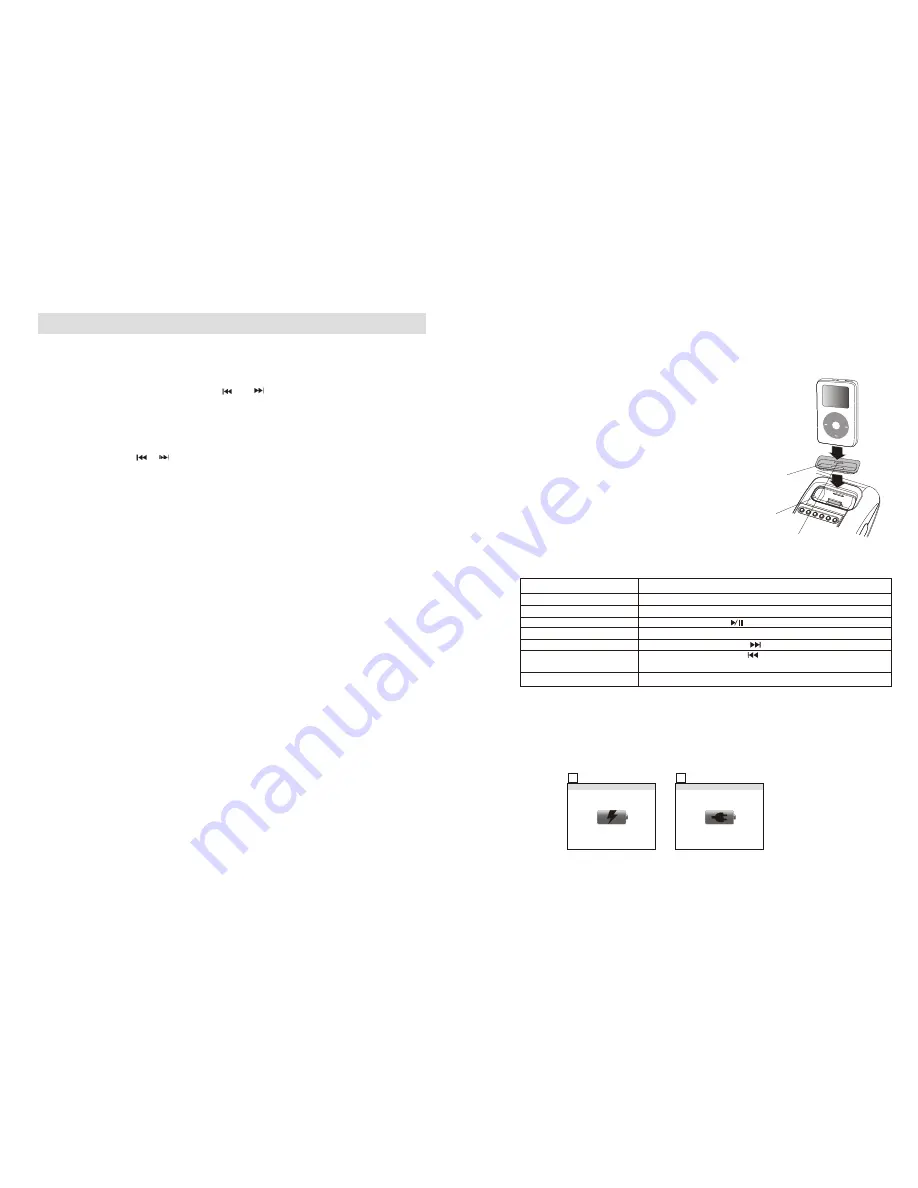
TO USE THE DOCK WITH YOUR IPOD:
1. Remove the iPod cover from the unit.
2. Install the iPod Dock
adaptor
into Dock, then put your iPod in the Dock on the unit. (Dock
a
daptor
is a iPod accessories available separately and fits
in
your iPod product) .
Note:
1)After placing the iPod in the Dock, all iPod functions can
be operated by remote control, please don't try to use
the iPod controls because the iPod connector may be
damaged while the dock is connected
to
your iPod.
2
)This player can support following
iPod model
A.Third Generation iPod
B.Fourth Generation iPod
C.Fifth Generation iPod Video
D.iPod
video
E.iPod Mini
F
.iPod Nano (First Generation)
G.iPod Nano (Second Generaton)
H.
3. Playing music
through
the unit speakers:
Using the iPod Dock, you can play music from iPod
through the unit speakers and operated with
the
remote control
1)Place iPod in the Dock.
2)Use the remote control to play iPod with following steps.
U2 i
Pod
with
video
Enter main menu
The top and bottom choose
Tto choose an item
Play or pause a song.
Change the volume
Skip to the next song.
Start a song over or play the
previous song.
To go back to the previous menu
Press the MENU button
Press the PRE-/PRE+ button
Press the ENTER button
Press the play/pause (
) button
Press the “VOL+” or “VOL- “ button
Press the next/fast-forward ( ) button
Press the previous/rewind ( ) button once to start a song
over, press it twice to play the previous song.
Press the MENU button
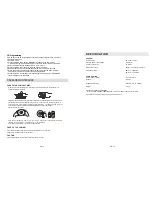
Dock adapt
o
r
Connector well
You can remove the Dock adapt
o
r
with your fingernail by using this slot
MENU
To charge the battery:
When iPod is connected to this unit, the battery
will
start charging.
Fig.1: this icon will show when the battery is charging.
Fig 2: this icon will show when the battery is full
y
charged.
Charging
Charged
1
2
EN-
9
LISTENING TO RADIO
MANUAL TUNING
1
Press “ BAND “ button to select desired BAND ( AM or FM )..
2
Tune to the required station by pressing the or button.
3
Adj
u
st volume control to the desired volume level.
AUTO TUNING
1. Press “ BAND “button to select desired band (AM or FM)
2. Press and hold the or button for 1 - 2 seconds and then release.
3. The unit will start seeking automatically and stop
when
a radio station is reached.
4. Repeat step 2 & 3 until the desired radio station is reached.
5. Adjust volume control to the desired volume level
PRESET STATIONS BY REMOTE HANDSET
You can store up to total of 2
0
radio stations in the memory .
1. Set to TUNER mode.
2. Turn to the desired radio station by “ MANUAL “ or “ AUTO “ tuning method.
3. Press “
PROG/ADJ
“ button to enable programming state.
4. Press “ PRE - or PRE + “ button to select the desired station memory for storage.
5. Press “
PROG/ADJ
“ button again to confirm the setting.
6. Repeat step 2 to 5 to store other stations.
7. Press “ PRE - or PRE + “ button to re-load the preset stations in order.
8. To return normal tuner mode, leave
all
keys free..
FM & FM-STEREO RECEPTION
• Press the MONO/ST./ESP/FIND on remote handset to select “MONO “
o
r “STEREO “reception mode
HINTS FOR BEST RECEPTION:
-
AM : the receiver
has
a
built - in AM bar antenna. If AM reception is weak, slightly rotate or
re-positioning the unit
to
improve the AM reception.
-
FM: the receiver has an attached FM wire antenna at the rear unit .
T
his wire
should be fully
unwound and extended at full length for
b
est reception.
ANUAL TUNING
AUTO TUNING
PRESET STATIONS BY REMOTE HANDSET
Note: Unit will not charge iPod in standby mode


