©Total Disc R epair Ltd | www. totaldiscr epair.co.uk | Technical Support: 0800 412 5424 - support@
totaldiscr epair.co.uk | Sales: 01202 489 500 - sales@
totaldiscr epair.co.uk
Getting Started
Initial setup
Basic operation
Inspecting a repaired disc
With the machine you will find a setup sheet which
includes a list of contents and briefly explains the
setup of the machine. Once the machine is ready to
go, the display will show
“CD/DVD”
and will display
the number of minutes remaining on the chip.
Choose a disc for repair. For information on what
can and cannot be repaired please refer to the
“Disc Types”
sheet.
For this first disc, we
will run a light, 30
second repair cycle.
Choose a CD, DVD,
game or data disc (not
a PS3/Blu-ray at this
stage - we will discuss
these later).
The disc should come out of the machine clean, dry
and warm. Have a look at the repaired side; the light
repair should have made a visible improvement.
If a more heavily damaged disc was chosen, the disc
may need an additional repair.
Repair process:
1. The lid will automatically open when you turn the
power on.
2. Place the disc shiny side up on the turntable.
3. Close the lid firmly until it clicks.
4. The machine will automatically start a 30 second
cycle.
5. Once the cycle has finished, the lid will open.
6. Remove the repaired disc.
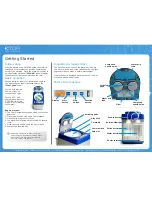
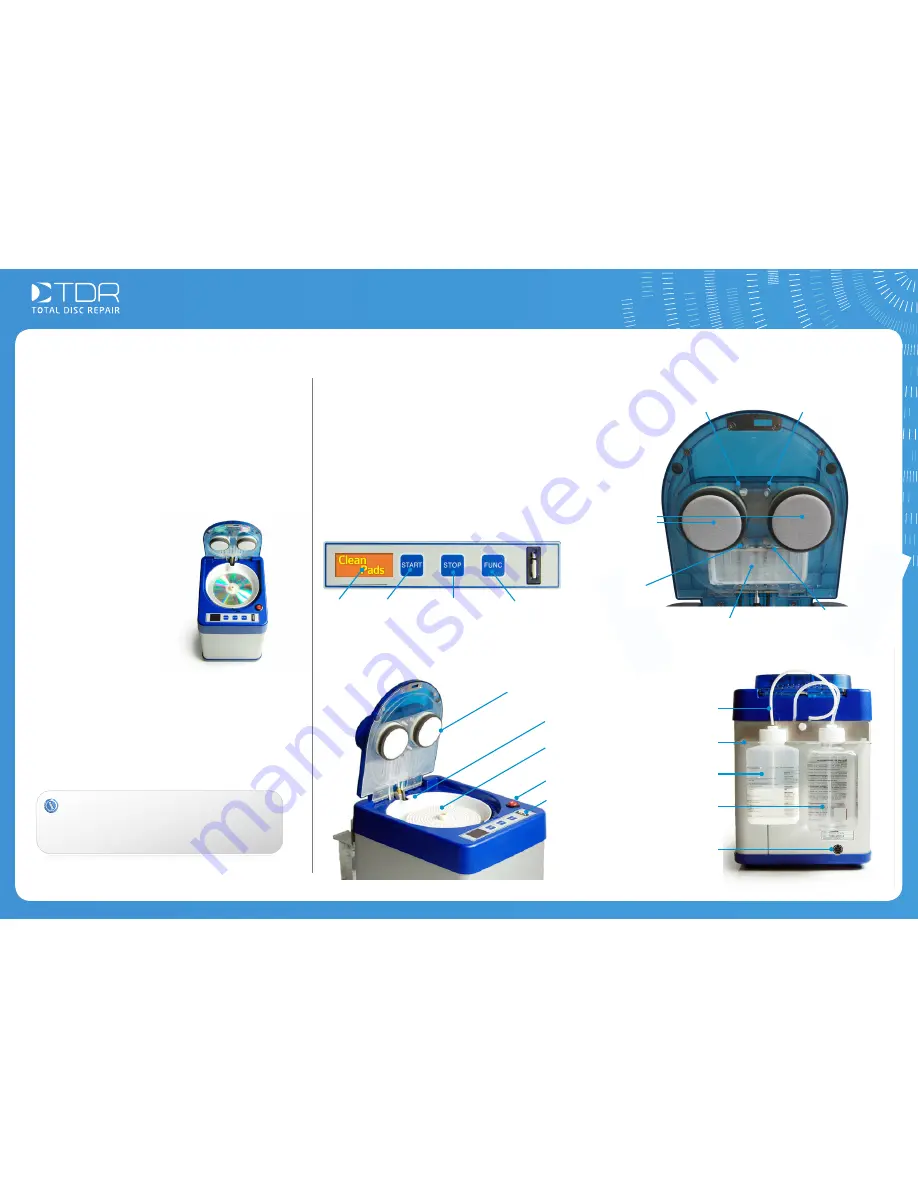
Polishing pads
Power switch
Chip slot
Display
Start
button
Stop
button
Polish bottle
Feed tubes
Bottle Holder
Water bottle
Power Inlet
Turntable
WARNING - Closing the lid without a disc may
cause damage to the pads and turntable. Always
place a disc on the turntable if closing the lid
when the machine is switched on.
Parts of the machine
Function
button
Disc Well
Polishing
pads
Compound
nozzle valve
Water drip
feed
Compound
nozzle valve
Water drip
feed
Filter


