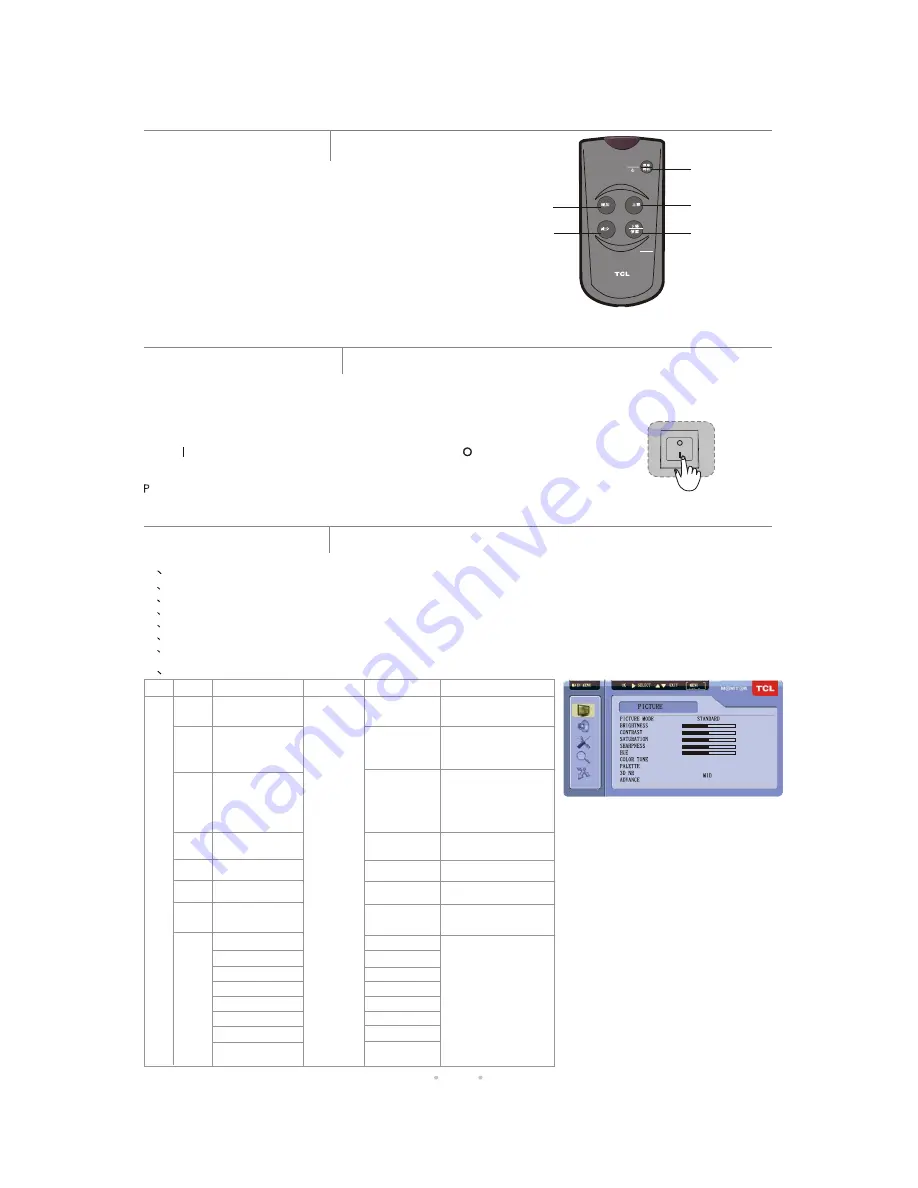
RIGHT
LEFT
UP
MENU
DOWN
SOURCE
RIGHT BUTTON
LEFT BUTTON
MENU/STANDBY
BUTTON
DOWN/SOURCE
BUTTON
UP BUTTON
1
Menu Operations
1
Press
MENU/S
T
ANDBY
on
the
remote
or
MENU
on
the
front
pane
l
to
d
i
sp
l
ay
the
ma
i
n
menu
.
2
Press
U
P
/D
O
WN
to
h
i
gh
li
ght
the
des
i
red
menu
/i
tem
.
3
Press
R
IGH
T
/LEF
T
to
enter
the
se
l
ected
menu
/i
tem
.
4
Press
MENU
to
go
bac
k
to
the
prev
i
ous
menu
.
5
Press
R
IGH
T
/LEF
T
to
change
the
sett
i
ng
.
6
Press
to
ex
i
t
a
menu
.
MENU/S
T
ANDBY
2
Picture
07
T
Y
P
E I
T
EM
FUN
CT
I
O
N
OP
E
R
A
T
I
O
N
R
ANGE
A
PP
LI
C
ABILI
T
Y
P
I
CT
U
R
E
P
I
CT
U
R
E
M
O
DE
0-100
5600K/6500K/
9300K/11000K
0-100
0-100
0-100
0-100
0-15
0-15
0-15
0-15
0-15
0-15
0-15
B
attery
I
nsta
ll
at
i
on
Remove
the
battery
compartment
li
d
from
the
bac
k
of
the
remote,
i
nsert
the
2
x
1
.
5
V AAA
batter
i
es,
pay
i
ng
attent
i
on
to
the
po
l
ar
i
ty,
and
then
rep
l
ace
the
cover
.
U
s
i
ng
the
Remote
Contro
l
Po
i
nt
the
remote
d
i
rect
l
y
toward
the
i
nfra
-
red
sensor
on
the
un
i
t
.
Notes
:
1
. F
or
better
performance,
once
you
f
i
nd
the
operat
i
on
i
s
abnorma
l
,
p
l
ease
rep
l
ace
the
batter
i
es
and
have
a
try
aga
i
n
.
D
o
not
m
i
x
o
l
d
and
new
batter
i
es
or
d
i
fferent
types
.
2
.
3. W
hen
the
batter
i
es
are
to
be
exhausted,
battery
l
ea
k
age
may
occur
and
damage
to
the
remote
. W
hen
the
operat
i
on
i
s
not
sens
i
t
i
ve
enough,
the
battery
may
be
l
ow,
so
p
l
ease
change
batter
i
es
i
mmed
i
ate
l
y
.
4. I
f
the
dev
i
ce
i
s
not
to
be
used
for
a
l
ong
per
i
od
of
t
i
me,
remove
the
batter
i
es
to
prevent
battery
l
ea
k
age
.
Remote Control
Basic Operations
Turning On the Unit
Turning Off the Unit (Standby)
Menu Functions
B
R
IGH
T
-
NESS
CO
N-
TR
AS
T
SA
T
U-
R
A
T
I
O
N
SHA
RP
-
NESS
HUE
P
ALE
TT
E
CO
L
OR
TO
NE
S
e
l
ects
d
i
sp
l
ay
types
A
djusts
the
r
i
chness
of
co
l
or
.
R
ED
G
R
EEN
BLUE
C
YAN
MAGEN
T
A
YELL
O
W
FLESH
P
ALE
TT
E
R
ESE
T
Press
R
IGH
T
/
LEF
Tto
adjust
USE
R
/S
T
ANDA
R
D
/B
R
IGH
T
NESS
/S
O
F
T
Only available in
NTSC mode
ALL INPUTS
ALL INPUTS
ALL INPUTS
ALL INPUTS
except VGA
ALL INPUTS
except VGA
ALL INPUTS
Plug one end of the power cable to the power socket on the rear of the unit, and plug the other end to an appropriate outlet.
Press the power switch (Model ML19, ML22 and ML26), then the unit
normal operation mode, and the power indicator
lights up in green.
goes to
Note
:
Press
" "
on
the
power
sw
i
tch
to
connect
the
power
and
press
" "
to
d
i
sconnect
the
power
.
50
5600K
>>>
50
50
50
50
>>>
Unplug the set when it is not used for a long period of time.
ress and hold the MENU/STANDBY button on the remote control or the STANDBY button on
the front panel, the unit enters into standby mode, and the power indicator lights up in red.
Note
:
I
mproves
p
i
cture
deta
il
s
.
Compensates
co
l
or
var
i
at
i
ons
A
djusts
the
dar
k
est
parts
of
the
p
i
cture,
usua
ll
y
the
adjustments
are
made
together
w
i
th
the
CO
N
TR
AS
T
sett
i
ng
A
djusts
the
d
i
st
i
nct
i
on
between
the
b
l
ac
k
and
wh
i
te
parts
of
the
p
i
cture
.
The
proper
contrast
can
ma
k
e
the
p
i
cture
c
l
ear
and
br
i
ght
A
djusts
the
co
l
or
compo
-
nents
to
ach
i
eve
a
warm
or
co
l
d
effect
Display "OK" when
the operation
completes
ALL INPUTS except VGA
Note
: PLATTE PRESET
function can make the unit
restore the factory default
settings
.


