Initial setup
Welcome to use the Wizard for Initial Setup !!
Please press [OK] to start the wizard.
Welcome
General Operation
Initial set-up involves selecting all the settings required to
be able to search for and store all the channels you can
receive. Make sure that the television is switched on and
follow all the steps in turn specified hereafter.
The first time you switch the set on, the
Initial setup
wizard opens, which guides you through the initial setup
process. Press
OK
to start your initial setup.
Initial
Set-up
To access the menu system:
1. Press the
Menu
button to display the main menu.
2. Press the up/down/left/right direction buttons to select
the desired item, then press the
OK
button to open the
corresponding submenu.
3. In submenus, use the up or down direction button to
select menu options, use the left or right direction button
to set functions or change values. Use the
OK
button
to activate a setting. Use the
OK
or right direction button
to open the corresponding submenu.
4. Press
Menu
to return to the previous menu or press
Exit
to close the menu.
Organizing Channels
This section describes how to organize channels.
Instructions are for both analogue and digital channels.
(Note: this option is not available for certain models.)
Select Setup > Organiser and press OK/ to enter.
-
Skipping channels
: If a channel was stored twice
or its reception is poor, you can simply skip it. The
skipped channels can not be selected by pressing
the CHANNEL UP /DOWN button.
Select the Channel skip option and press OK/
to display Channel skip menu.
Press
/
to select a channel and press the OK
button to check the box.
-
Sorting channels:
Channel insert
: insert one channel in front of another.
Select Channel insert and press OK/ to display
channels.
press
/
to select one channel and select another
one. The later one is inserted in front of the former one.
Channel swap
: swaps two channels' position.
Select Channel swap and press OK/ to display
channels.
press
/
to select a channel, and press OK to
confirm. Select another channel and press OK to confirm.
The two channels' positions were swaped.
-
Editing channels:
Select the Channel edit option and press OK/
to display Channel edit menu.
Press
/
to select a channel you want to edit,
then press the OK button to enter.
Press
/
to select Channel number or
Channel name, using the digit keys to edit the
channel number or channel name, and then
press OK to confirm.
•
•
•
•
•
•
•
•
•
Using
Menu
System
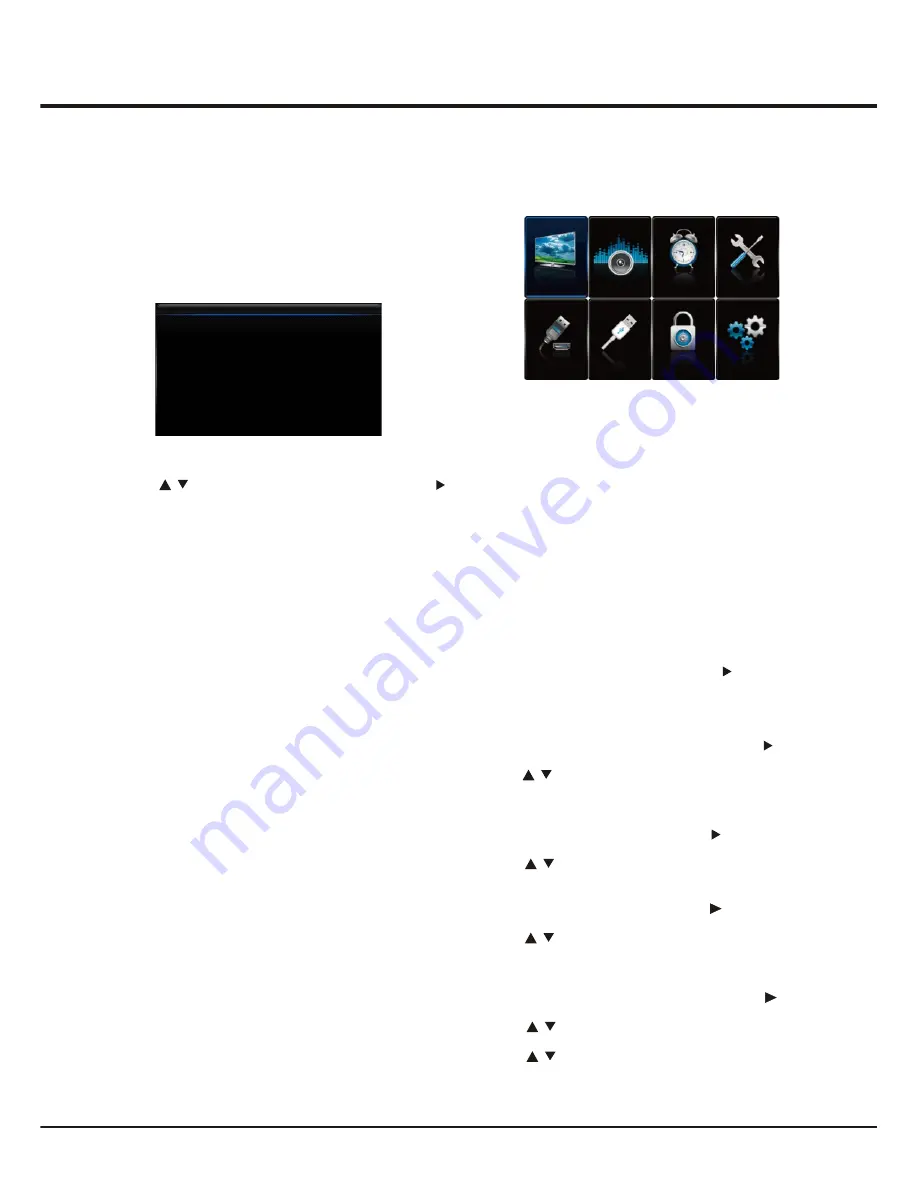
This section explores the menus of your TV. Each menu
is outlined and detailed to help you get the most from
your TV.
9
Picture
Sound
Timer
Options
Source
Media
Lock
Setup
1. Press
/
to select your language, then press OK/
to enter the next step.(Note: this step is not necessary
for some models.)
2. Press the up or down direction button to select
Scan
and press the
OK
or right direction button to start the
search automatically. All available TV programmes
are stored. This operation takes a few minutes.
The display shows the progress of the search and the
number of programs found.
Note:
to prevent the channel setup process from being
interrupted, wait for the message indicating that the
setup is complete.
In this step, you can also select
Skip Scan
to skip the
channel search progress. But when you turn the TV on
next time, the prompt on the screen will remind you to
do the channel scan first.
3. During the setup, user can follow the hints available at
the bottom of the screen to return to the last step by
pressing the left direction button. Or press
Exit
to exit
or interrupt the search halfway.
4. Once the automatic search ends, the set enters the
next step automatically. You can press the up or down
direction button to select your location
Shop
or
Home
.
Press the
OK
or right direction button to confirm your
selection and enter the last step.
Note:
the
Shop
mode does not satisfy the MEPS
certification, suggest selecting
Home
.
5. - In this step, you can press
OK
to exit the initial setup.
The channels are arranged in a preset order. If you
wish to skip channels, modify the preset order or
rename channels, select
Setup > Organiser
for these
operations.
- In this step, you can also press the left direction
button to return to the previous step.


