background image

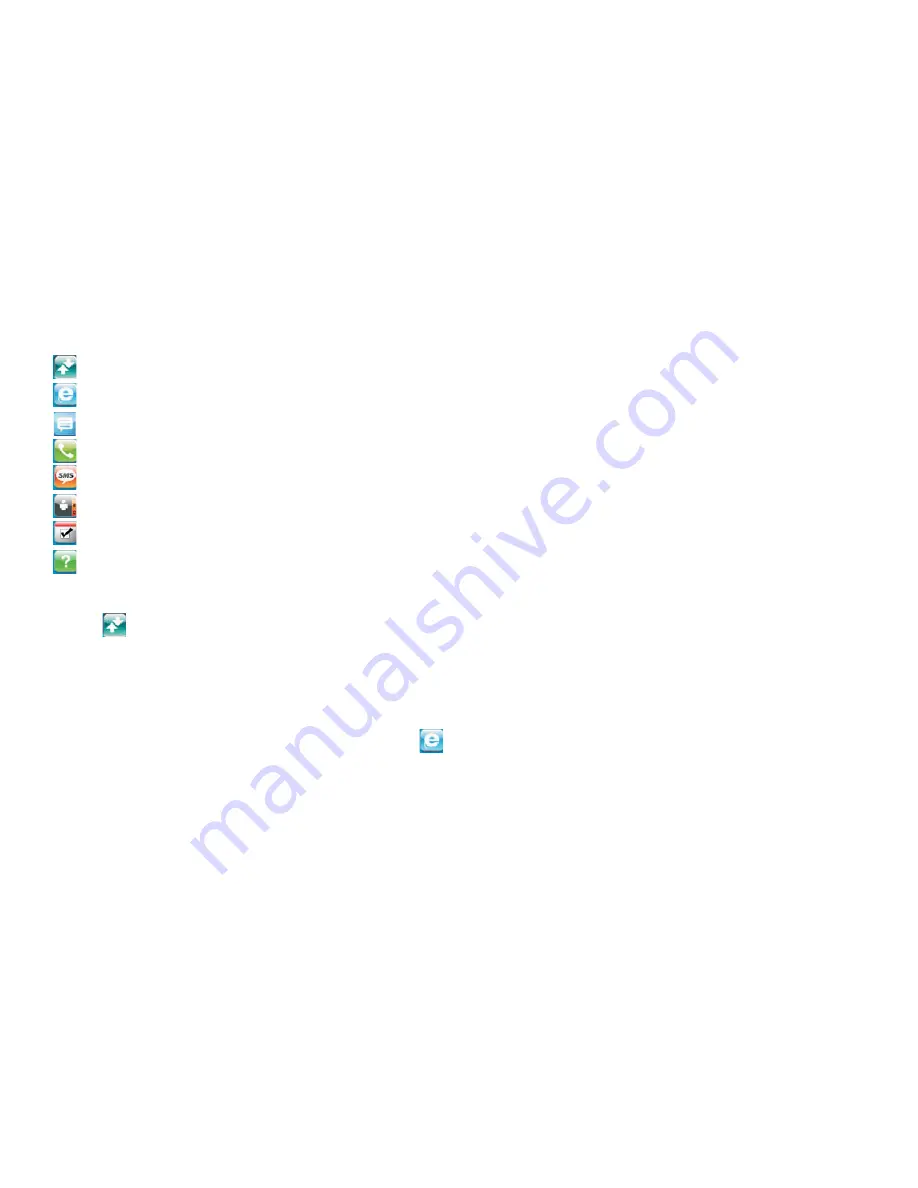
Shortcut Icon

Access the Connect interface
Start the default internet browser in your operating system
View the Diagnostics
Access the Call and Call log interface
Access the SMS interface
Access the Phonebook interface
Access the Options interface

: View the Help document

Click

to display the Connect interface.

1.Choose a profile and click <Connect> to set up a connection;
Please select TATA Photon Whiz Postpaid with postpaid users. If not, select TATA
Photon Whiz Prepaid with prepaid users.
2.When the connection is set up, click

or start the browser on your computer, and

then you can access the internet;
3.Click <Disconnect> to disconnect from the network.

:
:
:
:
:
:
:

i.Internet Service

Ii.Diagnostics

15

Содержание Photon Whiz

Страница 1: ...TATA Photon Whiz User Manual...

Страница 2: ......

Страница 3: ...edure for Mac OS 5 c Installation Procedure for Linux 8 5 Using the Tata Photon Whiz Dialer 13 a Accessing the TATA Photon Whiz Manager GUI 14 b Exiting the TATA Photon Whiz Manager 14 c Main Function...

Страница 4: ......

Страница 5: ...ual carefully to ensure optimal performance The pictures symbols and contents in this manual are just for your reference They might not be completely identical with your USB Modem With the TATA Photon...

Страница 6: ...rface USB1 1 or above Note If the configuration of your system is inferior to the recommended configuration the running performance of the data modem may be affected OS Windows 2000 XP Vista or Macint...

Страница 7: ...Connect the USB Modem with PC via USB If PC opens the auto run function it will pop up an installation interface If not please go to CD as shown in the figure below open it and double click the AutoRu...

Страница 8: ...Follow the instructions of the program 4...

Страница 9: ...Connect the USB Modem with PC via USB Insert the USB Modem into computer 3 Uninstalling 1 Connect USB Modem with PC 2 Install USB Modem Dialer Driver Exit Management Procedures Un install the Tata Pho...

Страница 10: ...Double click the icon of T ATA Photon Whiz Dialer 6...

Страница 11: ...Click Continue then install Please enter your laptop s password when pop up window appears 7...

Страница 12: ...essful click on close button a Connect USB Modem with PC Connect the USB Modem with PC via USB 3 Uninstalling Exit Management procedures Open uninstall TATA Photon Whiz Dialer click OK OK c Installati...

Страница 13: ...further please make sure you have installed wvdial in your machine If not then install it by typing the following command in your terminal apt get install wvdial You need internet connection for insta...

Страница 14: ...e click on the icon TATA Photon Whiz which will appear on your desktop screen There you will find 2 packages inside Ubuntu Folder Double click the usb modeswitch_0 9 7_i386 deb package and install i u...

Страница 15: ...ii cdma_20100826 1_i386 deb Double click the cdma_20100826 1_i386 deb package and install 11...

Страница 16: ...ing both the packages After rebooting open terminal and type sudo gedit etc wvdial conf Make changes in it similar to commands mentioned below Dialer vmc101 Init2 AT RF 1 Init3 AT CRM 0 Phone 777 User...

Страница 17: ...ttyUSB0 Click on save close this window Now in terminal type sudo wvdial vmc101 If connected you will see in your terminal as the image below e To disconnect press Ctrl C 5 Using the Tata Photon Whiz...

Страница 18: ...hoton Whiz Manager c Main Functions To start program double click the shortcut icon of the TATA Photon Whiz Manager on the desktop Click the button on the right corner on the interface The initial int...

Страница 19: ...ace View the Help document Click to display the Connect interface 1 Choose a profile and click Connect to set up a connection Please select TATA Photon Whiz Postpaid with postpaid users If not select...

Страница 20: ...ation is displayed in the format of XX YY XX indicates the amount of the existing messages and YY indicates the capacity of the USB Modem Contacts in USB Modem This information is displayed in the for...

Страница 21: ...sion The version of the PRL Hardware Ver The hardware version of the USB Modem System information The system information of the computer When you use the call service you need to insert the earphone t...

Страница 22: ...r in the phonebook 1 Click Contacts and the phonebook interface is displayed Double click a contact or select a contact and then click Dial If two or more number s in the selected contact double click...

Страница 23: ...there is an incoming call You can choose the options in the follow 1 Click Answer to answer the call 2 Click Reject to reject the call You can adjust volume during the call The call history contains...

Страница 24: ...ed Enter required relevant information for this contact 5 Click OK to save the contact You can delete one or more item s from the call history 1 Select one or more item s click Delete 2 Click OK to co...

Страница 25: ...nd click SMS 2 The TATA Photon Whiz automatically retrieves the number in the selected items and the Writ SMS interface is displayed 3 The retrieved numbers are automatically displayed in the blank fi...

Страница 26: ...the Outbox is full and an additional message is coming the earliest message in the Outbox is deleted automatically The messages that you write on the Write SMS window if having been saved can be store...

Страница 27: ...nd message Click Save to save message to the Draft Click Clear to clear the message content Click Close to close the window Writing a new message To enter one or more number directly In the Contacts t...

Страница 28: ...directly in the inbox 1 Select a message and click 2 The telephone number of the original sender appears automatically in the blank filed behind Contacts and you can change it 3 Input the content for...

Страница 29: ...mber and click OK 3 The Select Position interface is displayed select the position and click OK 4 Input the required information of this number 5 Click OK The TATA Photon Whiz provides the function of...

Страница 30: ...hive a message 1 Select a message and click 2 You can archive a message in the Inbox to the Archive 1 Select a message and click 2 You can resume a message in the Archive to the Inbox Transferring a m...

Страница 31: ...iew last voice mail to view the text message in last voice mail 3 Click Clear voice mail icon to clear the information of the voice mail The TATA Photon Whiz can store up to 500 contacts You can creat...

Страница 32: ...venience to manage the contacts Click to display the phonebook interface 1 Click and the Contact interface is displayed 2 Select an image for the current entry and edit the information of the entry 3...

Страница 33: ...it to modify the information of this group 4 Select the group name and click Delete to delete this group 5 Click Close to close the window The TATA Photon Whiz provides the function of searching a con...

Страница 34: ...more telephone numbers are contained in the selected contact the Select number interface is displayed and you are prompted select one number After doing that click OK and the dial interface is display...

Страница 35: ...t to the USB Modem contacts The TATA Photon Whiz supports for importing of the csv and vcf files 1 Select Import Pb option by clicking the right key of the mouse 2 Select the importing mode 3 Click OK...

Страница 36: ...Whiz allows you to export the contacts from the USB Modem contacts to a file 1 Select Export Pb option by clicking the right key of the mouse 2 Select the desired file format csv vcf 3 Click Save to f...

Страница 37: ...e you have sent Defer Delivery Select the time for sending a message Voice mailbox number Enter the voice mailbox number in the editing box Alert Window Check the box replace the last message automati...

Страница 38: ...er a call comes Click Browse t o select a sound file Call diverting This service enables you to divert some incoming calls to other preset numbers Call waiting You can set enable or disable the call w...

Страница 39: ...Creating a profile 1 Click New to open the New Profile dialogue box 2 Enter a new profile name in the Profile Name field 3 Enter required relevant information for the settings 35...

Страница 40: ...Profile Name field select a profile to delete 2 Click Delete 1 In the Profile Name field select a profile to modify 2 Modify the relevant information for the settings 3 Click Save to finish Deleting a...

Страница 41: ...onfirm interface is displayed You need to enter the password The default password is 0000 You can set the Dialer to connect internet when program start up start main window minimized and auto run when...

Страница 42: ...international prefix 1 Click Usage limit and the Usage Limit interface is displayed 2 Enter required relevant information for the settings Prompt Settings You can set the Begin date and according to t...

Страница 43: ...he Modify Password interface is displayed 2 Enter the current password and the new password and click OK to modify it The TATA Photon Whiz allows you to query information for the USB Modem For more in...

Страница 44: ...isplayed 2 Choose Prepaid or Postpaid and enter PIN code then click Activate to finish 1 Click Upgrade and you will then be asked if you would like to upgrade To open the Upgrade you must connect to i...

Страница 45: ...vii Help Document Click to display the Help interface The TATA Photon Whiz provides the function of viewing help document 41...

Страница 46: ......

Страница 47: ...No Content Quantity unit 1 CDMA 1X USB Modem 1pc 2 User Manual 3 Warranty Terms Service Centre List 4 USB Extension Cable 5 Headset 1pc 1pc 1pc 1pc Packing List...

Страница 48: ......

Отзывы: