background image

TASCAM  HD-R1


13

4–Recording

Other recording functions

Media capacity and recording

After making the above settings, the unit is ready to 

record. A new file is automatically created for every 

recording. 

1  Press the 

RECORD

 key. 

  The unit becomes ready to record and input 

monitoring is turned ON. 

  The 

RECORD

 and 

READY

 keys light up. 

2  Check the input level using the meters on the 

Home Screen. 

  When 

INPUT

 is set to 

Analog/Mic

, use 

the 

INPUT 

knob on the front panel to adjust the 

level. 

  When 

INPUT

 is set to 

S/PDIF

, the level 

cannot be adjusted. Adjust the level at the 

source if it is not suitable. 

NOTE

When connecting headphones to the PHONES jack to 

monitor recording, use the PHONES knob to adjust the 

level. This knob only affects the headphone level; it does 

not affect the output level from the LINE OUT jack on the 
rear panel. 

3  Press the 

PLAY

 key to start recording.

  The 

RECORD

 and 

PLAY

 keys light. 

4  When finished recording, press the 

STOP

 key. 

  A file is created. 
  With the default setting, the files are automati-

cally named “

Track001

,” “

Track002

,” etc. 

  Press the 

READY

 key to pause recording. 

  Pausing also creates a file. A new file is created 

for the next recording. 

NOTE

Audio files created when recording are stored in the 

current folder. Moreover, when the playback mode is set 

to playlist, the created audio file is automatically added to 

the current playlist. See “6–Folders and Playlists” on page 

15 for information about the current folder and the playlist. 
See also “Setting the playback mode” on page 14.
 

Using the Record Settings Menu, you can also set the 

following functions. 

Automatically create markers during recording at 

• 

specified time intervals or when the input signal 

clips. 

Turn ON/OFF the prerecord function, which retains 

• 

the input signal in a buffer when the unit is in 

ready-to-record mode. 

Set the maximum size for audio files. 

• 

Turn ON/OFF the Sync Record function, which 

• 

automatically starts recording if the input signal 

exceeds a certain level. 

Set the base name that is given automatically to 

• 

new files. 

Set the base name that is given automatically to 

• 

new markers. 

Please see “Record settings” in the Owner’s Manual 

for more about these functions. 

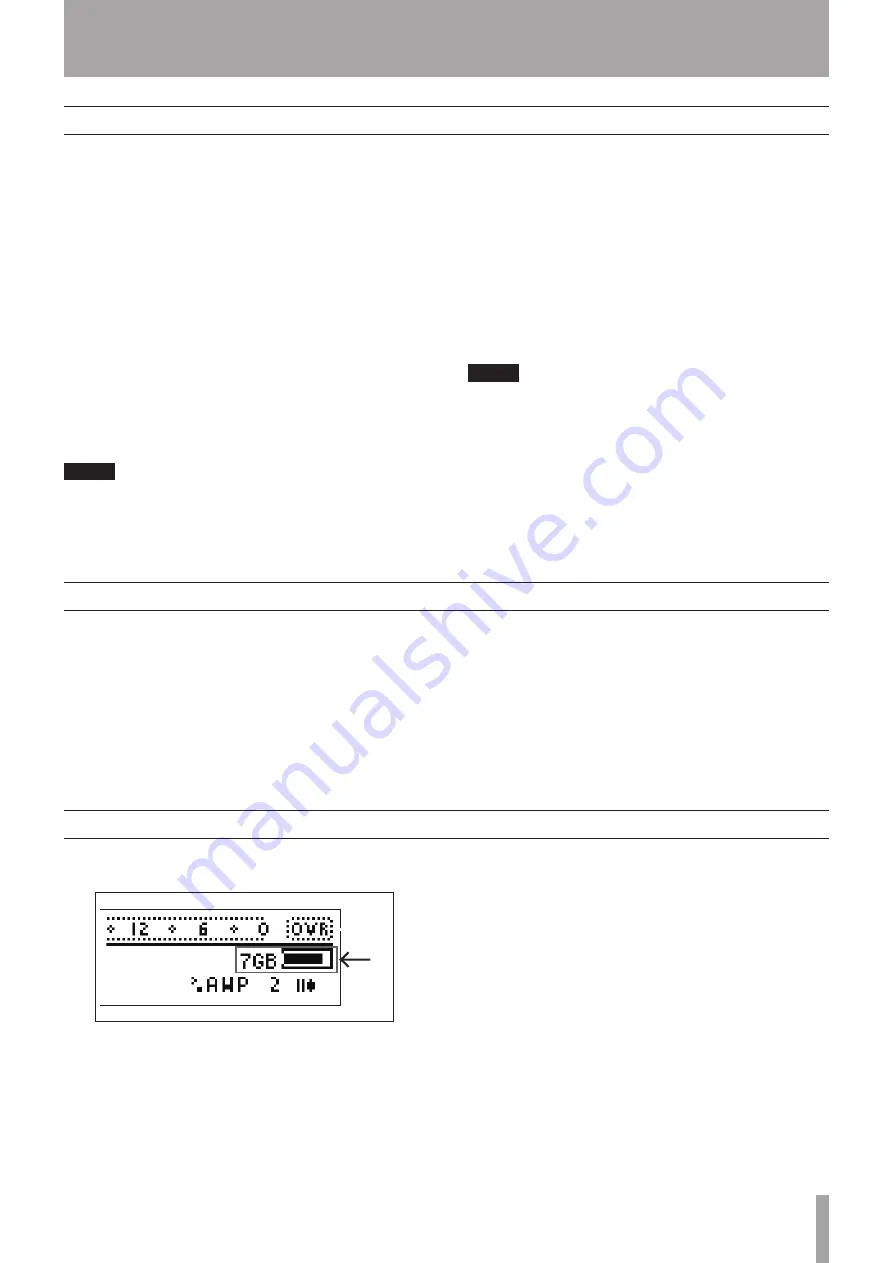
During recording, the media space indicator on the 

screen displays the remaining space. 

When there is no remaining space, the unit stops 

recording, the file closes, and a warning message that 

there is no space appears on the screen. 
In the FAT file system used by this unit, the maximum 

size for each file is limited to 2GB. If the file size 

reaches the limit, the unit closes that file and continues 

recording to a new file. In this situation, no gap in 

recording occurs, so the files can be relinked in a 

DAW, for example. Moreover, if the unit’s playback 

mode is set to playlist, the files can be played back in 

order without an audible gap between them.

Standard recording procedures

Содержание HD-R1

Страница 1: ...D01047620A HD R1 Professional Stereo Audio Recorder QUICK START GUIDE...

Страница 2: ...appliance will help prevent potential negative consequences for the environment and human health 4 For more detailed information about disposal of your old appliance please contact your city office wa...

Страница 3: ...layback 14 Standard playback operations 14 Setting the playback mode 14 Other playback functions 14 6 Folders and Playlists 15 Creating new folders 15 Setting the current folder 15 Creating playlists...

Страница 4: ...o adjust the analog input Phantom power switch on the rear panel indicator on the front S PDIF digital input and output Standard jack and level knob for headphone monitoring on the front panel Records...

Страница 5: ...an be renamed if desired and the marker times may also be modified Main Menu Manage Folders Files Compact Flash path to folder View Files filename Edit Markers This is only accessible if the file actu...

Страница 6: ...mpact Flash cards Compact Flash card 44 1 kHz mono 32 kbps MP3 44 1 kHz stereo 128 kbps MP3 44 1 kHz stereo 16 bit WAV 96 kHz stereo 24 bit WAV 512 MB 35 hours 8 75 hours 0 8 hours 0 25 hours 1 GB 70...

Страница 7: ...sources Connecting output destinations Use the XLR or RCA LINE OUTPUTS or the Euroblock to connect analog output destinations Use the DIGITAL OUT jack to connect digital output destinations This unit...

Страница 8: ...n the front panel 2 Insert the CF card 3 Close the door 4 Use the included security screws to fasten the door shut as necessary NOTE You can set the unit to either display a warning message or to auto...

Страница 9: ...submenu without formatting the card 6 Press the MENU key The Home Screen reappears Set the unit s system clock to the current date and time 1 Press the MENU key The Main Menu appears 2 Use the SHUTTLE...

Страница 10: ...parameter setting mode starts or an operation is executed after confirmation For items with submenus a appears at the right side of the display When in menu mode press the MENU key to return to the H...

Страница 11: ...he Wave Settings submenu appears With this Menu you can set the sampling rate WAVE Sample Rate and bit depth Sample Width Use the SHUTTLE DATA wheel to select the item to set and press the ENTER key U...

Страница 12: ...jack on the rear panel NOTE If Analog Mic is selected the switches on the rear panel also need to be set See step 13 below 11 As necessary conduct other settings related to recording See Record settin...

Страница 13: ...ically added to the current playlist See 6 Folders and Playlists on page 15 for information about the current folder and the playlist See also Setting the playback mode on page 14 Using the Record Set...

Страница 14: ...1 Press the MENU key The Main Menu appears 2 Use the SHUTTLE DATA wheel to select Play Settings and press the ENTER key The Play Settings Menu appears NOTE While the Home Screen is open press the MOD...

Страница 15: ...TLE DATA wheel to select Folder and press the ENTER key The Folder Menu appears NOTE When the Home Screen is open press the SKIP key while pressing and holding the MENU key SHIFT key to open the Folde...

Страница 16: ...the file that you want to add the playlist and press the ENTER key The file is added to the playlist The playlist content screen reopens so you can confirm that the file has been added to the playlist...

Страница 17: ...the Auto Markers item in the Record Settings Menu See Record settings in the Owner s Manual At the default setting you can use the SHUTTLE DATA wheel to locate to markers but you can also change how t...

Страница 18: ...R key to turn the Resume mode ON and OFF When ON the unit remembers the playback position when the STOP key was pushed and the next to time playback is started it continues from that position This set...

Страница 19: ...e folders files in the Owner s Manual NOTE After selecting a folder it can be deleted or its name can be edited by choosing Delete Folder or Rename Folder The current record playback and system settin...

Страница 20: ...when file operation completes Do not disconnect the USB media during a file operation By connecting this unit and a computer by LAN files can be transferred copied between a computer and the CF card...

Страница 21: ...el after the analog input has stopped See System settings in the Owner s Manual 13 Using External Controllers Using a USB keyboard Using parallel control Using serial control By connecting a computer...

Страница 22: ...n L Auto Cue Off 72 66 60 54 48 42 36 30 24 dBFs Record Settings File Format WAV MP3 L WAVE Settings WAVE Sample Rate 44 1kHz 48kHz 88 2kHz 96kHz L Sample Width 16Bits 24Bits L MP3 Settings MP3 Sample...

Страница 23: ...isabled enabled L Adjust Contrast Adjust Contrast with JOG L Playlist Defaults Trigger Mode Trigger Momentary Toggle L Interruptible Yes No L Repeat Count Off 0 to 20 Infinite L Attenuation 30 to 1 dB...

Страница 24: ...5939 Wallace Street Mississauga Ontario L4Z 1Z8 Canada TEAC MEXICO S A De C V www tascam com Phone 52 55 5010 6000 R o Churubusco 364 Colonia Del Carmen Delegaci n Coyoac n CP 04100 M xico DF M xico...

Отзывы: