3
TASCAM DV-RA1000 Ver1.01
DV-RA1000 Version 1.01 Supplemental Manual
Hint
The auto track increment recording in Level mode starts when
the DV-RA1000 detects an audio level equal to or higher than
the specified sound level. Therefore, the very beginning of the
sound may not be recorded, or the top part of the subsequent
track may be recorded at the end of the current track. To avoid
these problems, set the
DELAY
parameter to a negative value to
offset the start point of recording and the beginning of the
audio signal to be recorded. Alternatively, set the Sound Level to
a lower value.
Note
The cursor will not move to the
DELAY
parameter if the
MODE
parameter is set to
TIME
.
Auto track increment recording in Time mode
[Setting the MODE parameter]
1
Use the
F1
to
F4
key (cursor key) or the wheel on the virtual
front panel screen to select
ATRK
.
2
Press and hold down
ATRK
for more than one second to open
the Auto Track screen.
3
Use the
F1
or
F2
key to select
MODE
.
4
Rotate the wheel to set the
MODE
parameter to
TIME
.
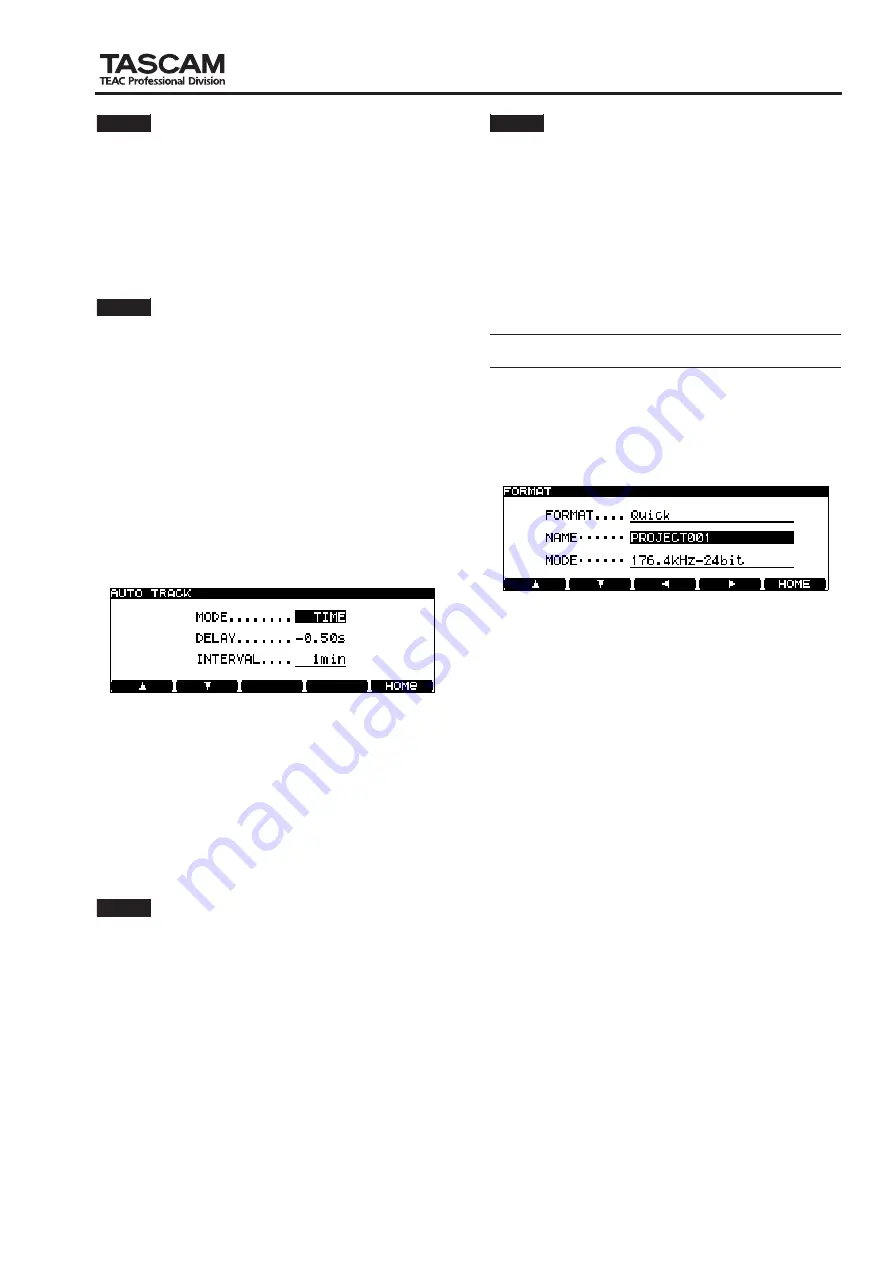
Figure 9.3 AUTO TRACK screen
[
Setting the INTERVAL parameter]
1
Use the
F1
or
F2
key (cursor key) to select
INTERVAL
.
2
Rotate the wheel to set the interval in the range of 1 minute
through 10 minutes, with the default value set to 5 minutes.
3
After you set the
MODE
and
INTERVAL
parameter, press
ENTER
to confirm your settings.
After manual recording starts and the interval time expires, the
tracks will be incremented automatically.
Note
The maximum number of tracks on a CD is 99. The maximum
number of tracks in a single project on a DVD+RW disc is also
99. When the number of recorded tracks on a DVD+RW reaches
99, the number of tracks (99) remains the same and the record-
ing continues until the data fills up the available space on the
disc.
Note
Pressing the
RECORD
key during recording enables you to man-
ually increment the tracks. However, since the DV-RA1000 can-
not create a track of a length of four seconds or less, wait for
four or more seconds until you press the
RECORD
key again.
Also, pressing the
RECORD
key many times (even if the interval
between each press is about five seconds) may cause the record-
ing to be stopped. To play safe, wait about 30 seconds between
each press of the RECORD key to continuously increment the
tracks.
Using a new DVD+RW disc
You can select
Quick Format
or
Full Format
when you format
a new disc.
When you insert a new DVD+RW disc into the tray and close the
tray, the unit displays a pop-up message for confirmation. Press
ENTER
to display the following screen.
Figure 9.4 Selecting the format
1
Use the
F1
or
F2
key (cursor key) to select
FORMAT
.
2
Rotate the wheel to set the
FORMAT
parameter to
Quick
or
Full
. The default setting is
Quick
.
3
Use the
F1
or
F2
key (cursor key) to select
NAME
.
4
Use the
F3
or
F4
key (cursor key) and the wheel to edit the
project name.
5
Press
ENTER
to confirm the edited project name.
6
Use the
F1
or
F2
key (cursor key) to select
MODE
, and use
the wheel to set the recording format then press
ENTER
to
confirm your setting.
The disc format operation starts. When the format operation is
complete, the
Home
screen is displayed.
• Quick format
With this option, the DV-RA1000 records project files and other
data. Then in a few minutes, it displays the
Home
screen and
enters record waiting mode.
If you are formatting a brand new disc, the unit executes the
background format operation (which formats a unrecorded area)
while recording or playback is stopped.
• Full format
This option formats the entire disc. It takes about 30 minutes to
complete the format. Pressing
CANCEL
during a Full format
operation will cause the unit to display a pop-up message that
asks whether you wish to interrupt the formatting.
Press
CANCEL
again to continue the formatting operation. Press
ENTER
to abort the Full format operation and switch to back-
ground formatting.
The disc eject and shut down operation are available during back-
ground formatting.


