TASCAM 2488MKII
7 − Recorder
Auto punch operations
Punch operations allow you to start and stop record-
ing at predefined points, and these can be automated, as
described here.
When auto punch recording begins, playback starts at
pre-roll point some time before recording is due to start,
the punch-in point is reached, and recording starts. When
the punch-out point is reached, recording stops, and play-
back continues until the post-roll point.
In addition, when you perform an auto punch recording,
during the pre-roll period, you hear what has previously
been recorded, together with the signal source; during the
punch recording itself, you hear the signal source alone;
and for the post-roll period, you hear the previously record-
ed material and the signal source together.
The 2488MKII allows all of this to happen in rehearsal
mode as well as in an actual recording mode. The rehearsal
mode allows you to simulate the punch recording, both to
practise the actual take, and also to check punch points
before recording actually begins.
You can also use the repeat function together with the auto
punch operations, allowing you to make repeated rehears-
als of a punch section, as well as repeated takes of the same
section (multi-takes) or when you are recording, repeated
recordings can be used as multi-takes. With multi-take
recording, you can choose the best recording after record-
ing many takes, one after the other.
On a tape recorder repeating a section, there is a delay
while the tape rewinds. The “instant rewind” of a disk
recorder can give you no time to prepare your fingers, take
a breath, etc. ready for the next take.
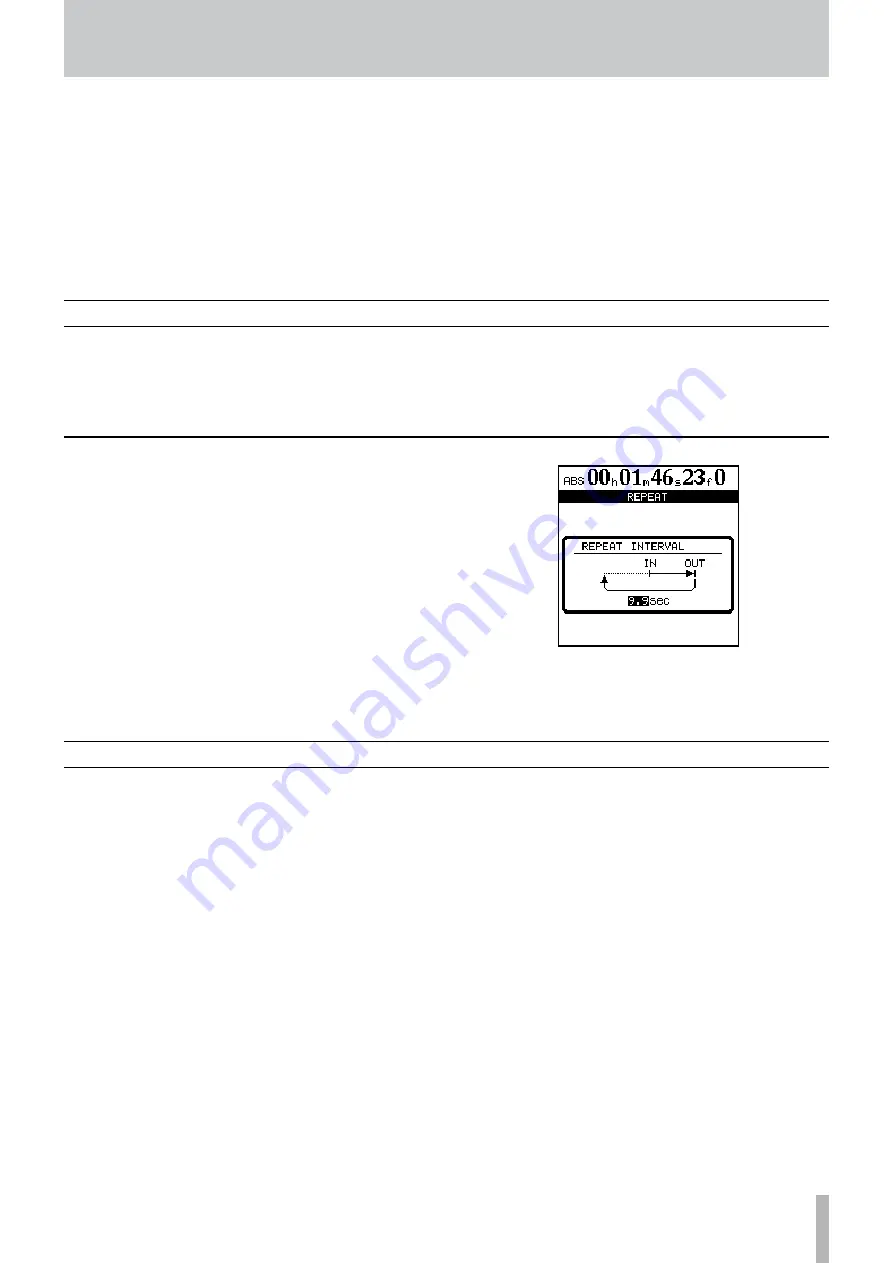
The 2488MKII allows you to set a time between reaching
the OUT point and starting to replay from the IN point
again: from 0 seconds to 9.9 seconds.
1 Press and hold the
REPEAT
key so that a pop-up
screen appears.
2 Use the dial to set the interval. Pressing
YES/
ENTER
returns to the home screen.
Setting the repeat interval
You can repeat playback between the IN and OUT points
by pressing the
REPEAT
key so that the indicator lights.
Repeat recording is handled using the auto punch facility
(see “Auto punch operations” on page 55).
Repeat
6 When you change a value, the values on the top line
will start to blink and will continue to blink for a
few seconds.
7 Press
YES/ENTER
while the values are blinking
to set the value, or
PLAY
to start immediate play-
back at that value. Also, if you do not press any keys
or turn the dial for a few seconds, the values stop
blinking, and the new time value that has been set
becomes the current playback position.
If you press the
NO/EXIT
key (or the
STOP
key) while
the values are blinking, the time value will be reset
to the previous value before you started to edit it.


