P r o T r a x & M a x T r a x S a w T a b l e s
Using the ProTrax Multi-Angle Saw Table: Angle Cutting
7
To set a 6/12 pitch with the
boom swung to the right, follow
the previous procedures using
the markings on the right side of
the table.
All other pitches thru 14/12 can
be cut by following the previous
procedures and choosing the
appropriate number and indicating
lines on the front wear strip.
Commonly cut angles are shown
as well. Position the appropriate
work surface at the desired
position (22 1/2, 30, 45, 60) and
set up as instructed above.
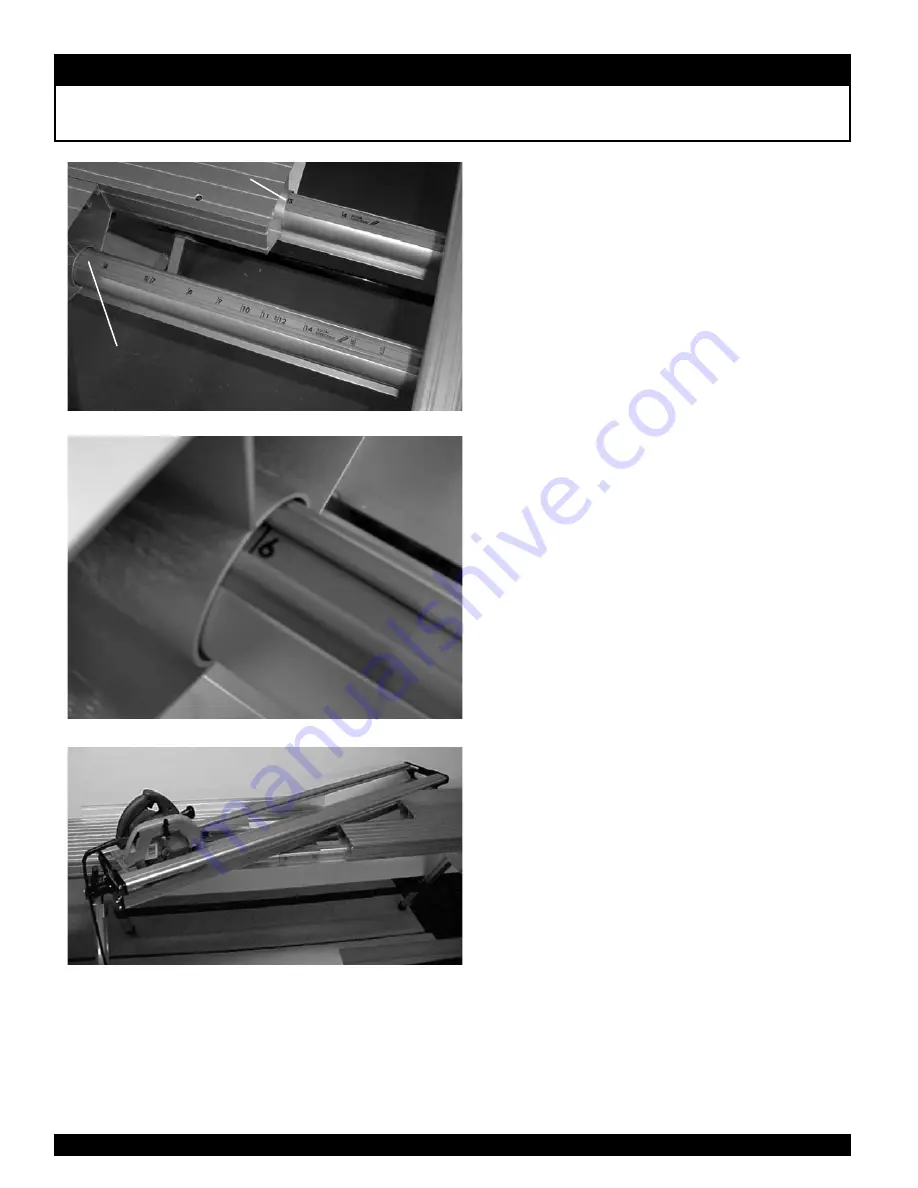
STeP 1 - example of setting 6/12
Slide the work surfaces away from the Boom. The
markings on the orange wear strip indicate which
way to rotate the Boom and where to position the
Work Surfaces. The numbers indicate the pitch. For
example, “6” indicates a 6/12 pitch, “7” indicates a
7/12 pitch and so on.
STeP 2 - example of setting 6/12
Find the “6” indicating line to the left side of the
Boom on the front wear strip. Slide the left front
table until it meets the “6” line. With the right rear
table pushed out of the way, rotate the handle end
of the boom leftward until it contacts the work
surface touching the “6” line. Lock the Boom by
rotating the handle to the “up” position.
STeP 3 - example of setting 6/12
Slide the remaining Work Surfaces up against the
boom. Slide the fences into position to support the
saw tracks. The table is now set for a 6/12 pitch.
SeT 3/12 & 4/12 wITH
reAr work SUrFACe
SeT 5/12 & 14/12 wITH
reAr work SUrFACe


