2
3
4
If your NAS shipped without disks, refer
to the back of this Quick Start Guide
to install one or more disks before you
setup your NAS.
5
Ensure that you have:
• A local area network that is up and running.
• An available Ethernet port on your LAN switch or router.
• Access to the Internet from a computer connected to the LAN.
Note:
The BizNAS R400 series retrieves its IP address and
other network addressing automatically via DHCP. After you
have accessed the Tandberg Data BizNAS Information Center,
you can change to static network addressing, if desired.
1
START HERE
Turn Power On
Connect Network and Power Cables
Discover your NAS
Launch the Information Center
Configure your NAS
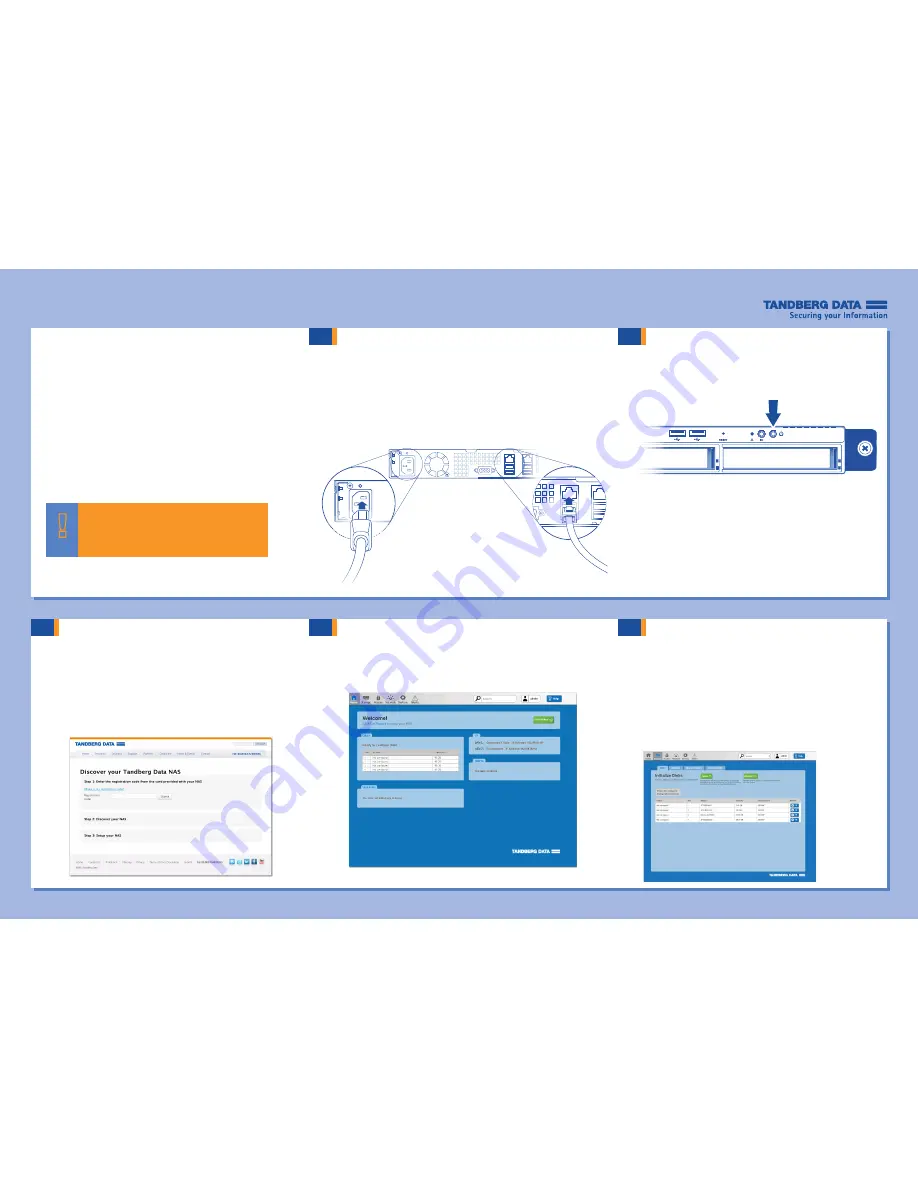
• Connect the supplied Ethernet cable to an Ethernet port on
the NAS. Connect the other end of the cable to an Ethernet
port on a switch or router.
• Connect the supplied power cable that is appropriate
for your region to the NAS. Plug the power cord into an
electrical outlet.
• From a computer on the same network as the NAS, type
http://findmynas.tandbergdata.com
in a web browser.
The NAS Discovery page opens.
Click the NAS IP address link in Step 3 of the NAS Discovery page to
launch the Tandberg Data BizNAS Information Center.
Tips for a Successful Setup
Click
Get Started
from the BizNAS Information Center Home
page to begin the NAS setup process.
Basic NAS setup involves three main steps:
1.
Configuring disks.
2.
Creating storage volumes.
3.
Creating shared folders.
• Type your NAS registration code, which is located on
the front cover of this Quick Start Guide.
• Click
Submit
.
Note:
You can add volumes and shared folders during disk configuration.


