background image

E V E R Y   C A L L   C O U N T S

  2 3

SETTING UP LINE HUNT GROUPS

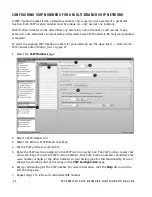
A hunt group is a set of lines that are available for making an outbound call. It can use selected 
telephone lines, all VoIP lines associated with the multi-branch VoIP network, or all VoIP lines 
associated with a service provider VoIP network.

The configuration has nine different hunt groups. If a VoIP-enabled unit is present, hunt group 88 
uses the multi-branch VoIP network by default, and the other hunt groups use telephone lines. You 
can modify these default settings as required. If you are using multiple service provider VoIP 
networks, set up a hunt group for each service provider.

A local extension can be restricted to a set of hunt groups in order to control access to VoIP 
networks. See 

Hunt group permissions

 in Chapter 2 of the 

TalkSwitch User Guide

.

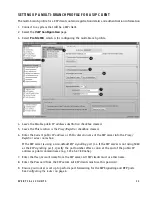
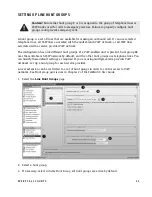
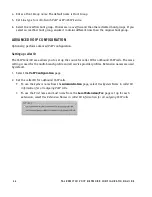
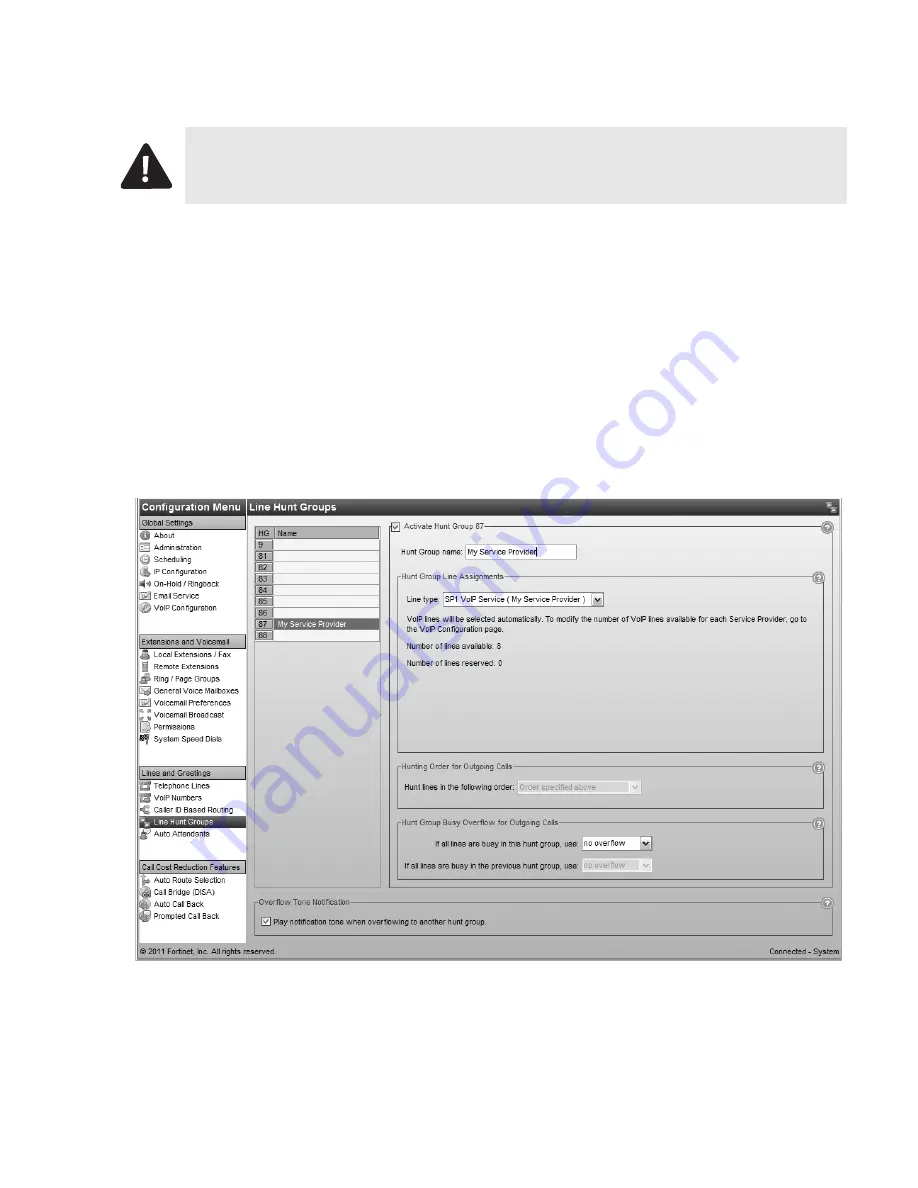
1. Select the 

Line Hunt Groups

 page. 

2. Select a hunt group.

3. If necessary, select 

Activate Hunt Group

. All hunt groups are active by default.

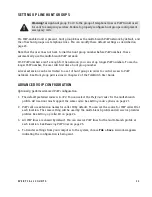
Caution! 

Ensure that hunt group 9 or 0 is assigned to the group of telephone lines or 

VoIP trunks used for calls to emergency services. Failure to properly configure hunt 
groups could prevent emergency calls.

X

Y

Z

[

\

]

Содержание Voip Network

Страница 1: ...The owner friendly phone system for small business VoIP Network Configuration Guide Release 7 10...

Страница 2: ...iManager FortiAnalyzer and TalkSwitch are registered trademarks of Fortinet Inc and other Fortinet names herein may also be registered trademarks and or common law trademarks of Fortinet Other product...

Страница 3: ...S 3 Setting the system IP settings 3 Setting the public IP address 4 CONFIGURING THE ROUTER 6 Configuring the router manually 8 EXTERNAL IP EXTENSIONS 9 MULTI BRANCH VOIP NETWORK 11 SETTING UP A MULTI...

Страница 4: ...configuration 19 Provisioning details 20 SETTING CODEC OPTIONS 21 CONFIGURING VOIP NUMBERS FOR A SERVICE PROVIDER VOIP NETWORK 22 SETTING UP LINE HUNT GROUPS 23 ADVANCED VOIP CONFIGURATION 24 Setting...

Страница 5: ...section at http global talkswitch com Documentation In addition to this guide the following documentation is available Adding IP Phones in Chapter 2 of the TalkSwitch User Guide describes configuring...

Страница 6: ...em to the LAN To ensure reliability all equipment should be connected to a UPS uninterrupted power supply Figure 1 Local and IP network setup Confirming network capacity Ensure the LAN in each locatio...

Страница 7: ...ystem IP Settings area may be blank because your router has not delivered the IP addresses If so enter the following IP addresses from your LAN administrator a Enter a static IP address for each unit...

Страница 8: ...e default setting Your ISP Internet Service Provider will assign different public IP addresses to your location The system will check its public IP address every few minutes When the public IP address...

Страница 9: ...to run on a PC connected to the same LAN as the phone system 3 If you selected Static public IP address enter the Current public IP address from your Internet Service Provider Leave the Public domain...

Страница 10: ...branch VoIP network or a VoIP service that doesn t handle port forwarding port forwarding is required If port forwarding is required and your router supports uPNP Universal Plug and Play ensure uPNP...

Страница 11: ...etup screen c Navigate to the screen used to set up port forwarding See your router documentation d Set up port forwarding using the information from the Manual Port Mapping window See your router doc...

Страница 12: ...he Manual Port Mapping Required link 3 Map the port indicated for SIP VoIP signaling If required you can map a different port Select Troubleshooting VoIP and enter the port in the SIP signalling port...

Страница 13: ...the phone system at the main office over the Internet In this example a user can receive or place a call with their external IP extension through the phone system to the standard telephone network Fig...

Страница 14: ...page b Select the external IP extension c Confirm Extension status is Registered and the phone s IP address appears in the IP Extension Details area 3 Optionally set the Time zone of the extension 4 O...

Страница 15: ...er the traditional telephone network Figure 3 Multi branch VoIP network Five VoIP numbers are assigned to San Francisco 351 to 355 and nine are assigned to New York 361 to 369 These VoIP numbers can b...

Страница 16: ...r for VoIP numbers range A range of 50 numbers is reserved for VoIP numbers in the system The range will begin with the number you put here 5 Leave the Disable public IP address substitution checkbox...

Страница 17: ...ared 6 Enter the Current public IP address or Public domain name of the SIP server into the Proxy Registrar server name box If the SIP server is using a non default SIP signalling port i e if the SIP...

Страница 18: ...for your network use the Appendix A Multi branch VoIP network administration form on page 27 1 Select the VoIP Numbers page 2 Select a VoIP number slot 3 Select the Activate VoIP Number checkbox 4 Se...

Страница 19: ...GURATION Optionally perform advanced VoIP configuration 1 The default preferred codec is G 729 You can select the Preferred codec for the multi branch profile All locations must support the same codec...

Страница 20: ...the window enables the View Registrar Entries button Clicking the button shows the Registrar Entries window with a list of VoIP numbers their IP addresses and port numbers and the number of seconds u...

Страница 21: ...ice provider VoIP network Figure 4 Service provider VoIP network To reach an outside party the user dials the hunt group number associated with the service provider profile and then dials the phone nu...

Страница 22: ...global talkswitch com to access the service configuration guide for your VoIP service provider 1 Select the VoIP Configuration page 2 Select a Profile SP 1 to SP 4 Activate profile You can set up a se...

Страница 23: ...iguration 1 Select the Activate Profile checkbox 2 Enter the Profile name The default profile name is Service provider n e g Service provider 1 3 If your service provider requires you to register usin...

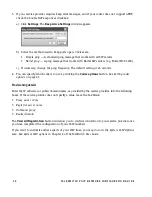
Страница 24: ...ault setting is 45 seconds 6 You can specify which codecs to use by clicking the Codec options button See Setting codec options on page 21 Provisioning details Enter the IP addresses or public domain...

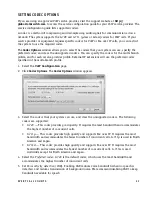
Страница 25: ...in the multi branch profile 1 Select the VoIP Configuration page 2 Click Codec Options The Codec Options window appears 3 Select the codecs that your system can use and clear the unsupported codecs Th...

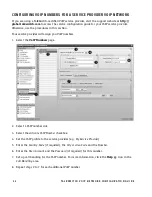
Страница 26: ...ures in this section Your service provider will assign you VoIP numbers 1 Select the VoIP Numbers page 2 Select a VoIP number slot 3 Select the Activate VoIP Number checkbox 4 Set the VoIP profile to...

Страница 27: ...ne lines You can modify these default settings as required If you are using multiple service provider VoIP networks set up a hunt group for each service provider A local extension can be restricted to...

Страница 28: ...d VoIP configuration Setting up caller ID The VoIP Caller ID area allows you to set up the source for caller ID for outbound VoIP calls The same setting is used for the multi branch profile and all se...

Страница 29: ...tees resources for a specific network Sharing VoIP lines uses them most efficiently 1 Select the VoIP Configuration page 2 Click Reserve VoIP Lines The VoIP Resource Reservation window appears 3 Selec...

Страница 30: ...w with a list of VoIP numbers their registration status and the number of seconds until their registrations with the SIP server will expire This confirms that the system is registered with a SIP serve...

Страница 31: ...ulti branch VoIP network Location of the SIP server _____________________________________________________________ Equipment at the SIP server location _________________________________________________...

Отзывы: