25
3.0
Configuring TalkSwitch
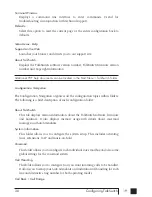
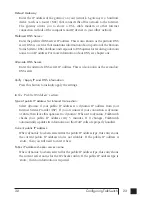
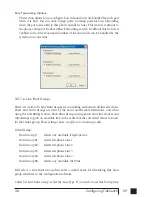
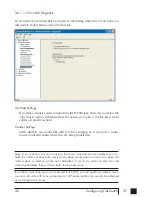
Proxy Server Location:
If this location is acting as the Proxy Server, then this information will be
automatically filled in. If this location is not the Proxy Server, then enter the IP
address or domain name associated to the Proxy Server.
Registrar Server Location:
If this location is acting as the Registrar Server, then this information will be
automatically filled in. If this location is not the Registrar Server, then enter the
IP address or domain name associated to the Registrar Server. If a TalkSwitch 48-
CVA is acting as the Server, then both the Proxy Server Location and Registrar
Server Location fields should have the same information.
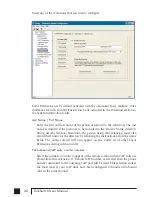
Realm:
Enter the Realm information if required for authentication with a 3rd party SIP
Server. Realm information is not required for TalkSwitch registration.
Group Name:
If this location is the Proxy/Registrar and you have enabled authentication, then
assign a group name to this unit. If this unit is not the Proxy/Registrar, then it
must have the same group name filled in if authentication is required from the
Proxy/Registrar Server.
Password:
If this location is the Proxy/Registrar and you have enabled authentication, then
assign a password to this unit. If this unit is not the Proxy/Registrar, then it must
have the same password filled in if authentication is required from the
Proxy/Registrar Server.
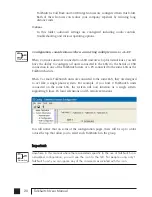
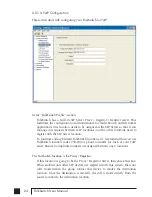
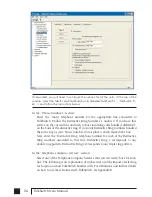
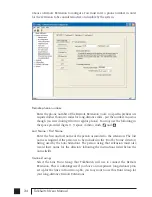
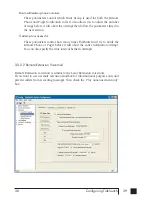
In the “Firewall / NAT Traversal” section:
TalkSwitch supports UPnP (Universal Plug n’ Play) to facilitate firewall / NAT
traversal by automatically mapping ports to itself and keeping track of the public
IP address. If a UPnP compatible firewall / NAT is detected on the LAN, then this
detection will be indicated in this section. Click the Details button for more
information.
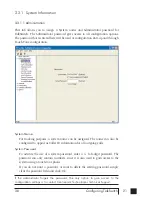
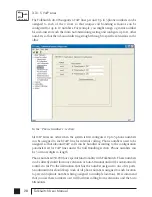
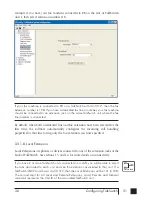
3.3.1.4 Telephone Lines
This section tells TalkSwitch about the telephone lines plugged into its back panel.
Simply select a line and fill in the information. For each line there is a status message
(“Line detected at initialization”) indicating if TalkSwitch detected a line plugged
into the associated line port. If a line is plugged into a line port and is not detected,
check your telephone line, and then choose File>Retrieve Settings to update the
screen.
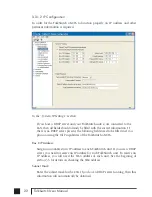
Networked
Networked
TS manual 11th ED_CVA_v11_CD_Release.qxd 7/13/2004 3:34 PM Page 25
Содержание TALKSWITCH 48-CVA
Страница 1: ...Installation and User Guide DESKTOP PHONE SYSTEM TalkSwitch 48 CVA v3 10...
Страница 109: ...101 4 0 Using TalkSwitch...
Страница 111: ......
Страница 145: ......

