


E V E R Y C A L L C O U N T S
9
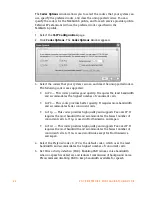
d) Set up port forwarding using the information from the
Manual Port
Mapping
window. See your router documentation for instructions on how
to map ports. For information on configuring routers and mapping ports,
visit
http://www.portforward.com/english/routers/port_forwarding/
routerindex.htm
.
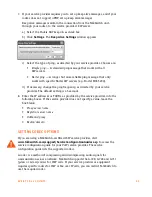
4. To check the status of each port through the firewall, click
Check Firewall
.
The
Test Firewall
window appears.
5. Select the services you want to check.
6. Click
Test Ports
. The system will check the ports for the selected services.
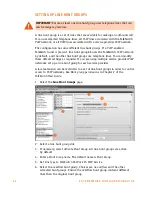
Configuring the router manually
If you cannot access the router configuration through the
IP Configuration
page,
configure the router manually.
1. Open the router configuration and navigate to the screen used to set up port
forwarding. See your router documentation.
2. Map port 5060 (Type: UDP) to the TalkSwitch unit acting as local proxy. Port
5060 is the default port for forwarding SIP signaling data to the
TalkSwitch system.
If required, you can map a different port. In this case, enter the port in the
SIP signalling port
box of the
VoIP Settings
window.