


5.2.5 Predefined Position
If the conference system is equipped with cameras, the system can carry out automatic video tracking, i.e. display the
image of the speaking participator to the display devices (large screen, TV, and so on). Predefine Position is to set the
predefined position of each microphone.
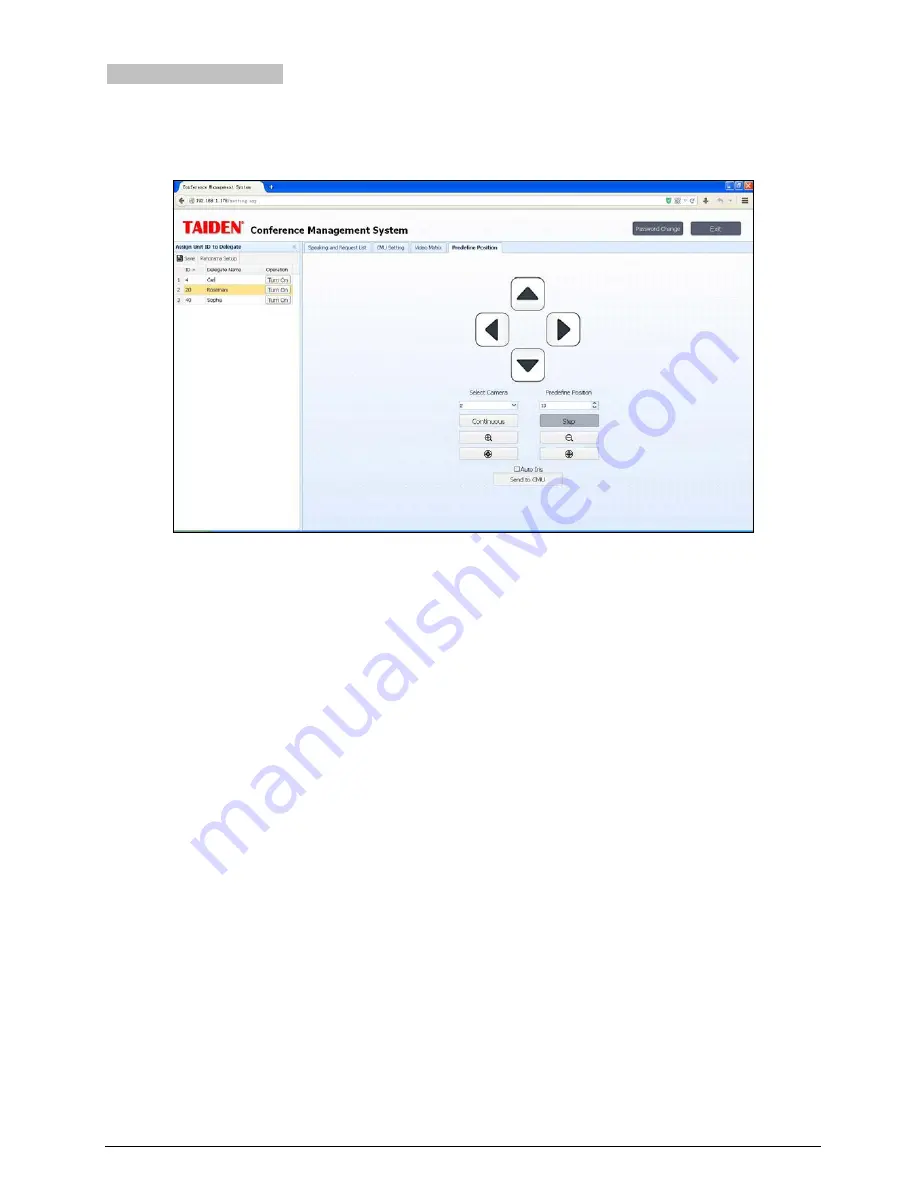
Figure 5.8 Predefine Position
Microphone predefined position setup:
1
.
Select a microphone on the speaking list, then click the “Camera Ctrl” button to open the “Predefine Position”
interface;
2
.
Select the proper camera in the Select Camera combo box (since each conference can be equipped with
multiple cameras, the operator shall select the proper camera to give the best image of each participator);
3
.
Select the predefine position number (each camera can accommodate 64 positions);
4
.
Adjust the camera angle by the four direction buttons, and click zoom in/out button to adjust the size of the
video image;
5
.
Click the “Send to CMU” button to send the current predefined position to CMU if the adjustment is done;
6
.
Repeat the above steps to set the predefined position for other seats/microphones;
7
.
Click the “Save” button on the left top side to save the setup above.
During the conference, if all microphones are configured with predefined positions, the camera will aim at the speaking
participator automatically (when video tracking setting in menu of main unit is “turn on”), i.e. automatic video tracking.
Note:
If the camera with auto iris, you can select the “Auto Iris” that is applied for all predefined positions. If “Auto Iris” option is
checked, then all predefined positions will use auto iris; if not checked, the iris for each predefined position can be
adjusted and saved respectively.
Panorama setup:
select proper camera and predefine position number, then adjust the camera angle by the four
direction buttons, and click zoom in/out button to adjust the size of the video image, then click the “Send to CMU”
button to sand the panorama to CMU if the adjustment is done, at last, click the “Save” button on the left top side to
save the setup.
39
Содержание HCS-3938C
Страница 57: ...Appendix Dedicated 6 PIN Extension Cable 49...


