Important: Use only the supplied USB cable for charging your OPS or OPS HD cameras. Others may not
work and may harm your camera.
Inserting Memory Card
•
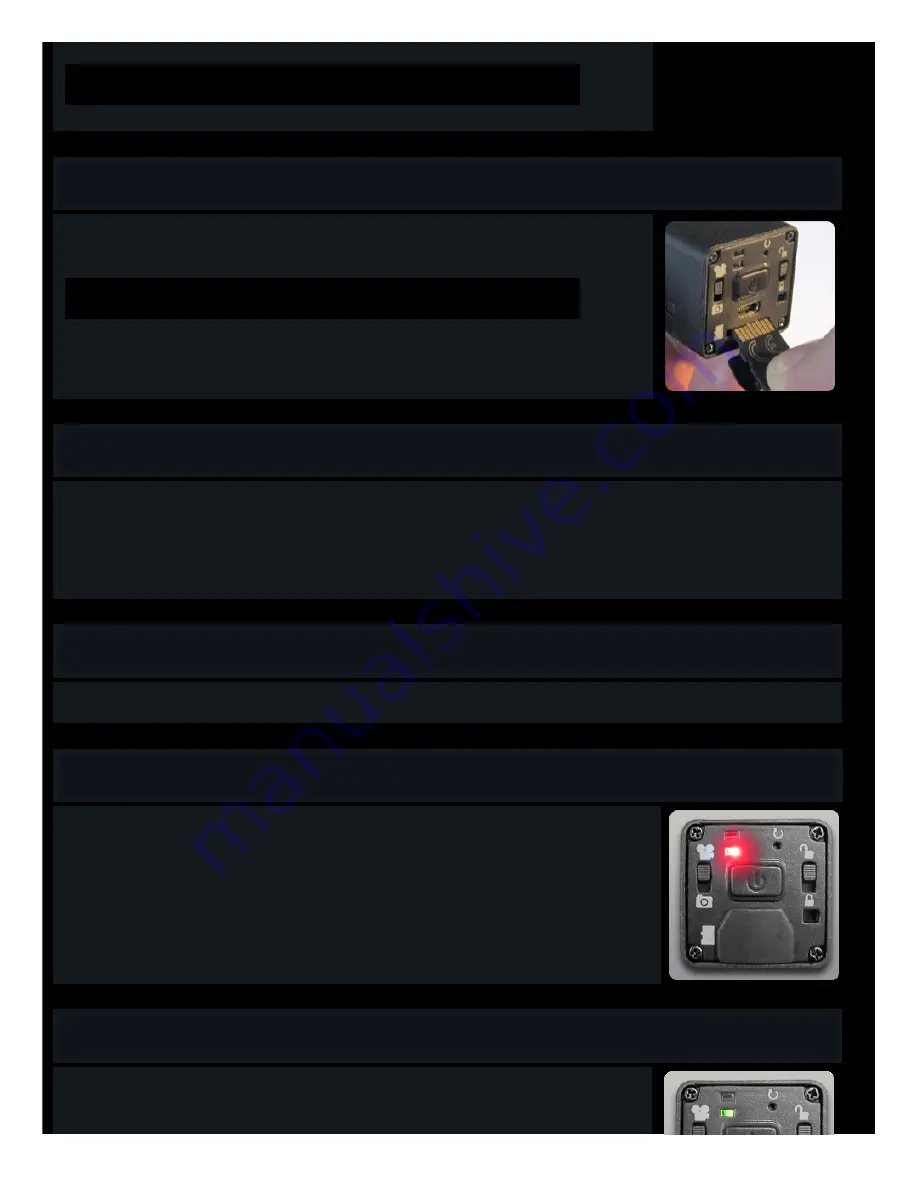
On the back of the camera is a small rubber flap. Pull this down to reveal the USB jack and the micro memory card slot.
•
Insert a micro memory card into the slot. Be sure the gold leads are facing up.
Be sure that the memory card clicks into place. You may need to use your fingernail to push it in far
enough to lock it into place.
Recording Video
•
Once your battery has been charged and a micro memory card inserted, turn on your camera by pushing the power button for about two seconds.
•
You will hear a chime sound and see the green LED light up, quickly followed by the red.
•
That’s it! You have begun shooting video!
•
To stop filming, push and hold down the power button again. You will hear a double beep sound and the red LED will turn off.
Video - Photo Switch
•
Change recording modes from Video to Photo (Time-Lapse) by sliding the switch on the left to the desired position.
Video
•
For video, make sure the switch on the left is in the UP position.
•
Your camera will record video at 30 FPS. The OPS will record in Standard Definition, and the OPS HD in High Definition.
•
After you have been recording for 30 minutes, your camera will pause for five seconds to save your file to your memory card. But
don’t worry; it will automatically start up again after those five seconds.
•
You may edit your video files with most common video editing programs.
•
A 4GB Micro Memory card will hold just over one hour of video. Larger cards will hold multiples of that amount.
Time-Lapse Photos
•
To shoot time-lapse photos, slide the left switch down to the PHOTO position.
•
Now press the power button in the middle for about two seconds. There will be a chime sound and the LED will flash alternately
Green and Red to show that you are now taking photos - one photo every two seconds.
Содержание OPS
Страница 8: ......


