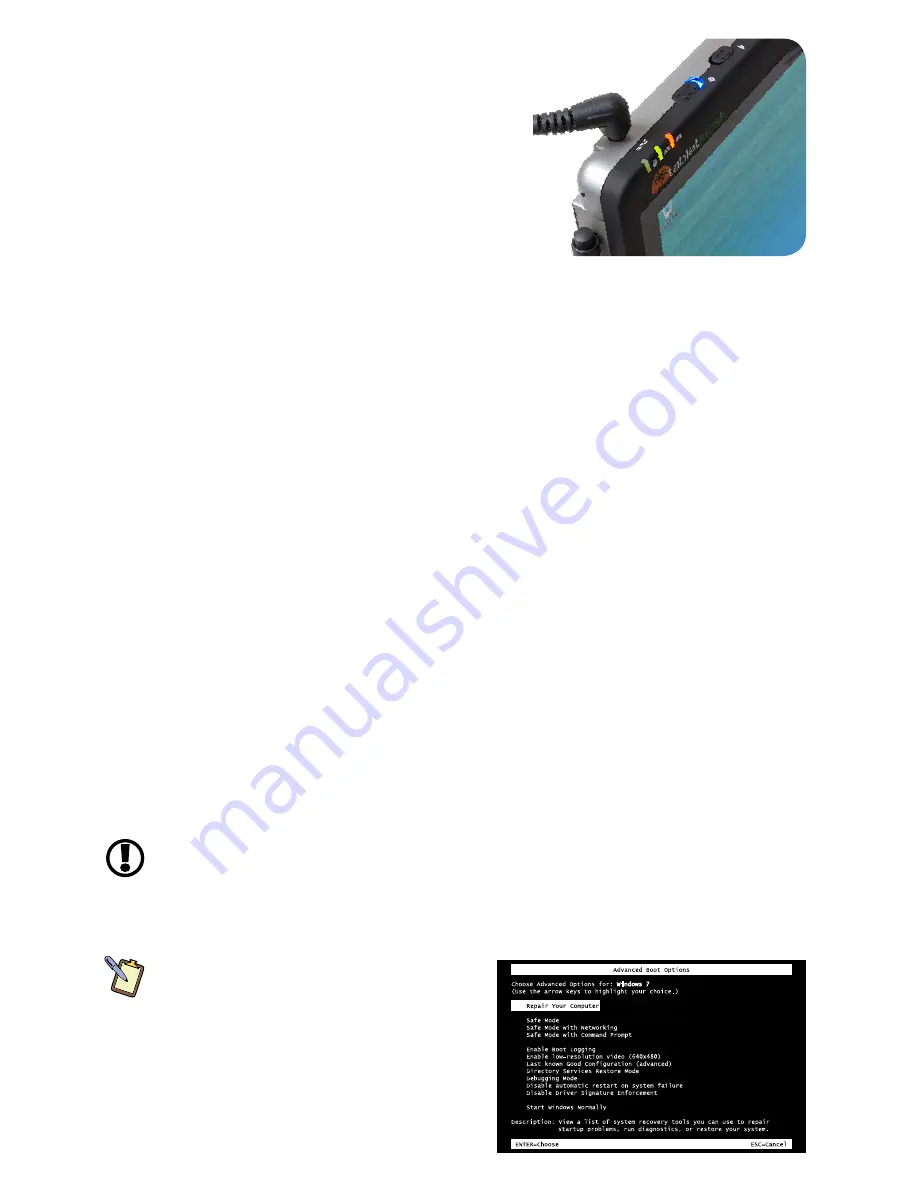
On the front of the Sahara NetSlate are two battery
status indicators just above the TabletKiosk logo. These
indicators will track the charging status of the two
Lithium-Ion battery packs located on the back of the
Tablet PC.
Partially discharged batteries will cause the indicators
to glow orange when attached to an external power
source. When each battery is fully charged, its
corresponding LED indicator will turn green. Make sure
both indicators are green before running the system
on battery power for the first time.
Battery Usage
Running your system plugged in all the time, or conversely, until the batteries are almost totally
drained on a regular basis is not recommended as they can damage the battery’s ability to hold
a charge.
In general, running the system until both battery indicators are blinking, typically this is when
the batteries are down to just below 10% charged, and then fully charging the batteries (full
discharge/charge cycle) will ensure the accuracy of the battery status gauges and prolong the
batteries' charge efficiency.
You do not need to plug in the system when only one of the battery indicators are blinking, as
the other battery may have plenty of charge remaining. Generally, waiting until they are both
blinking before charging is preferred.
When there is only one minute of battery charge remaining, the computer will suspend its
current state to the hard drive and power off (hibernate) to prevent data loss. To resume your
work, either swap in charged batteries or plug in the AC adapter and turn the system back on.
Restoring Your System Using the System Recovery Partition
There may be times where you’ll encounter errors that may prevent you from booting into
Windows normally. Your Sahara NetSlate has a hidden partition on the data storage drive that
contains the files you’ll need to restore your system.
This recovery system uses Windows Recovery and enables you to restore the operating system
to a previous state in time, reinstall the operating system without losing your previous settings
or documents, or reinstall your system without saving your documents or settings.
IMPORTANT:
You will need to have a mouse and/or keyboard with standard F1-F12 function keys
attached to your system in order to launch and navigate both the Advanced Boot Options menu and the
Windows Recovery System.
You enter into Windows Recovery through the Advanced Boot Options menu by hitting the [F8]
key on your keyboard when your Sahara NetSlate first starts up.
NOTE:
The easiest way to enter the Advanced Boot
Menu is by repeatedly pressing the [F8] key as soon as
you see the TabletKiosk logo screen and not stopping
until the Advanced Boot Options menu screen appears.
1.
When the Advanced Boot Options menu
appears, select “Repair Your Computer” and
press [Enter] to launch Windows Recovery.
2.
When the recovery system starts, choose
your preferred keyboard language.
The battery indicators will turn green when
their corresponding battery is fully charged.
Partially charged batteries will glow orange.


