


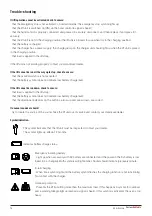


Maintenance
The lift must undergo thorough inspection at least once per year. Inspection must be performed by authorized personnel
and in accordance with Handicare’s service manual.
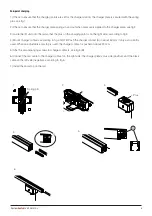
Repairs and maintenance may only be done by authorized personnel using original spare parts.
Spent batteries are to be left at the nearest recycling station. Spent batteries can also be returned to
Handicare or a Handicare dealer for recycling.
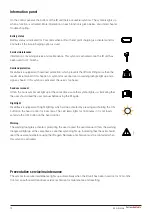
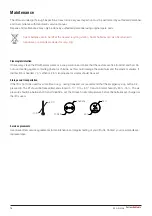
+50 ºC
-10 ºC
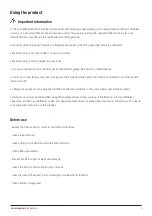
Cleaning/disinfection
If necessary, clean the lift with warm water or a soap solution and check that the castors are free from dirt and hair. Do
not use cleaning agents containing phenol or chlorine, as this could damage the aluminium and the plastic materials. If
disinfection is needed, 70 % ethanol, 45 % isopropanol or similar should be used.
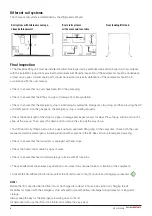
Storage and transportation
If the lift is not to be used for some time or e.g., during transport, we recommend that the emergency stop button be
pressed in. The lift should be transported and stored in -10 ° C to + 50 ° C and in normal humidity, 30% -75 %. The air
pressure should be between 700 and 1060 hPa. Let the lift reach room temperature before the batteries are charged or
the lift is used.
Service agreements
Handicare offers service agreements for maintenance and regular testing of your lift unit. Contact your local Handicare
representative.
106 kPa
70 kPa
75%
30%
1060 hPa
700 hPa
+50 °C
-10 °C
75%
30%
16
M A N U A L System
RoMedic
TM
Содержание 50100052
Страница 19: ...19 M A N U A L SystemRoMedic TM...


