


Tools and Parts for Drive Installation
• A screwdriver (only for 2.5” drives)
• At least one 3.5” or 2.5” SATA drive (please visit
Warning:
If you install a drive that contains data, the system will format the drive and erase all existing data. Please
back up any important data before installation.
Install Drives
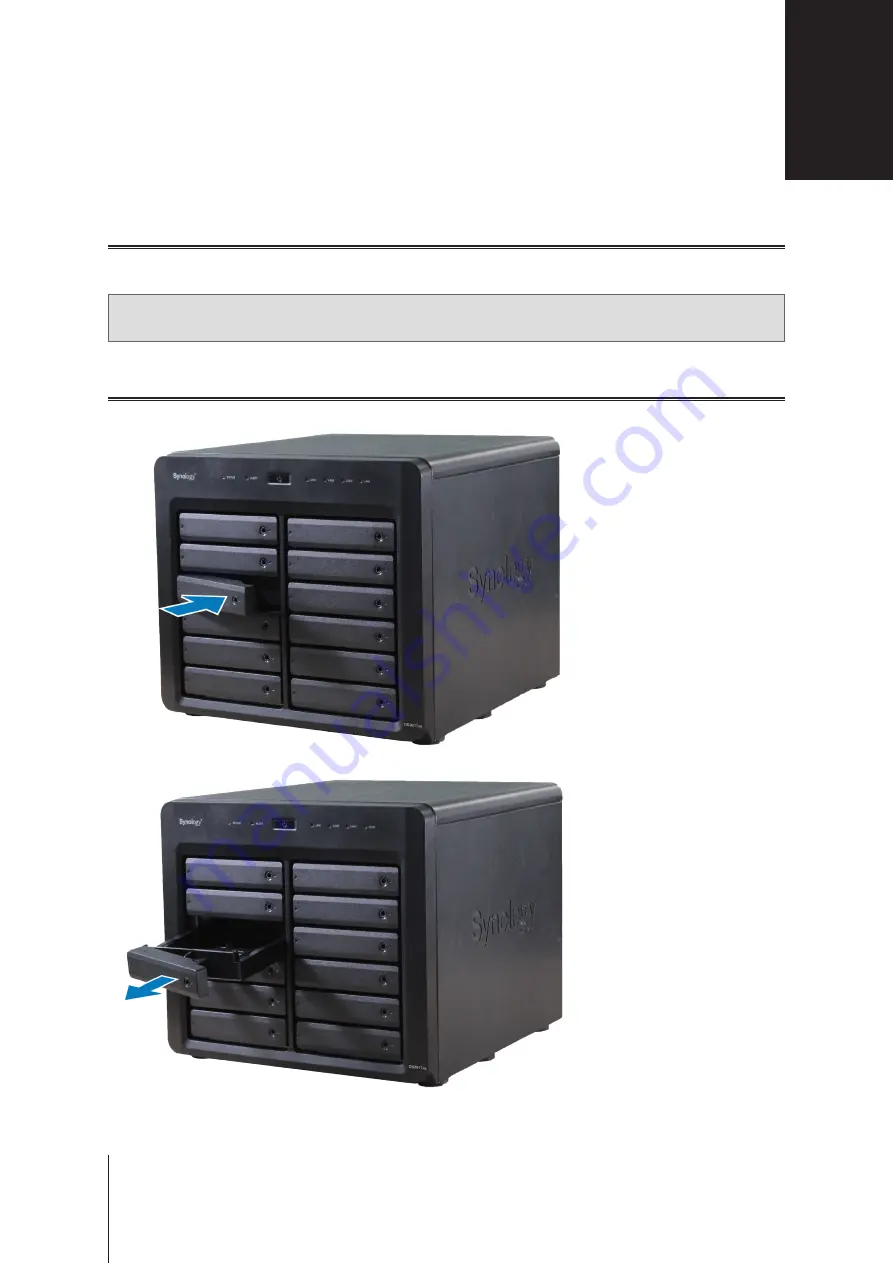
1
Press the right part of a drive tray to pop out the handle.
2
Pull the drive tray handle in the direction as illustrated below to remove the drive tray.
Hardware Setup
6
2
Chapter


