


-----------------------------------------------------------------------------------------------------------------------------------------
12
/
26
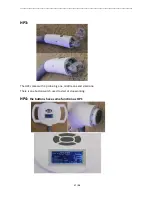
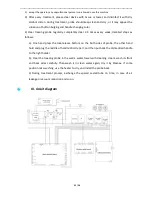
V. Installation of HP
1.
Connection parts from left to right for : 2. Put HP into connection part directly,
HP1,HP2, HP3, HP4 no need to press “yellow button”.
3 . All HP comes with label “HPX” 4. press“ yellow button ” and then
match with each number take off
VI. Installation of spare parts
Located in lower part of the machine
with labels
Insert spare parts to connection
part as below
Содержание VelaShape Plus
Страница 1: ... 1 26 Body contouring multi functional system Model VS USER MANUAL ...
Страница 10: ... 10 26 II Accessories ...
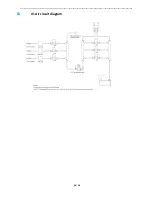
Страница 26: ... 26 26 IV Air circuit diagram ...


