– 45 –
EN
01A11
AUDIO SETTINGS
Choose the appropriate Audio settings for your equip-
ment as it only affects during the playback of DVD
discs.
1
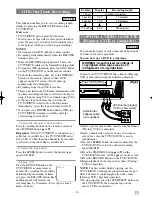
Press the SETUP button twice in STOP mode
so that the DVD SETUP menu appears.
¡
If the menu does not appear, press the PLAY button,
the STOP button, then the SETUP button twice.
2
Press the Arrow button
L
to select “CUS-
TOM”, then press the ENTER button.
¡
CUSTOM mode will appear.
3
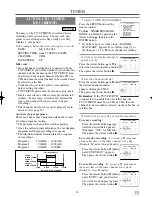
Press the Arrow button (
K
/
L
) to select
“AUDIO”, then press the ENTER button to
confirm.
4
Press the Arrow button (
K
/
L
) to select the
below items, then press the ENTER buttons.
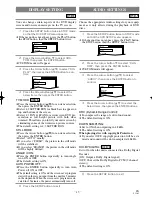
DRC (Dynamic Range Control):
¡
To compress the range of soft to loud sound.
¡
The default setting is ON.
DOWN SAMPLING:
¡
Set to ON when outputting in 48 kHz.
¡
The default setting is ON.
When playing disc with copyright Protection
¡
If you select OFF, copyright protection will be acti-
vated and sound will be down sampled at 48kHz.
DOLBY DIGITAL:
Set to On when the unit is connected to a Dolby Digital
Decoder.
(ON: Output a Dolby Digital signal)
(OFF: Convert the Dolby Digital to PCM (2 channel
stereo))
¡
The default setting is ON.
5
Press the SETUP button to exit.
QUICK
DVD-V
SETUP
CUSTOM
LANGUAGE
DISPLAY
AUDIO
PARENTAL
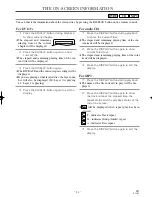
You can change certain aspects of the DVD display
screens and on-screen messages on the TV screen.
1
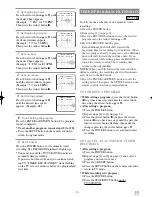
Press the SETUP button twice in STOP mode
so that the DVD SETUP menu appears.
¡
If the menu does not appear, press the PLAY button,
the STOP button, then the SETUP button twice.
2
Press the Arrow button
L
to select CUS-
TOM, then press the ENTER button.
¡
CUSTOM mode will appear.
3
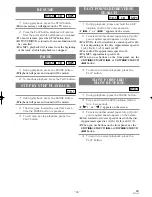
Press the Arrow button (
K
/
L
) to select “DIS-
PLAY”, then press the ENTER button to con-
firm.
4
Press the Arrow button (
K
/
L
) to select the
below items, then press the ENTER button.
TV MODE:
¡
Press the Arrow button (
K
/
L
) for an item selection,
then press the ENTER button.
¡
Select 4:3 LETTER BOX for black bars to appear on
top and bottom of the screen.
¡
Select 4:3 PAN & SCAN for a widescreen DVD pre-
sentation as full height picture with both sides
trimmed. This allows you to fill your entire screen by
eliminating some of the widescreen picture content.
¡
The default setting is 4:3 LETTER BOX.
STILL MODE:
¡
Press the Arrow button (
K
/
L
) for an item selection,
then press the ENTER button.
¡
Select “AUTO” usually.
¡
If you select “FIELD”, the picture in the still mode
will be stabilized.
¡
If you select “FRAME”, the picture in the still mode
will be highly defined.
ANGLE ICON:
¡
Press the ENTER button repeatedly to turn Angle
icon ON or OFF.
¡
The default setting is ON.
AUTO POWER OFF:
¡
Press the ENTER button repeatedly to turn Auto
Power off ON or OFF.
¡
The default setting is ON and the screen saver program
starts when there is no input from the unit for 5 minutes
in the stop mode. When the screen saver program is acti-
vated for 15 minutes, the power automatically turns off.
5
Press the SETUP button to exit.
QUICK
DVD-V
DISPLAY SETTING
SETUP
CUSTOM
LANGUAGE
DISPLAY
AUDIO
PARENTAL
SETUP
QUICK
CUSTOM
INITIALIZE
SETUP
QUICK
CUSTOM
INITIALIZE
T1055UF_EN(P36-52).QX3 04.6.3 2:46 PM Page 45

