background image

2 2

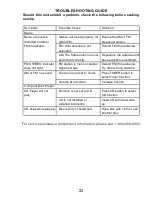
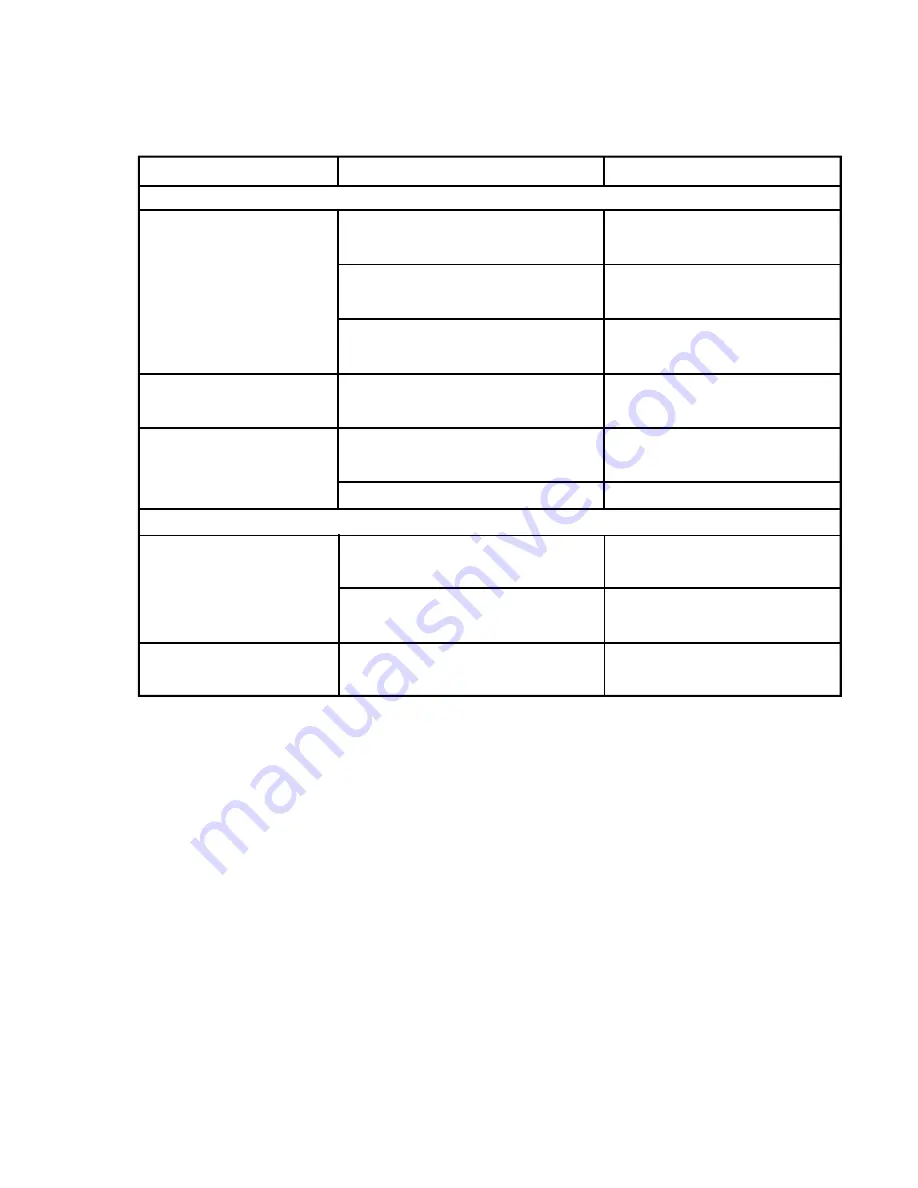
TROUBLESHOOTING GUIDE

Should this unit exhibit a problem, check the following before seeking
service.

Symptom

Possible Cause

Solution

Radio

Noise or 

sound is

Station not tuned properly   for

Retune  the  AM  or  FM

distorted  on  AM  or

AM  or  FM.

broadcast  station.

FM  broadcasts.

FM:  Wire  antenna  is  not

Extend  FM  Wire  antenna.

extended.

AM:  The 

frame


antenna  is  not

Reposition  the 

antenna

  until

positioned  correctly.

best  reception  is  obtained.

FM  STEREO  indicator

FM  station  is  mono  or  station

Extend  FM  Wire  antenna.

does  not  light.

signal  is  weak.

Try  other  strong  stations.

AM  or  FM,  no  sound.

Function  is  not  set  to  Tuner.

Press  TUNER  button  to

select  Tuner  function.

Volume  at  minimum.

Increase  Volume.

Compact  Disc  Player

CD  Player  will  not

Function  is  not  set  to  CD.

Press  CD  button  to  select

play.

CD  function.

CD  is  not  installed  or

Insert  CD  with  Iabel  side

installed  incorrectly.

up.

CD  skips  while  playing.

Disc  is  dirty  or  scratched.

Wipe  disc  with  cloth  or  use

another  disc.

For service assistance and product information, please call: 1-800-968-9853.

Содержание SRCD3830

Страница 1: ...INSTRUCTION MANUAL SRCD3830 ...

Страница 2: ... s instruc tions 8 Do not install near any heat sources such as radiators heat registers stoves or other app aratus including amplifiers that produce heat 9 Do not defeat the safety purpose of the polarized or grounding type plug Apolarized plug h as two blades with one wider than the other Agrounding type plug has two blades and a thir d grounding prong The wide blade or the third prong are provi...

Страница 3: ...o Part 15 of the FCC Rules These limits are designed to provide reasonable protection against harmful interference in a residential installation This equipment generates uses and can radiate radio frequency energy and if not installed and used in accordance with the instructions may cause harmful interference to radio communications However there is no guarantee that interference will not occur in...

Страница 4: ... becomes necessary to return your unit for service This is the only sure way to protect the unit from damage in transit Remove any small strips of tape that may have been used to prevent the CD door from opening in transit Unwind the lead wire FM antenna on the back of the unit and extend it to its full length The unit is shipped with a dummy CD display card in the CD player This dummy CD card mus...

Страница 5: ... AC Operation 1 Unwind the AC Power Cord completely 2 Insert the plug into any convenient 120V 60Hz AC outlet AC Plug AC Outlet PROTECT YOUR FURNITURE This model is equipped with non skid rubber feet to prevent the product from moving when you operate the controls These feet are made from non migrating rubber material specially formulated to avoid leaving any marks or stains on your furniture Howe...

Страница 6: ...utton 10 CD Button 11 VOLUME Knob 12 MUTE Button 13 CD OPEN Button 14 Skip Backward Button 15 STOP BAND Button 16 Skip Forward Button 17 PLAY PAUSE Button 1 2 3 4 5 6 7 8 9 10 11 12 13 1 POWER Button 2 VOLUME Button 3 Preset Equalizer Button 4 BAND STOP Button 5 PLAY PAUSE Button 6 RANDOM Button 7 SLEEP Buton 8 TIMER Button 9 FUNCTION Button 10 M UP REPEAT Button 11 MEMORY CLOCK Button 12 SKIP For...

Страница 7: ...Remote Sensor may be degraded causing unreliable operation The maximum effective distance for remote control operation is about 15 feet BATTERY PRECAUTIONS Follow these precautions when using batteries in this device 1 Use only the size and type of batteries specified 2 Be sure to follow the correct polarity when installing the batteries as indicated in the battery compartment Reversed batteries m...

Страница 8: ... Electronic Equalizer that allows you to adjust the tone output for the most popular types of music The settings are CLASSIC ROCK POP To change the EQ setting press the EQ button on the front panel or on the remote control until the desired setting appears in the main display MUTE Button To temporarily shut off the sound from the speakers press the MUTE button The MUTE indicator will appear in the...

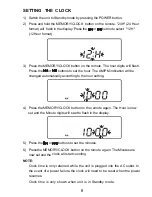
Страница 9: ...on will be 4 Press the MEMORY CLOCK button on the remote again The Hour is now set and the Minute digits will start to flash in the display 5 Press the or buttons to set the minutes 6 Press the MEMORY CLOCK button on the remote again The Minutes are now set and the clock will start counting NOTE Clock time is only retained while the unit is plugged into the AC outlet In the event of a power failur...

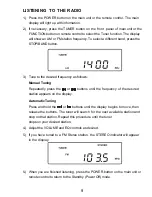
Страница 10: ...al Tuning Repeatedly press the or buttons until the frequency of the desired station appears on the display Automatic Tuning Press and hold the or buttons until the display begins to move then release the buttons The tuner will search for the next available station and stop on that station Repeat this procedure until the tuner stops on your desired station 4 Adjust the VOLUME and EQ controls as de...

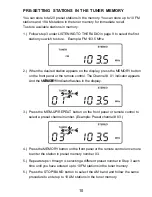
Страница 11: ...l or the remote control The Channel 01 indicator appears And the MEMORY M EMORY Indicator flashes in the display 3 Press the MEM UP REPEAT button on the front panel or remote control to select a preset channel number Example Preset channel 03 4 Press the MEMORY button on the front panel or the remote control once more to enter the station in preset memory number 03 5 Repeat steps 1 through 4 selec...

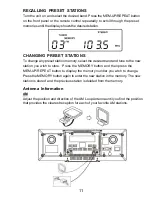
Страница 12: ...t the desired band and tune to the new station you wish to store Press the MEMORY button and then press the MEM UP REPEAT button to display the memory number you wish to change Press the MEMORY button again to enter the new station in the memory The new station is stored and the previous station is deleted from the memory Antenna Information AM Adjust the position and direction of the AM Loop Ante...

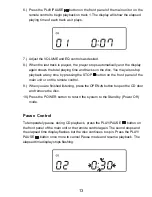
Страница 13: ...o open the CD door The main display will show If you have not already done so remove the dummy CD from the player and discard it 4 Place a CD properly seated on the center spindle with the printed label side facing upward Gently press down on the disc near the center to make sure that it is properly seated on the spindle 5 Close the CD door The disc will spin and 0000 00 will flash in the display ...

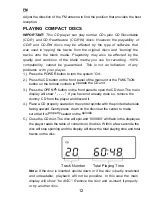
Страница 14: ...time by pressing the STOP button on the front panel of the main unit or on the remote control 9 When you are finished listening press the OPEN button to open the CD door and remove the disc 10 Press the POWER button to return the system to the Standby Power Off mode Pause Control To temperately pause during CD playback press the PLAY PAUSE button on the front panel of the main unit or the remote c...

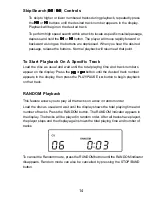
Страница 15: ...til the total playing time and track numbers appear on the display Press the or button until the desired track number appears in the display then press the PLAY PAUSE button to begin playback on that track RANDOM Playback This feature allows you to play all the tracks on a disc in random order Load the disc as usual and wait until the display shows the total playing time and number of tracks Press...

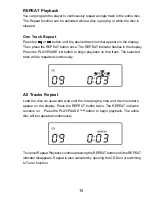
Страница 16: ...y Press the PLAY PAUSE button to begin playback on that track The selected track will be repeated continuously All Tracks Repeat Load the disc as usual and wait until the total playing time and track numbers appear on the display Press the REPEAT button twice The REPEAT indicator remains on Press the PLAY PAUSE button to begin playback The entire disc will be repeated continuously To cancel Repeat...

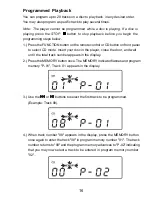
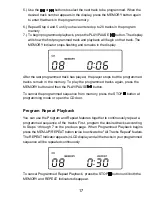
Страница 17: ... select CD mode Insert your disc in the player close the door and wait until the total track number appears in the display 2 Press the MEMORY button once The MEMORY Indicator flashes and program memory P 01 Track 01 appears in the display 3 Use the or buttons to select the first track to be programmed Example Track 08 4 When track number 08 appears in the display press the MEMORY button once again...

Страница 18: ...in the memory To play the programmed tracks again press the MEMORY button and then the PLAY PAUSE button To cancel the programmed sequence from memory press the STOP button at programming mode or open the CD door Program Repeat Playback You can use the Program and Repeat features together to continuously repeat a programmed sequence of the tracks First program the desired tracks according to Steps...

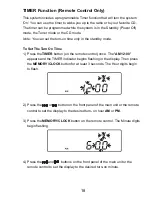
Страница 19: ... 1 Press the TIMER button on the remote control once The AM 12 00 appears and the TIMER indicator begins flashing in the display Then press the MEMORY CLOCK button for at least 3 seconds The Hour digits begin to flash 2 Press the or button on the front panel of the main unit or the remote control to set the display to the desired turn on hour AM or PM 3 Press the MEMORY CLOCK button on the remote ...

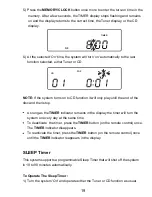
Страница 20: ...end of the disc and then stop TIMER TIMER CD POP As long as the TIMER indicator remains in the display the timer will turn the system on every day at the same time To deactivate the timer press the TIMER button on the remote control once The TIMER indicator disappears To reactivate the timer press the TIMER button on the remote control once until the TIMER indicator reappears in the display This s...

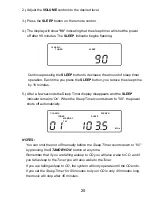
Страница 21: ...isappears and the SLEEP indicator remains On When the Sleep Timer counts down to 00 the power shuts off automatically NOTES You can shut the unit off manually before the Sleep Timer counts down to 00 by pressing the STANDBY ON button at any time Remember that if you are falling asleep to CD you will also wake to CD and if you fall asleep to the Tuner you will also wake to theTuner If you are falli...

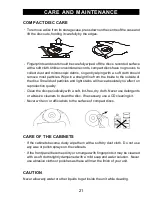
Страница 22: ...utely no effect on reproduction quality Clean the disc periodically with a soft lint free dry cloth Never use detergents or abrasive cleaners to clean the disc If necessary use a CD cleaning kit Never write on or affix labels to the surface of compact discs CARE OF THE CABINETS If the cabinets become dusty wipe them with a soft dry dust cloth Do not use any wax or polish sprays on the cabinets If ...

Страница 23: ...ion is obtained FM STEREO indicator FM station is mono or station Extend FM Wire antenna does not light signal is weak Try other strong stations AM or FM no sound Function is not set to Tuner Press TUNER button to select Tuner function Volume at minimum Increase Volume Compact Disc Player CD Player will not Function is not set to CD Press CD button to select play CD function CD is not installed or...

Отзывы: