


4
2.3 Button of re
m
ote control manual
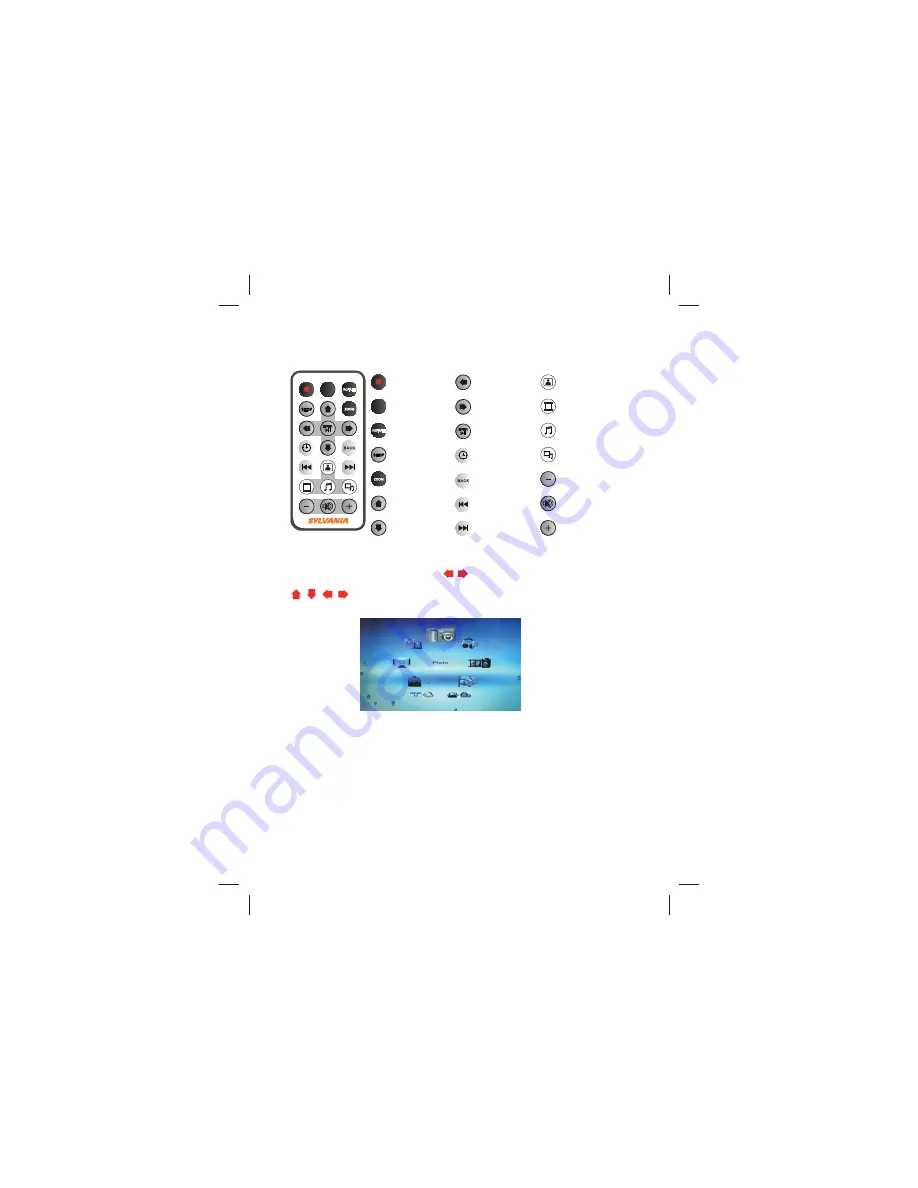
:CLOCK button
:BACK button
:PREV button
:PHOTO button
:MOVIE button
:MUSIC button
:PHOTO+MUSIC
button
:VOL - button
:MUTE button
:VOL + button
:NEXT button
:REPEAT button
:ROTATE button
:SETUP button
:ZOOM button
:UP button
:DOWN button
:Power button
:LEFT/ Fast
Rewind button
:RIGH/ Fast
Forword button
:ENTER/ PLAY
PAUSE button
3. System Settings
Select
【
Setup
】
from the main menu, press the ENTER button,
and you will enter the settings mode. In addition, under other
function modes, you can also enter the settings mode by pressing
the SETUP button. The following illustration shows the initial screen
in the settings mode, and in the following section we will introduce
the various functions of the settings mode.
REPEAT
REPEAT
2.4 Function: main menu
Boot directly to the main menu, Press enter to choose the default
photo function,Then press the
button to choose the storage
devices and play photo, in main menu, The user also can press the
to choose other function such as music,video etc,then
choose storage devices and play.


