Design and specifications are subject to change without notice.
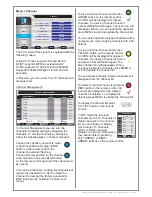
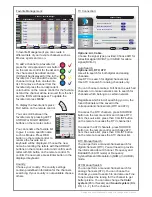
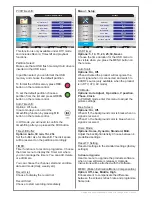
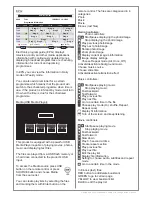
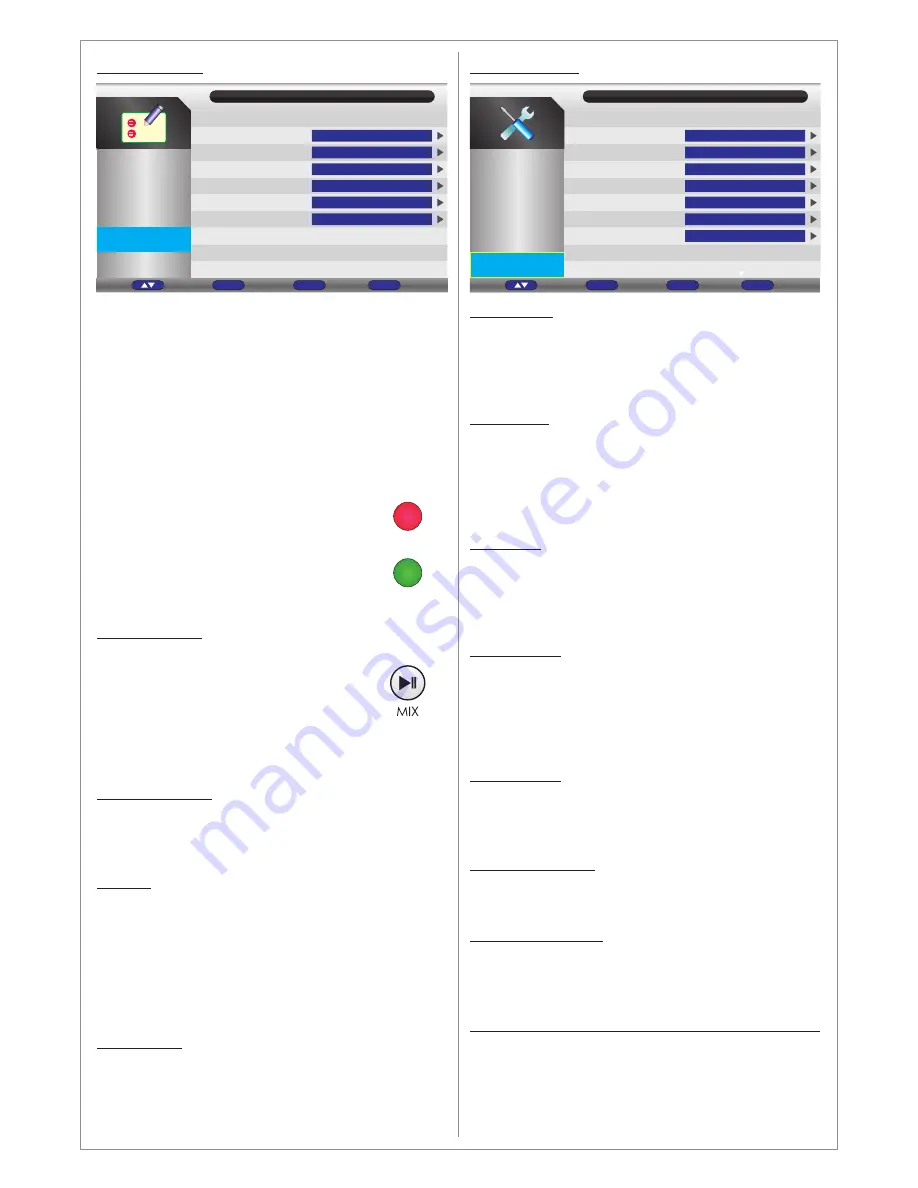
PVR/Timeshift:
Auto Timeshift:
Timeshift Buffer:
TIMER:
Record List:
This function is only available under DTV mode
and includes Record, Timeshift and playback
functions.
Partition Select:
Make sure that a USB flash memory/Hard drive is
inserted in the USB input.
In partition select you can format the USB
memory and choose the default partition.
To format the USB memory press RED
button on the remote control.
To set the default partition choose a
partition from the list and press GREEN
button on the remote control.
Options: Off, Auto.
In auto mode you can start the
timeshifting function by pressing MIX
button on the remote control.
In Off mode you will need to confirm the
timeshifting after you pressed the MIX button.
Set the buffer size for timeshift. The disk space
will be reserved on the partition accordingly.
Timer function is to record a programme. Choose
the timer menu to display the Timer List where
you can manage the timers. You can add, delete
or edit timers.
You can choose the channel, start and end time,
date and mode (daily, weekly etc)
Choose to display the record list
Record Start
Choose to start recording immediately.
Options: Auto, 30 min, 1hr, 2hr.
Feature - PVR/Timeshift
Picture
Channel
Feature
Partition Select
Auto Timeshift
Timeshift Buffer
Timer
Record List
Record Start
ENTER
Auto
Auto
ENTER
ENTER
ENTER
Sound
Return
Menu
Exit
Exit
Enter
Ok
Move
Setup
Menu > Setup
:
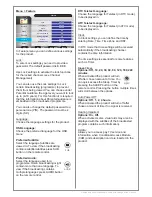
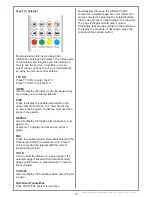
OSD Timer:
Auto Scart:
PC Mode:
Blue Screen:
Home Mode:
Reset TV Setting:
Software Upgrade:
MEMC (Motion Estimation/Motion Compensation)
Options: 5, 10, 15, 20, 25, 30, Never.
Options: On, Off.
Options: Auto Adjust, H position, V position,
Phase, Clock.
Options: On, Off.
Options: Home, Dynamic, Standard, Mild.
Option: Off, Low, Middle, High.
Choose the time duration for the OSD menu to
be visible when you press the MENU button on
the remote.
When activated the product will recognize the
scart signal when it is connected and switch to
SCART source (only available when the product
is in DTV, ATV, AV mode)
In PC-RGB mode enter this menu to adjust the
picture settings.
When Off, the background color is black when no
signal is received.
When On, the background color is blue when no
signal is received.
Adjust the backlight intensity. Choose between 4
predefined settings.
Reset all settings to the standard settings (factory
settings).
Use this menu to upgrade the products software
when a new software is released. Upgrade
Instructions will be attached with the software.
Enhancement to compensate the difference
between the screens refresh rate and programme
frame rate.
Settings
Picture
Sound
Channel
Feature
OSD Timer
Auto SCART
PC Setup
Blue Screen
Home Mode
Reset TV Settings
Software Upgrade
Never
On
Enter
On
Dynamic
Enter
Enter
Setup
Return
Menu
Exit
Exit
Enter
Ok
Move


