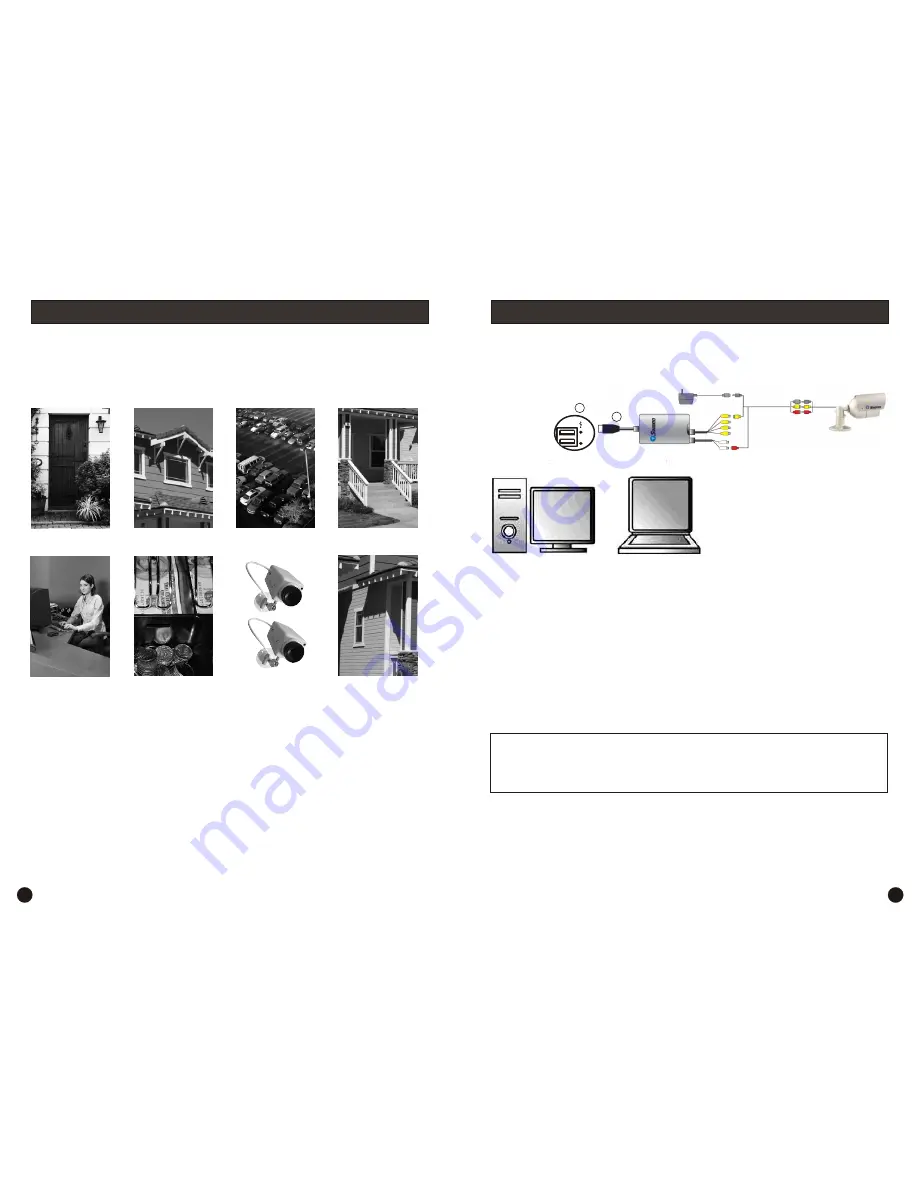
Step 1
: Hardware Installation
Plug in to a spare USB port
on your PC.
1. Doorways
5. Reception
areas
6. Cash
register
7. Mix
dummies
& real
cameras
8. Under
eaves
2. Windows
3. Car Parks
4. Verandahs
You should position your cameras to cover the areas most exposed to risk. See our
suggestions below for some ideas:
Take note that some cameras will require waterproof housing to protect it from the
Tips for situating your cameras
To help guide you through the process of setting up the Swann USB 2.0 DVR Guardian,
we have outlined the steps and numbered each of the components required in the diagram
below.
Follow these steps to install the Swann USB 2.0 DVR Guardian hardware.
Step 1.1.
Firstly make sure your computer is turned ON and you are logged into an
account with Administrator privileges to install software.
Step 1.2.
Remove the USB DVR Guardian from the pack and locate the USB A plug (1).
Step 1.3.
Connect the USB A plug (1) into a spare USB port (2) on your PC.
IMPORTANT: It is highly recommended that this device is plugged into an onboard
USB port, and not a USB hub or add-on port.
* Camera is not included.
3
6
IMPORTANT:
Your Swann USB 2.0 DVR Guardian will be automatically detected by
your PC, click “Cancel” or press the “Esc” key on your keyboard to exit the “Found new
2
1
To see a complete range of security solutions, please visit www.swannsecurity.com


