Back to top
33
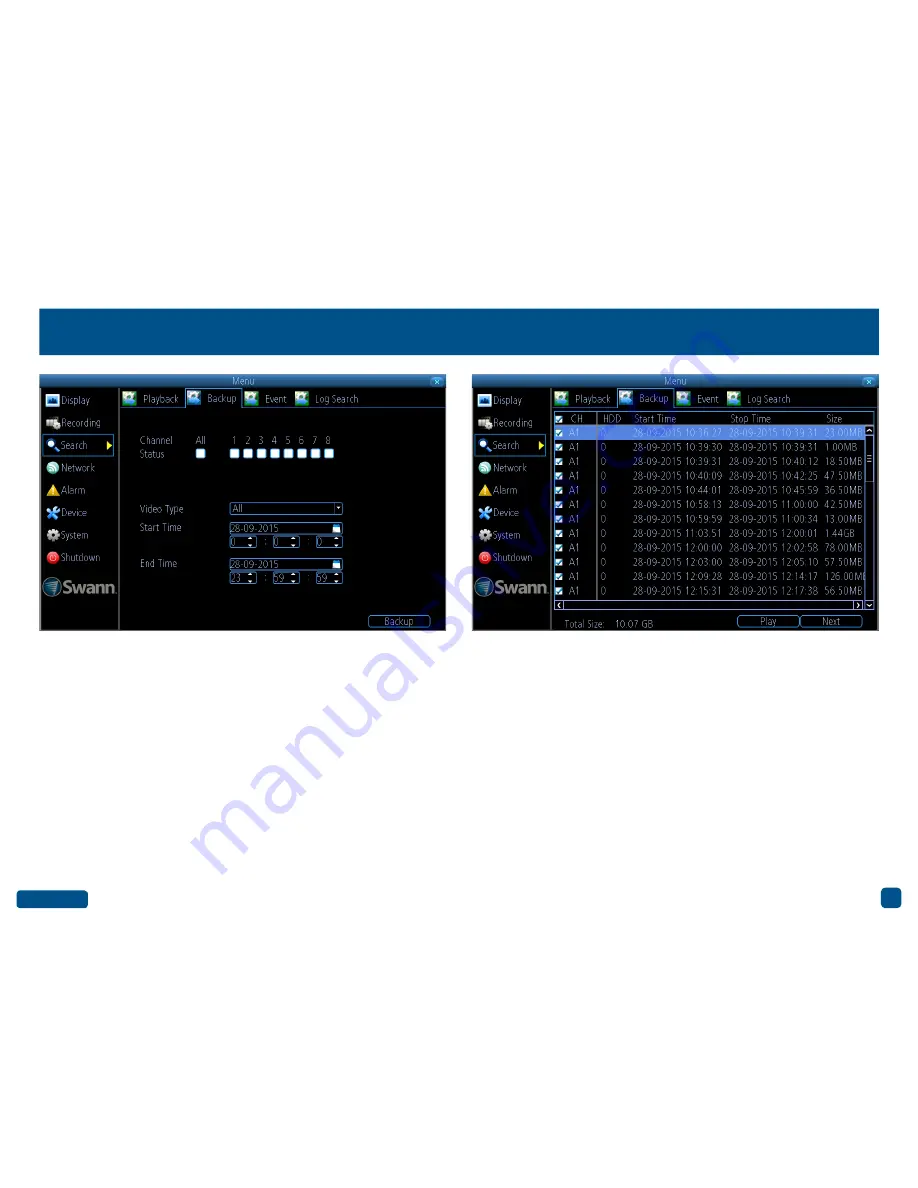
Search: Backup
Channel Status:
Select from one or more cameras to backup or click
“All” to select all cameras.
Video Type:
Select the video type that you want to search for. The op-
tions are “All”, “Manual”, “Schedule” and “Motion”.
Start Time:
Select your start date and time.
End Time:
Select your end date and time.
1.
Click “Backup” to display a list of videos matching your search crite-
ria.
2.
By default, each video listed has been selected for backup. If you don’t
want this, click the checkbox next to the “CH.” heading then click the
checkbox next to the video that you want to backup.
3.
You can also click “Play” to check that the video you have selected is
the one that you want to backup.
4.
Before proceeding, connect a USB flash drive to the spare port locat-
ed at the rear of your DVR.
5.
Wait a short moment then click “Next”.
6.
Select the location that you want to save to then click “Start”. A pro-
gress bar will be displayed on-screen. You also have the option of delet-
ing files and to format the storage device.
Depending on the number of files that have been selected, the backup
process can be time consuming.
• Right-click the mouse to exit the Menu.


