4
Operating Guide
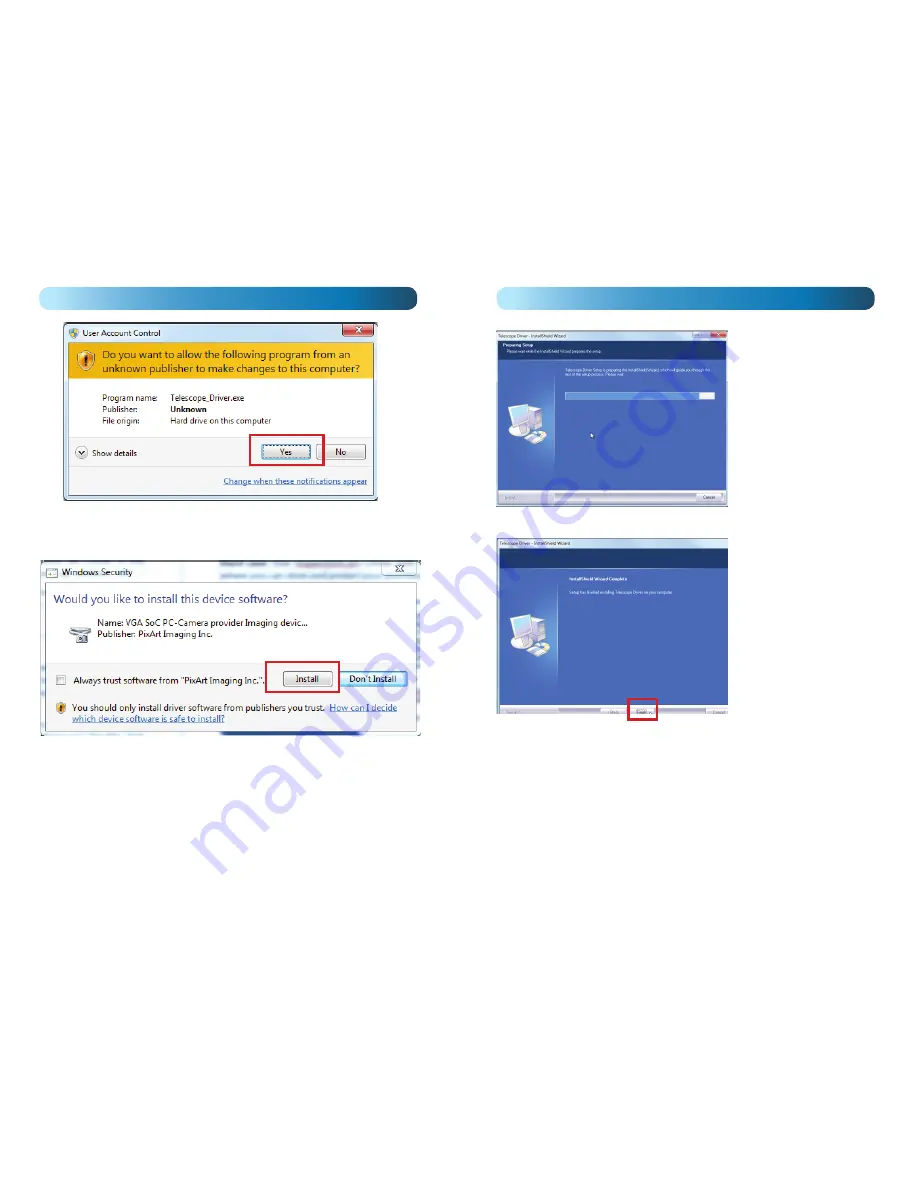
Step 6
: A window called
‘User Account Control’
(like the one above) may appear
asking whether you want to allow the program to make changes to your computer.
Click ‘
Yes
’ and follow the instructions to complete the installation.
Step 7
: A window like the one above will appear asking if you want to install the
driver. Click ‘INSTALL’ and follow the instructions to complete the installation.
5
Operating Guide
Step 8
: A window like the
one on the left will appear
showing the progress of the
driver installation. Wait for it
to complete the installation of
the driver.
Step 9
: Once the installation
is complete, you will get a
screen like the one on the left.
Click FINISH.
If you are asked to restart your
computer, close down any
applications you have open
and restart your computer.
Step 10
: Now plug in your InspectionCam into a spare USB port on your computer.
The InspectionCam will be recognized by your computer and the driver you have just
installed will be confi gured for use with your computer.
The InspectionCam should be recognized by the computer as a standard webcam
called ‘telescopic driver’. Therefore, to view the images from the unit, use any program
you normally would use for webcam viewing. We recommend a free utility called
AMCAP but you can use almost any application that supports webcam video such as
Skype, MSN Messenger or VLC.
If you have any problems, make sure your computer and its software meet the
minimum requirements.


