


10
11
12
13
14
15
16
17
18
The Control Panel & Sharing your Snapshots
Recording to a Memory Card
Advanced Settings: Name
1
2
3
4
5
6
7
(1) HD Mode:
Click this if you would like to view the live image at 720P (1280 x 720) resolution. This is the highest quality avail-
able. Selecting this will require a fast internet connection with more bandwidth and higher bitrates.
(2) Clear Mode:
Click this if you would like to view the image at VGA (640 x 480) resolution. Select this for a high quality image
at a bandwidth friendly bitrate.
(3) Smooth Mode:
Click this if you like to view the image at QVGA (320 x 240) resolution. Selecting this will produce a lower
quality image but at a much smoother frame rate.
(4) Advanced Settings:
Click this if you would like to change the resolution, image quality, bit rate and bandwidth file size man-
ually. Changing the bandwidth file size, may help if you are viewing the camera from a remote location.
(5) Program Settings:
Click this to change the save location for all your local recordings. You can also alter the video recording
length, enable live video fluency optimisation and to clear the administrator and video encryption password.
(6) Help:
Click this to access an electronic version of the user manual.
(7) Home Page:
Click this to access the Swann website.
Double-click the live image to view full-screen. Double-click again to view in a window. Just be aware, the on-screen con-
trols will not appear when viewing full-screen.
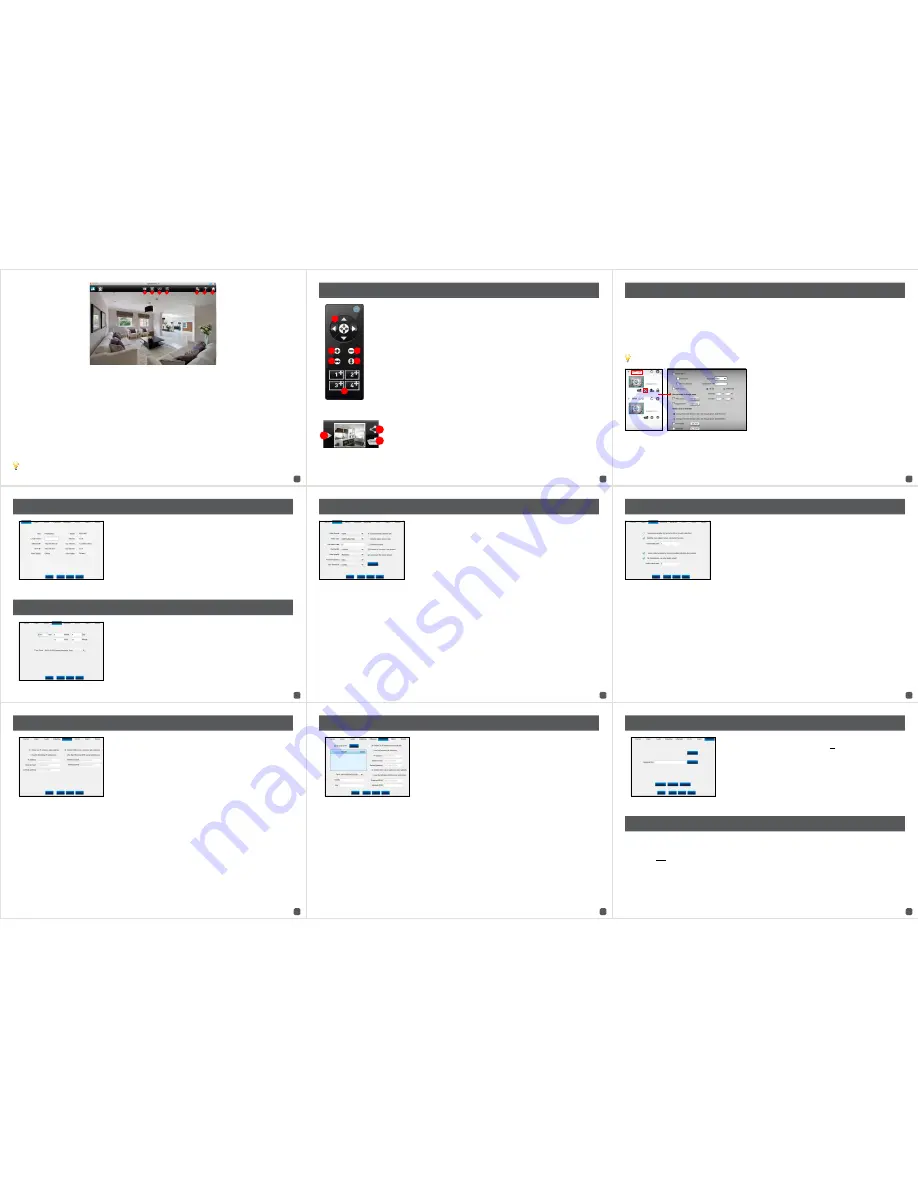
The control panel is primarily used with the Pan & Tilt model (ADS-445), therefore not all of the
controls are compatible with the other cameras. To activate the control, move your mouse to the
lower right side of the main screen and it will appear automatically.
(1) Control Pad:
Use the control pad to adjust the Pan/Tilt of the camera. You can click on the di-
rectional pad to move the camera up/down and left/right. Press the centre button to return the
camera to its original position (ADS-445 only).
(2) Enlarge:
Click this to digital zoom during live view.
(3) Reduce:
Click this to go back to normal view.
(4) Horizontal Patrol:
Click this to start the camera patrolling in a left and right movement. Click
again to stop patrolling (ADS-445 only).
(5) Vertical Patrol:
Click this to start the camera patrolling in an up and down movement. Click
again to stop patrolling (ADS-445 only).
(6) Position Presets:
Allows you to have up to four (4) different preset positions. Use the control
pad to position the camera to a different position, then press the “+” symbol on one of the buttons
to assign the preset. You will see a thumbnail image placed over the preset button (ADS-445 only).
1
2
3
4
5
6
1
2
3
Each time you press the “Photo” button, a snapshot will be displayed on the bottom
left of the Live View Interface. You have the option of opening the folder to access the
snapshot or to share the snapshot on Facebook or Twitter.
(1) Display Thumbnails:
Click this to display all the snapshots that you have taken.
(2) Share:
Click this to share the snapshot on Facebook or Twitter; you will need to en-
ter your account details to make this feature work.
(3) Open Folder:
Quick access to the local recordings folder.
You can use the camera’s memory card slot to set up an automatic recording solution. This requires a SD or Micro-SD card to
be inserted into the camera. For the ADS-460 - see “Accessing the Micro-SD Card Slot” in the quick start guide for details. SD
and Micro-SD cards up to 32GB are supported.
By default, the camera will save images and short videos any time it detects an alarm event. The default alarm event it will
detect is triggered by motion detection - the default sensitivity is 5 (on a scale of 1 - 10 with 1 being lowest and 10 being highest).
After logging into your account, click the “Set Attribute” button for the camera displayed under “LAN”, then click the “Alarm”
tab. Please note; for security reasons the alarm function is only available for cameras displayed under “LAN”.
You must be connected to the same network as the camera to make these changes.
By default, the camera will capture a short video and five snapshots
of each motion event.
Video Record/Image Capture:
Whether the camera will attempt to
record images and/or video when it detects a motion event.
Set Record/Set Snap:
Choose the quality, number of and duration
(video) of the recordings/images captured by the camera.
Storage:
What you’d like the camera to do when it’s filled the memory
card. Choose to stop storing new images or overwrite old ones.
FTP Transfer:
Configure the camera to upload to an FTP server. This is recommended for advanced users to enable.
Send Mail:
You can configure the camera to send images/videos as an email attachment. Before doing so, ensure that there
will be either a small number of emails or that you’ve got a lot of storage space available. If you select this option you will need
to set details including your email address and email account logon details. Consult with your ISP (Internet Service Provider)
for this information.
Local Name:
Type a name that you would like to apply for your camera.
Ethernet/Wi-Fi IP address:
This will display the IP address assigned to the
camera.
WAN Status:
This will indicate the camera’s current connection to the Inter-
net. “Online” indicates that the camera is connected to the Internet, “Offline”
indicates that the camera is either not connected to the Internet or that the
internet is currently turned off.
Current firmware version:
Displays the current firmware version.
MAC Address:
The MAC address is a unique number that is assigned to the
camera. This is not displayed on all versions of the software.
Advanced Settings: Date & Time
Date & Time:
Allows you to change the date and time.
Time Zone:
Allows you to select the correct time zone for your area.
Advanced Settings: Video
Video format:
Select MPEG4 or H.264. Both options offer the same level of
quality and compression.
Video size:
You can select how large the image sent from the camera is. Set-
ting a high resolution requires a higher data rate to properly stream images.
Max frame rate:
The frame rate is a measurement of how many individual im-
ages are sent to the camera each second. Anything above 15 frames per sec-
ond (fps) looks like smooth video, with 25 - 30 being typical for TV broadcasts.
The max frame rate setting will limit the number of frames sent to whatever
you set it to.
Bandwidth:
How much data the camera will send. More data will lead to a potentially higher quality image, allowing for
higher resolutions, quality settings and frame rate.
Video quality:
How much information will be sent per-pixel. High quality settings look great, but the bandwidth required
to send the image will be much higher. This is also going to depend on the speed of your Internet connection. Adjusting
the video quality may produce a smoother looking image.
Power frequency:
Set this to the frequency of AC power in your area. Some devices (such as TV screens) will flicker if this
is not set correctly. For the USA and Canada, set this to 60Hz. For Australia and the UK, set this to 50Hz.
Video inversion:
You can choose to flip the image horizontally, vertically or both.
Constant/Variable video stream rate:
Whether the data rate will adapt to the amount of information in the video.
With time stamp:
When selected, the time stamp will be broadcast over the camera’s image.
Enable AU (Access Unit) header:
Toggles this option on and off. An AU header is an advanced networking option - if you
don’t know what it means, we suggest disabling this.
Accelerate the video stream:
Applies additional streamlining to the way the video signal is sent. This will increase the
performance at the cost of stability. If the stream becomes unstable, disable this option.
Advanced Settings: Audio
Audio input enable:
Toggles the microphone on and off. While off, the camera
won’t transmit any audio information.
Split the voice stream:
Alters the way the audio information is streamed with
the video. If you‘re having problems with audio streaming and fidelity, this
option will help.
Audio input gain:
How much amplification is applied to the audio signal. A
high gain makes it possible to hear softer noises, but increasing the gain
decreases the audio fidelity, and may distort the sounds dramatically.
Audio output enable:
Click this to enable the audio output on the camera
(ADS-445 & ADS-455 only).
All connections can play audio output:
Click this to enable audio output on all
devices streaming live video from the camera (ADS-445 & ADS-455 only).
Audio output gain:
Click this to increase or decrease the output volume (ADS-
445 & ADS-455 only).
Advanced Settings: Ethernet
Obtain IP Address automatically:
Your wired router will automatically assign
an IP address to the camera. This option is enabled by default and is the
recommended way for the camera to receive an IP address from your router.
Obtain DNS server address automatically:
Your wired or wireless router will
automatically assign a DNS address to the camera. This option is enabled by
default and is the recommended way for the camera to receive a DNS address
from your router.
Advanced Settings: Wi-Fi
Enable Wi-Fi:
Enable or disable the Wi-Fi connection on the camera.
Search Wi-Fi:
If your wireless router does not have the ability to connect via
WPS, you can use this option to connect to your wireless network. First, you
need to connect the camera to a spare wired network port on your internet
router, using the supplied Ethernet cable. Click the “Search Wi-Fi’ button
and let the camera search, once your Wi-Fi has been found select your Wi-Fi
connection from the list.
Enter the Wi-Fi security password into the “Key” field (this password is usually
on the bottom of your internet router), and then click the “Apply” button.
After a short while, the camera will be connected to your wireless network,
assuming you have entered your details correctly. You can now disconnect the
Ethernet cable. If the Wi-Fi connection doesn’t work, make sure the password
is correct and try again.
Obtain IP/DNS Address automatically:
These options are enabled automatically
and are the recommended way to get an address from your router.
Advanced Settings: Device
Format SD:
Click this to format the memory card that is inserted into the
camera. Please note; clicking this will delete all files located on the memory
card. If the files are important, copy the files to a different location before
formatting.
Upgrade File:
This option allows you to update the firmware of the camera.
You’ll only need to use these options if instructed to do so by Swann Technical
Support.
Resetting your Camera
Have a look at the following instructions on how to reset the camera back to the factory default settings.
(1)
Unplug the power adapter from the power socket.
(2)
Press and hold the “WPS/Reset button”.
(3)
Reconnect the power adapter to the power socket.
(4)
Release the “WPS/Reset button” after a few seconds.


