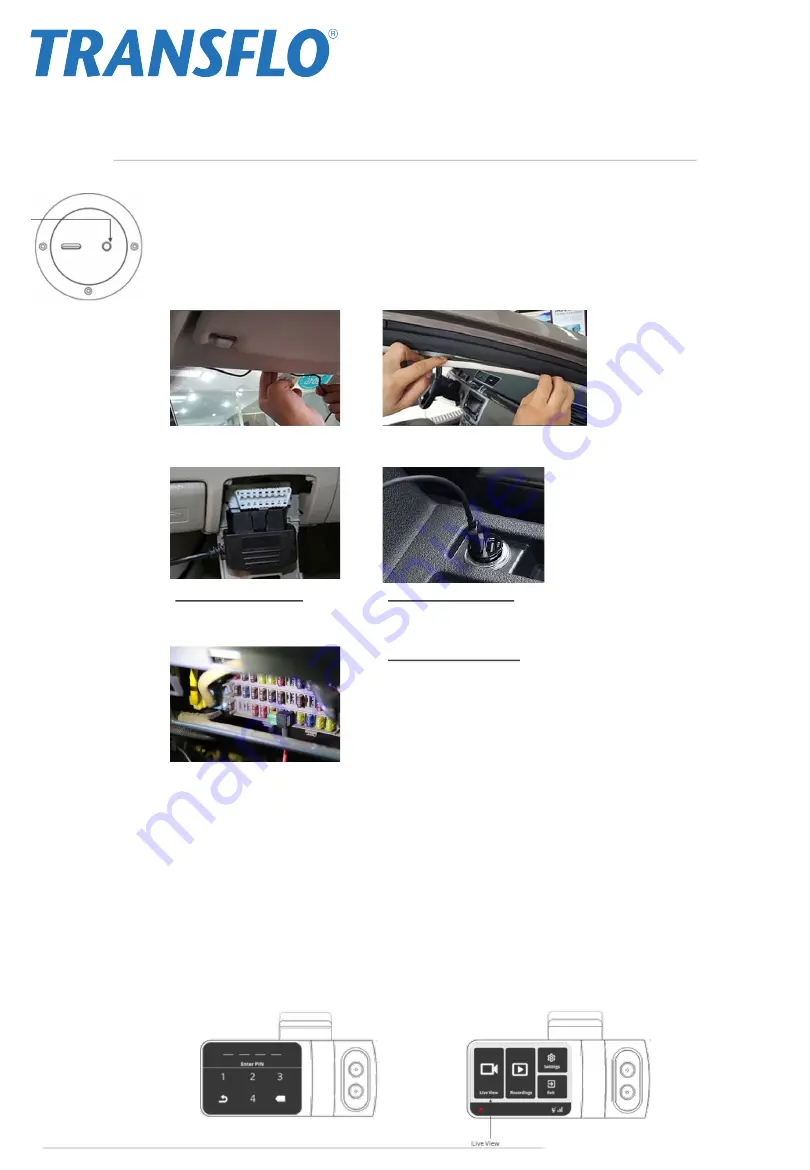
3. Connect the camera to a power source
Option 3: Hardwire Kit
Open the vehicle fuse box and connect as follows:
1.Red Color Wire – Ignition Power, connect it to a fuse
port that has power only when the car is turned on
(verify this during installation)
2.GND – Find a reliable iron port to connect affix the
ground wire to the iron port.
The dashcam may connect to a power source either using the supplied USB cable, OBD
cable or hardwire kit. The power cable connects to the round connector located on the side of
the camera. After Power is connected, run the power cable along the headliner of the car
along the A-Pillar to the power source.
Option 1: OBD Cable
Connect to the OBD port
in your vehicle
4. Direct the cameras at the road and driver
Follow the following steps to direct the road and cabin facing cameras.
1.Unmount the camera
2.Using the security screwdriver provided, gently partially unscrew the three security screws
on the round side of the dashcam until you can rotate the front and cabin facing cameras.
Do not unscrew the screws all the way.
3.Mount the camera and connect it’s power source.
4.Tap the touch screen to enter default PIN – 3333 to entre the main menu and click on Live
View. You can use the arrow keys to switch camera views.
5.Rotate the cameras until the cameras are directed in the proper direction.
6.Unmount the camera and screw in the security screws on the side of the camera
Run the power cable along the headliner of the car along the A-Pillar to the power source.
Option 2: USB Cable
The power source should
be able to supply 5V 2A.
surfsight.net| [email protected]
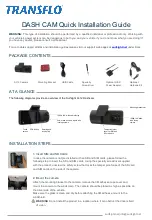
DASH CAM Quick Installation Guide


