49
Chapter 3: Maintenance and Component Installation
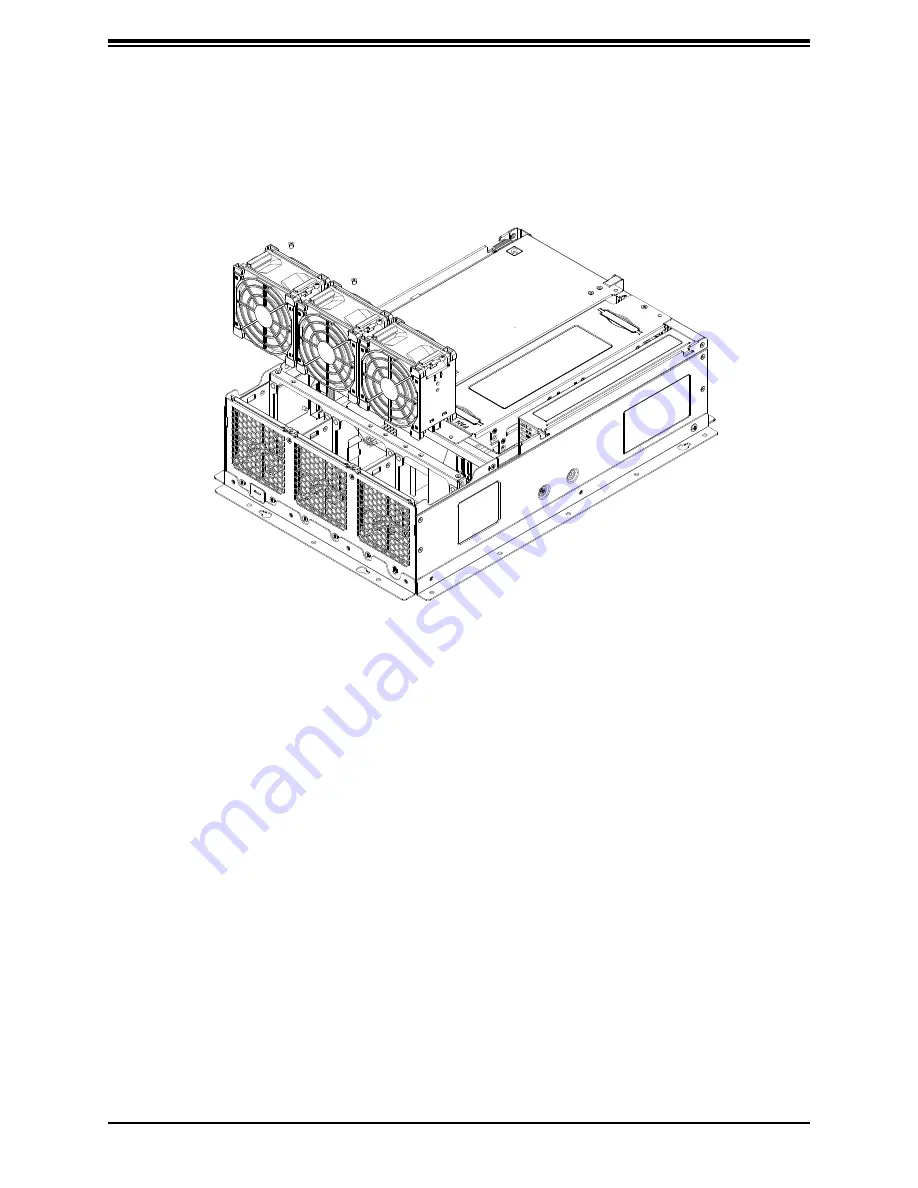
3. Slide the new fan into the fan brace until the fan latch snaps into the notch and you hear
a click sound.
4. Reinstall the chassis top cover, reconnect the AC power cord, and power up the system.
Figure 3-12. Replacing the System Fans
Air Shrouds
The SYS-E403-12P-FN2T supports an air shroud that concentrates airflow to maximize fan
efficiency. It does not require screws to install.
Replacing the Air Shroud
1. If you are installing full height PCIe expansion cards, you must cut one, two, or three
sections of the shroud to create space for the cards.
2. Remove the chassis cross bracket by removing the screw from each side of the chassis.
3. Place the air shroud. The small rectangular portion covers the DIMMA1/DIMMB1/
DIMMC1 memory modules.
4. Replace the chassis cross bracket.


