


Chapter 6: Advanced Chassis Setup
6-3
Remove the top chassis cover while the system is still running to determine which of
the fans has failed. Then power down the system before replacing a fan. Removing
the power supply cords is also recommended as a safety precaution.
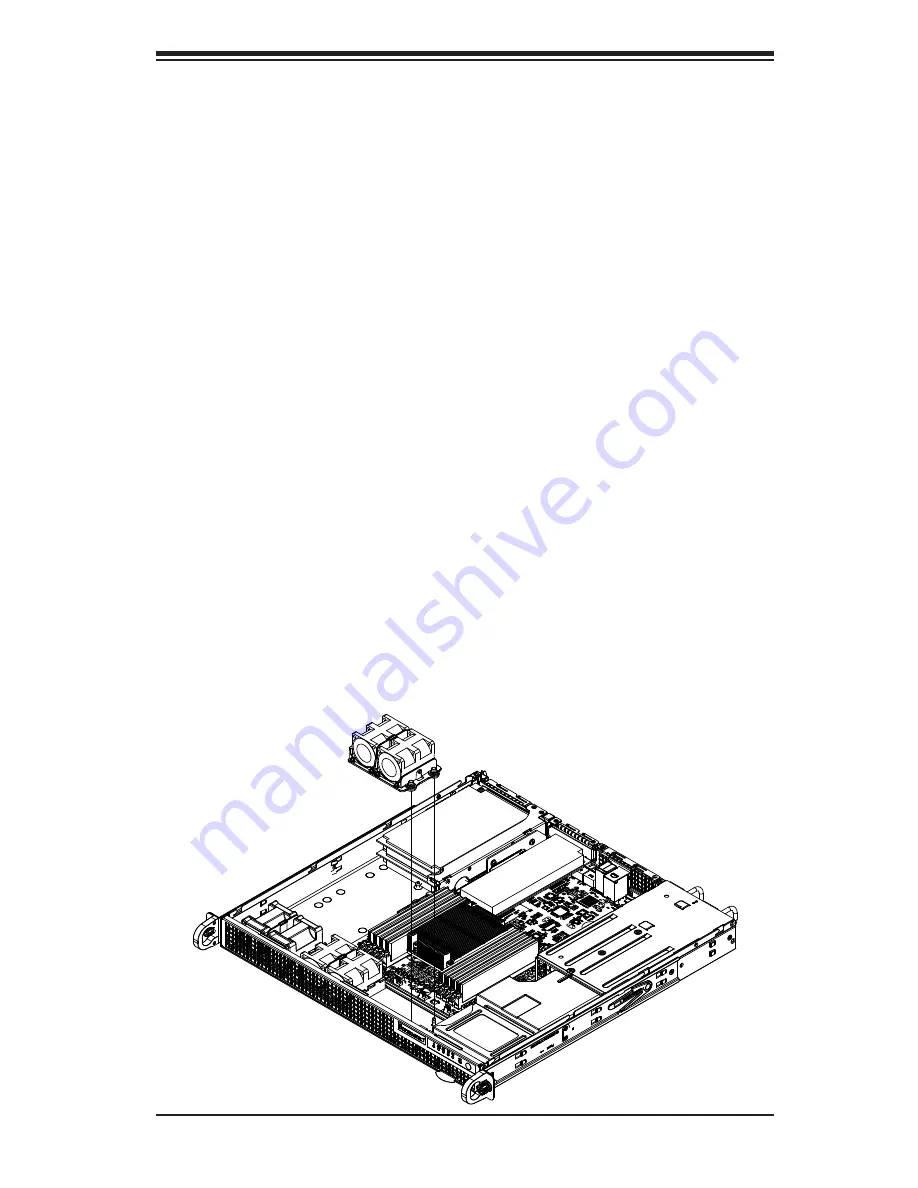
Replacing System Fans
1. After determining which fan has failed, turn off the power to the system and
unplug the power cords.
2. Unplug the fan cable from the motherboard and remove the failed fan from
the chassis.
3. Replace the failed fan with an identical 4-cm, 12 volt fan (available from
Supermicro).
4. Push the new fan into the vacated space while making sure the arrows on
the top of the fan (indicating air direction) point in the same direction as the
arrows on the other fans.
5. Reconnect the fan wires to the same fan headers you removed them from.
6. Power up the system and check that the fan is working properly and that the
LED on the control panel has turned off.
7. Finish by replacing the chassis cover.
Figure 6-2. Installing System Fans
Содержание SuperServer 1017R-WR
Страница 1: ...SUPERSERVER 1017R WR SUPER USER S MANUAL 1 0...
Страница 5: ...Notes Preface v...
Страница 14: ...1 6 SUPERSERVER 1017R WR User s Manual Notes...
Страница 22: ...2 8 SUPERSERVER 1017R WR User s Manual Notes...
Страница 26: ...3 4 SUPERSERVER 1017R WR User s Manual Notes...
Страница 80: ...Chapter 6 Advanced Chassis Setup 6 5 Figure 6 3 Installing a Hard Drive...
Страница 82: ...Chapter 6 Advanced Chassis Setup 6 7 Figure 6 5 Removing Replacing the Power Supply Release tab...
Страница 83: ...6 8 SUPERSERVER 1017R WR User s Manual Notes...
Страница 121: ...A 2 SUPERSERVER 1017R WR User s Manual Notes...
Страница 124: ...B 3 Appendix B System Specifications Notes...


