Chapter 6: Advanced Chassis Setup
6-7
6-6
SUPERSTORAGESYSTEM SSG-2028R-DN2R20L User's Manual
6-6 Installing Hard Drives
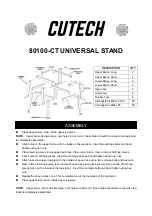
Figure 6-5. Removing the Dummy Drive from the Hard Drive Carrier
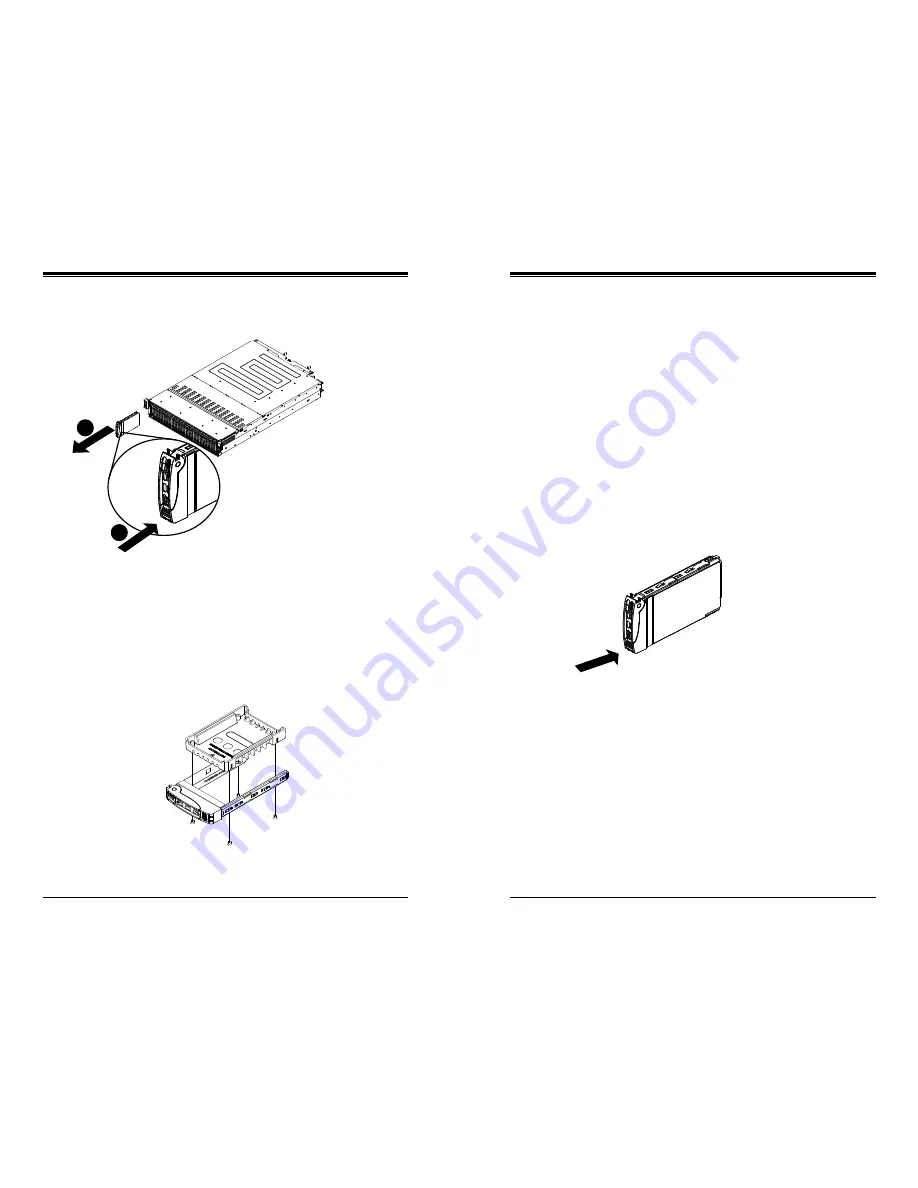
Figure 6-6. Proper Installation of the Hard Drive into the Hard Drive Bay
Warning: Except for short periods of time (swapping hard drives), do not operate
the server with the hard drives empty.
Installing a Hard Drive into a Drive Carrier
1. Remove the dummy drive, which comes pre-installed in the drive carrier, by
removing the screws securing the dummy drive to the carrier. Note that these
screws cannot be reused on the actual 2.5" hard drive.
2. Insert a drive into the carrier with the PCB side facing down and the
connector end toward the rear of the carrier.
3. Align the drive in the carrier so that the screw holes of both line up.
4. Secure the drive to the carrier with four screws. These screws are included in
the chassis accessory box.
5. Insert the drive carrier into its bay, keeping the carrier oriented so that the
release button is on the bottom side. When the carrier reaches the rear of the
bay, the release handle will retract.
6. Push the handle in until it clicks into its locked position.
Figure 6-4. Removing Hard Drive
1
3
1
2
The SC227 comes equipped with twenty-four 2.5" hot-swappable hard drives. These
drives can be removed without powering down the system. Only enterprise level
NVMe drives are recommended.
Removing Hard Drive Carriers from the Chassis
1. Press the release button on the drive carrier in front drive bays. This extends
the drive bay handle.
2. Use the handle to pull the drive carrier out of the chassis.
Содержание SSG-2028R-DN2R20L
Страница 1: ...User s Manual Revision 1 0 SuperStorageSystem SSG 2028R DN2R20L ...
Страница 29: ...4 20 SUPERSTORAGESYSTEM SSG 2028R DN2R20L User s Manual Notes ...
Страница 74: ...7 42 SUPERSTORAGESYSTEM SSG 2028R DN2R20L User s Manual Notes ...
Страница 76: ...A 2 SUPERSERVER SSG 2028R DN2R20L User s Manual Notes ...