SCDS3A-261B Chassis Manual
5-10
5-11
Chapter 5: Chassis Setup and Maintenance
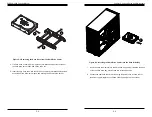
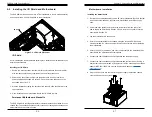
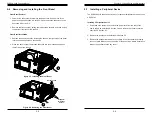
Figure 5-9. Installing the Optional Device
Optional Screw
Mounting Holes
4. Replace the front bezel on the chassis as described in Section 5-6.
5. Slide the peripheral device through the opening in the front bezel into the
chassis bay.
6. If desired, screws may be used where indicated below to secure the optical
device into chassis.
7. Plug the power cord into the rear of the power supply, replace the chassis
cover and power up the system.
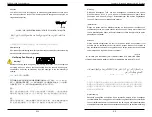
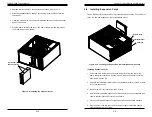
Figure 5-10. Locating the Expansion Card Installation Components
Installing Expansion Cards
1. Power down the system and remove the power cord from the rear of the
power supply as described in Section 5-2 and remove the chassis cover as
described in Section 5-3.
2. Pull back the release latch that holds the protective bracket over the PCI slots
in the rear the chassis.
3. Remove the PCI slot covers from the PCI slots.
4. Simultaneously, slide the expansion card into its slot on the motherboard, and
slide its bracket into the PCI slot on the chassis.
5. Close the protective bracket over the tops of the expansion card brackets.
6. Plug the power cord into the rear of the power supply, replace the chassis
cover and power up the system.
PCI Slots
Release Latch
Protective Bracket
5-8 Installing Expansion Cards
The SCDS3A-261B chassis includes four slots for expansion cards. The number of
cards you can use depends on your motherboard model.
Содержание SCDS3A-261B
Страница 1: ...SCDS3A 261B CHASSIS USER S MANUAL 1 0 ...
Страница 7: ...SCDS3A 261B Chassis Manual 1 4 Notes ...
Страница 18: ...2 20 SCDS3A 261B Chassis Manual Notes ...
Страница 30: ...SCDS3A 261B Chassis Manual 5 14 Notes ...


