


5
SECTION 2 - OPERATION Continued
SECTION 3 - CHARGING & MAINTENANCE
NOTE
Never charge batteries unattended. Regularly charge batteries to prevent levels from dropping below point of recovery.
http://www.superdroidrobots.com/terms_batteries.html
6.
Take the robot outside and drive around using the FlySky controller a bit until the display on the DATA tab seems to approximate
the robot’s actual position and orientation. It is normal for there to be some amount of error since GPS is inexact. On the controller,
flip the top right switch (SWD) down to begin autonomous operation. The robot will pivot turn to align with the first waypoint and
begin driving to it.
7.
Monitor the robot and switch back into Manual mode (SWD up) if it looks like it may collide with something.
These robots have no
obstacle detection
. Note that the robot relies heavily on GPS coordinates, which are subject to error up to several meters. If
switched into Manual mode, the robot will pick up where it left off when returned to Auto mode.
8.
The robot will stop when it reaches the last waypoint. To run the route again, switch into Manual mode, then return to Auto mode.
NOTE
If you’re having trouble getting the DATA tab display to match the robots actual position and orientation, try moving the robot to an area with a stronger
GPS signal. Restart the robot and check the display to see if positioning has improved. The robot should be turned on in situations where it has a clear view of
the sky with few obstructions/obstacles.
On subsequent uses the robot will remember the set of waypoints loaded into it, meaning you don’t need to re-upload waypoints to
the robot every time it is turned on. Whenever turning the robot on, try to make sure it boots up in an area with good GPS signal. You
will need to drive it around manually (mostly in straight lines) for at least 10-20 seconds to help it initialize its position estimate. If the
position estimate is not yet stable, the robot will not begin navigating to waypoints when the Mode switch is flipped to Auto. If this
happens, just switch back to Manual mode and drive the robot around more before trying again.
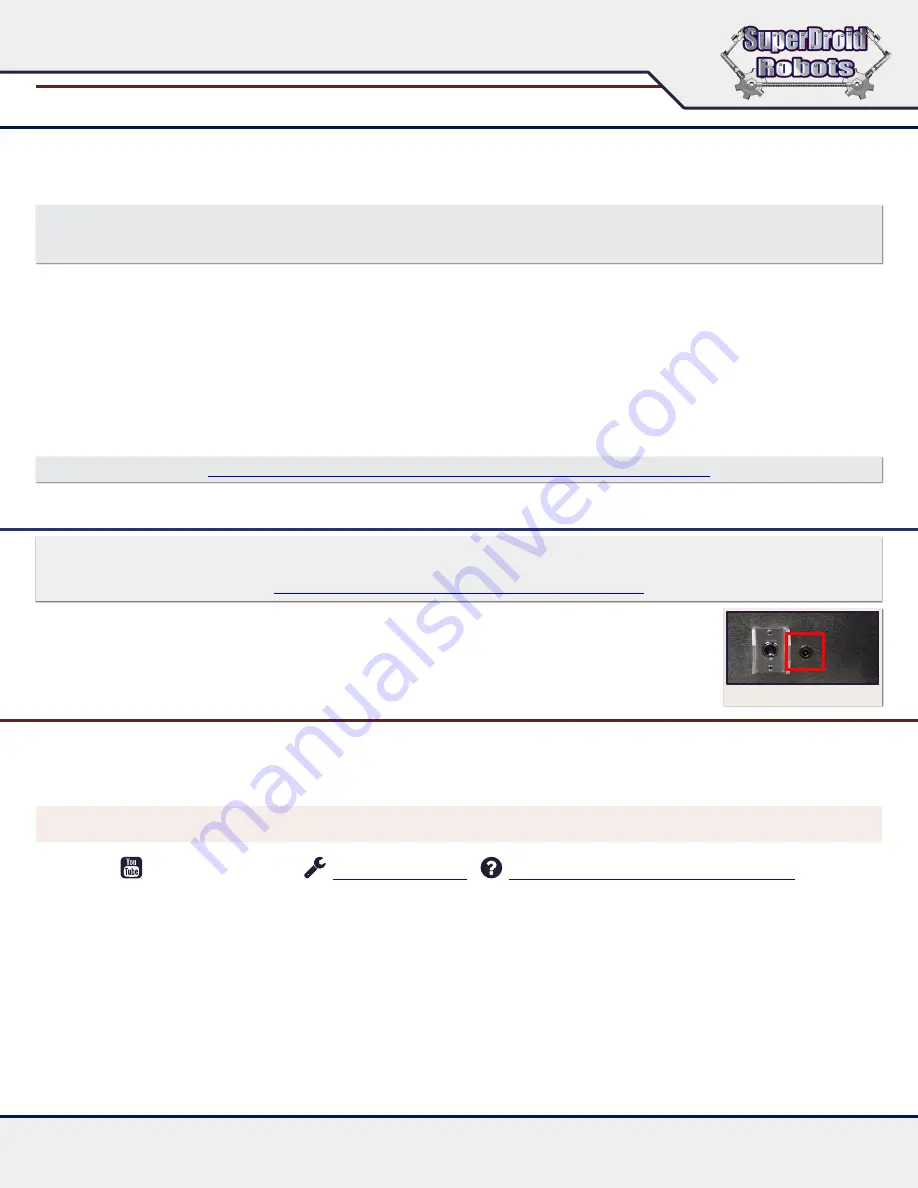
The robot comes with a standard barrel port charger. Plug the provided charger into a wall outlet, then into
the robot. The light on the charger will turn
RED
while charging and
GREEN
when it is fully charged. (
Fig 2A
)
The FlySky remote is powered by standard AA batteries.
Documentation for the onboard Cube Orange computer can be found at the link below.
https://docs.cubepilot.org/user-guides/autopilot/the-cube-module-overview
Figure 2A
TROUBLESHOOTING & SUPPORT
• Equipment fails to power up
- Check the batteries charge. Remember to cycle charging throughout storage period when the robot is not in use.
• Broken or Missing Parts
- If you notice any parts are missing or broken, shut down the robot. Check to see if the parts are required to continue operating. Certain parts
are critical to the functions of the robot, or cause further damage if not repaired. Please contact our engineers by telephone or email for further assistance.
The smooth & successful operation of your robot requires time and training. Take care of your new robot and it will take care of you. Treat it the same
way you would treat any other important piece of equipment.
NOTE
View our support videos on
YOUTUBE
at
SDRRobots
Support Forum
Contact Customer Support


