SunBriteTV Model 4917HD Operator’s Manual
Page 29
Adjusting On-Screen Displays – Setup Menu (continued)
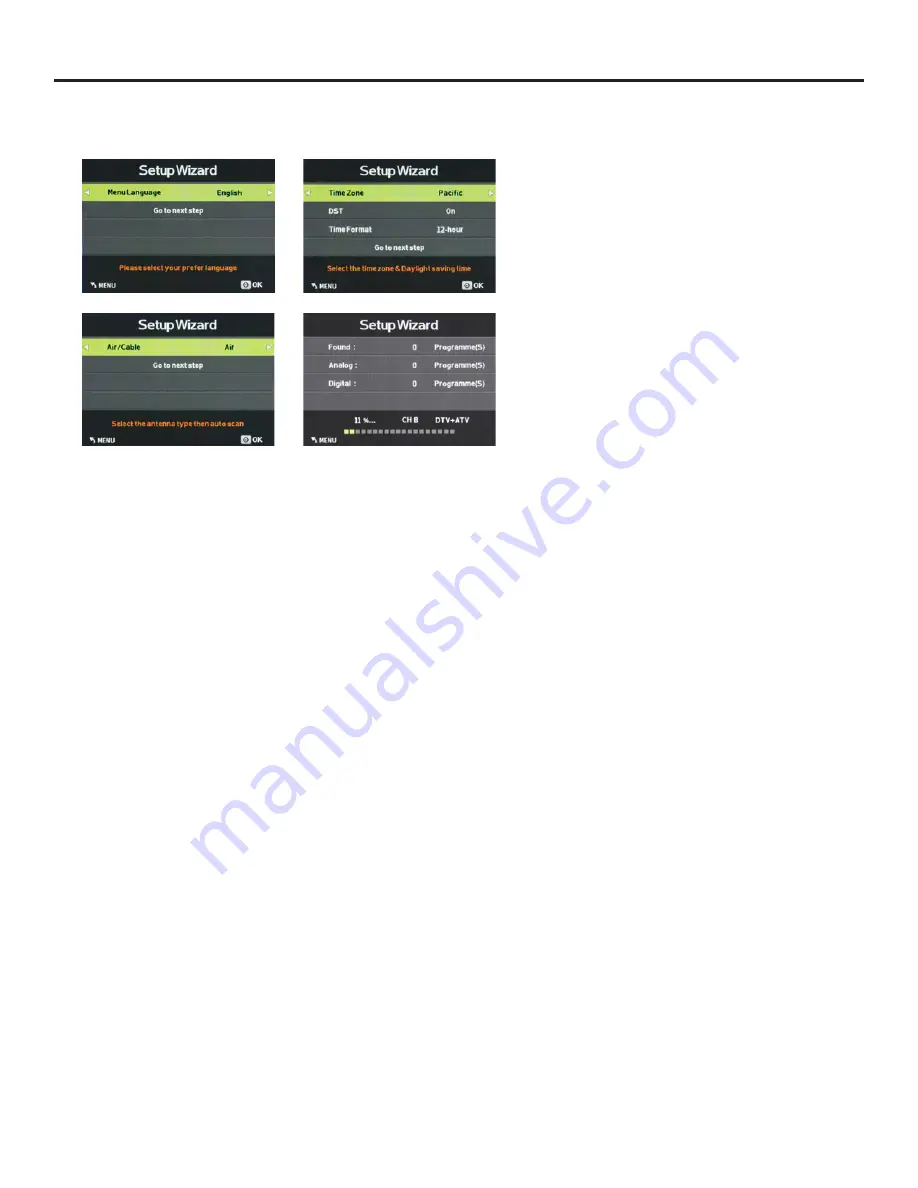
Setup Wizard
Press the
qp
buttons to highlight Setup Wizard, then use
t
u
to start the Setup Wizard. You will see the first of four
submenus, all of which are shown at left. The Setup Wizard
will take you quickly through several basic settings on the
TV, including Menu Language, Time Zone, DST on/off, Time
Format, Air/Cable and Auto Scan.
For each of the first three menus, press the
qp
buttons to
highlight each setting to be adjusted, then use
t
u
to make
the adjustment. When you’re finished with the adjustments
on a submenu, press
q
to highlight Go to Next Step, then
press
t
or
u
to go to the next screen of the Setup Wizard.
When you have finished with the third Setup Wizard screen,
the Setup Wizard will automatically activate Auto Scan to
identify and memorize the channels that can be received.
Software Update (USB)
This function is used to update the software on your TV.
Consult your dealer or SunBrite TV for more information.
Blue Screen
Press the
qp
buttons to highlight the Blue Screen
adjustment, then use
t
u
to activate or deactivate the
blue screen that appears when no signal is available at the
selected input.
HDMI Mode
Press the
qp
buttons to highlight the HDMI Mode
adjustment, then use
t
u
to select Video or PC HDMI mode.
The PC mode shows every pixel in the image. The Video
mode crops off a few percent of the image on each size and
zooms the cropped image in to fill the screen.
Earphone
The 3.5mm earphone output on the rear panel can be used
for headphones or as an audio output to feed a soundbar
or other external audio system. Press the
qp
buttons to
highlight the Earphone adjustment, then use
t
u
to switch
the earphone output on and off.
Speaker
This control turns the TV’s internal speakers on and off. Press
the
qp
buttons to highlight the Speaker adjustment, then
use
t
u
to switch the internal speakers on and off.


