7
6
T
O
T
OAST
Y
OUR
B
AGEL
:
• Insert the bagel into the bread slots.
• Press the Bread Carriage Lever until it locks.
• Press the Bagel button. The Bagel light will illuminate to indicate your
selection.
• After the desired level of darkness has been reached,
the food will pop up automatically. The Bread
Carriage Lever will return to the up position and the
indicator lights will turn off.
• Carefully remove the toasted bagel from the
bread slots.
T
O
W
ARM
Y
OUR
F
OOD
:
• Insert the food into the bread slots.
• Press the Bread Carriage Lever until it locks.
• Press the Warm button. The Warm light will illuminate to indicate your
selection. If desired, press food select (Toast or Bagel). If no food is selected
the Toaster will operate in Toast mode. The Toaster will reheat your food.
• Carefully remove the food from the bread slots.
Do not wrap the cord around the main body of appliance during or after use.
U
SEFUL
H
INTS
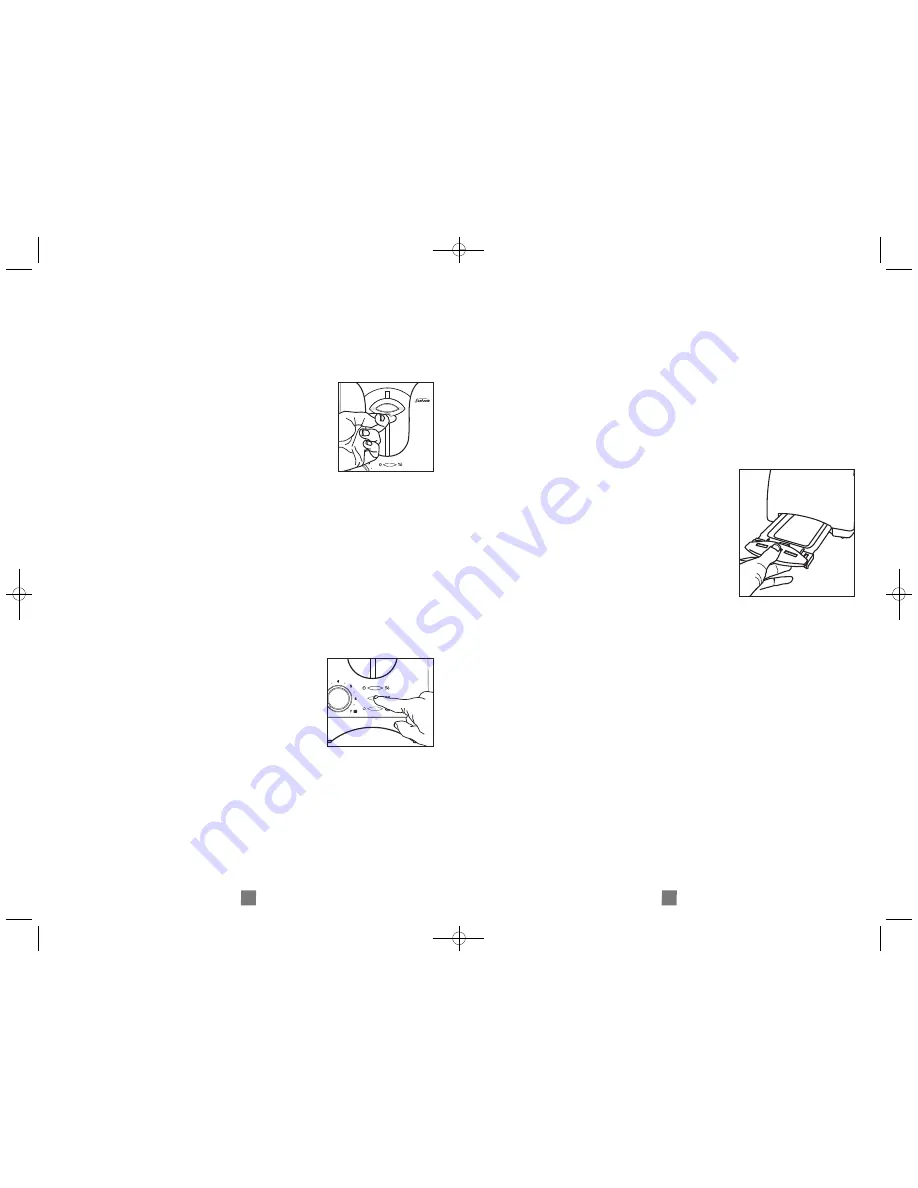
• If you wish to stop the toasting process, press
the cancel button. The toaster will stop immediately
and the food will pop up automatically.
• Most types of breads and pastries can be toasted;
such as bagels, tea cakes, thick sliced breads,
English muffins, waffles, etc. Slices should not,
however, be so thick as to cause burning
or jamming in the bread slots.
A
DJUSTING THE
P
OWER
C
ORD
L
ENGTH
Your toaster’s cord storage area allows you to adjust the length of the
power cord so that it is the exact length you desire.
• To adjust the length of the power cord: Wrap the power cord around the
cord storage posts on the base of the toaster until the cord is the length
you desire.
C
ARE AND
C
LEANING
• After use and before cleaning, unplug wall plug and wait for toaster to cool.
• Wipe the outside of toaster with a damp cloth and dry with another cloth
or paper towel.
Do not
use abrasive cleaners.
Do not
immerse in water or
any liquid.
• To avoid damage to toaster heating elements,
do not
use any pointed
or sharp articles for cleaning the inside of the toaster.
•
Attention:
Empty the crumb tray frequently.
Crumbs will accumulate in the crumb tray and
could catch fire if not emptied periodically.
When the toaster has cooled down completely,
tap the sides of the toaster lightly to dislodge any
crumbs caught in the toaster chamber, remove
the crumb tray and empty it. Wipe the tray clean
with a damp cloth or place it in the top rack of
your dishwasher for cleaning. Tap sides again
to ensure proper disposal. Return crumb tray
back into the toaster before using again.
TSSBTRSB03-033_TSSBTRSW03-033_12EFM1.qxd:162829 9/11/12 9:47 AM Page 6


