3
Caution –
Do not operate the server without all fans, component heatsinks, air baffles, and the cover
installed. Severe damage to server components can occur if the server is operated without adequate
cooling mechanisms.
Note –
Step 1
, which describes how to apply standby power for initial SP configuration, is applicable only to
systems that contain an SP module. If your system
does not
contain an SP, continue with
Step 2
to apply main
power to the server.
1. Verify that the power cords have been connected and that standby power is on.
At this point, standby power is supplied only to the service processor and power supply fans. Do not apply
main power to the rest of the server until you are ready to install a platform operating system. In standby
power mode, the Power/OK LED on the front panel flashes.
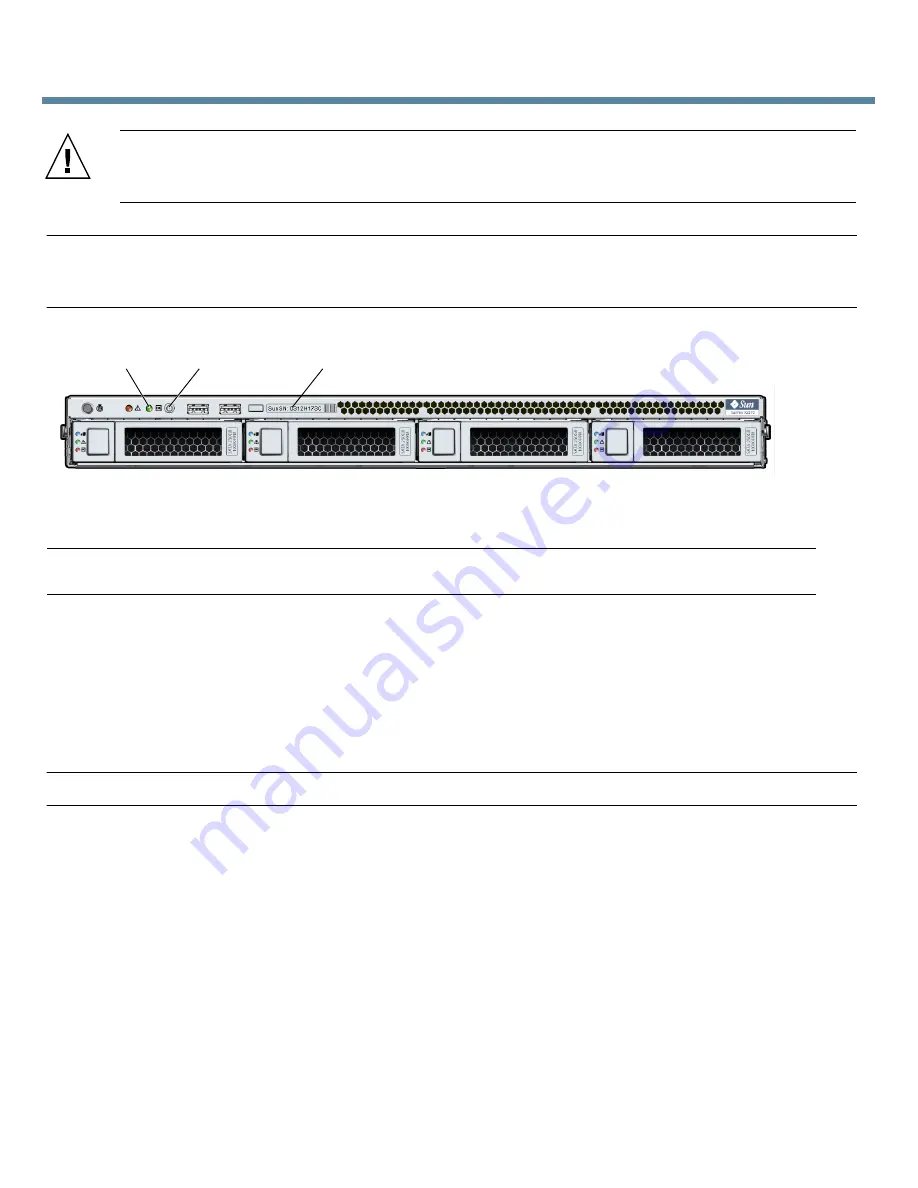
2. Press and release the Power button on the server front panel to apply main power to the server.
When main power is applied to the full server, the Power/OK LED next to the Power button lights and
remains lit.
Note –
The first time the server powers on, the power-on self-test (POST) can take up to 1 minute to complete.
3. Continue with initial software setup tasks, as described in the
Sun Fire X2270 Server Installation Guide
.
Connection Options
This section describes the tasks for initial setup of the service processor (SP) and Integrated Lights Out Manager
(ILOM) software. Refer to the
Sun Fire X2270 Server Installation Guide
and the
Sun Integrated Lights Out Manager
2.0 User’s Guide
for instructions on using ILOM to configure and manage the Sun Fire X2270 Server.
You can connect to the ILOM SP to perform initial setup and configuration in three ways:
■
Connect to ILOM Using a Serial Connection
■
Connect to ILOM Using an Ethernet Connection (DHCP)
■
Connect to ILOM Using an Ethernet Connection (static IP address)
Figure Legend
1
Green Power/OK LED
3
System Serial Number label
2
Power button
4
1
2
3


