Version 3.07
| Optidrive P2 User Guide |
17
www.invertekdrives.com
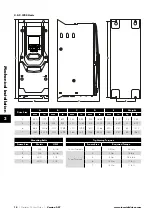
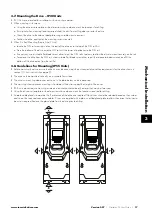
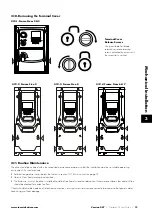
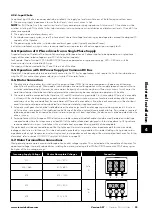
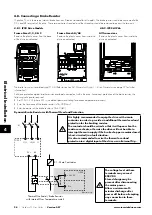
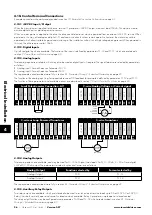
3.7. Mounting the Drive – IP20 Units
IP20 Units are intended for installation within a control cabinet.
When mounting with screws:
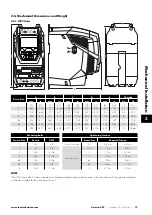
o Using the drive as a template, or the dimensions shown above, mark the locations for drilling.
o Ensure that when mounting locations are drilled, the dust from drilling does not enter the drive.
o Mount the drive to the cabinet backplate using suitable mounting screws.
o Position the drive, and tighten the mounting screws securely.
When Din Rail Mounting (Frame Size 2 Only):
o Locate the DIN rail mounting slot on the rear of the drive onto the top of the DIN rail first.
o Press the bottom of the drive onto the DIN rail until the lower clip attaches to the DIN rail.
o If necessary, use a suitable flat blade screw driver to pull the DIN rail clip down to allow the drive to mount securely on the rail.
o To remove the drive from the DIN rail, use a suitable flat blade screwdriver to pull the release tab downwards, and lift the
bottom of the drive away from the rail first.
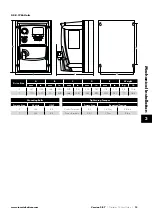
3.8. Guidelines for Mounting (IP55 Units)
Before mounting the drive, ensure that the chosen location meets the environmental condition requirements for the drive shown in
section
The drive must be mounted vertically, on a suitable flat surface.
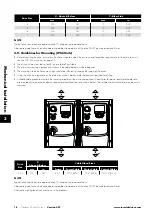
The minimum mounting clearances as shown in the table below must be observed.
The mounting site and chosen mountings should be sufficient to support the weight of the drives.
IP55 units do not require mounting inside an electrical control cabinet; however they may be if desired.
Using the drive as a template, or the dimensions shown above, mark the locations required for drilling.
Suitable cable glands to maintain the IP protection of the drive are required. Gland sizes should be selected based on the number
and size of the required connection cables. Drives are supplied with a plain, undrilled gland plate to allow the correct hole sizes to
be cut as required. Remove the gland plate from the drive prior to drilling.
3
Mech
anical Installation

