SUMERAIN SANITARY GROUP WWW.SUMERAIN.COM
INSTALLATION GUIDE
Version: 2.2
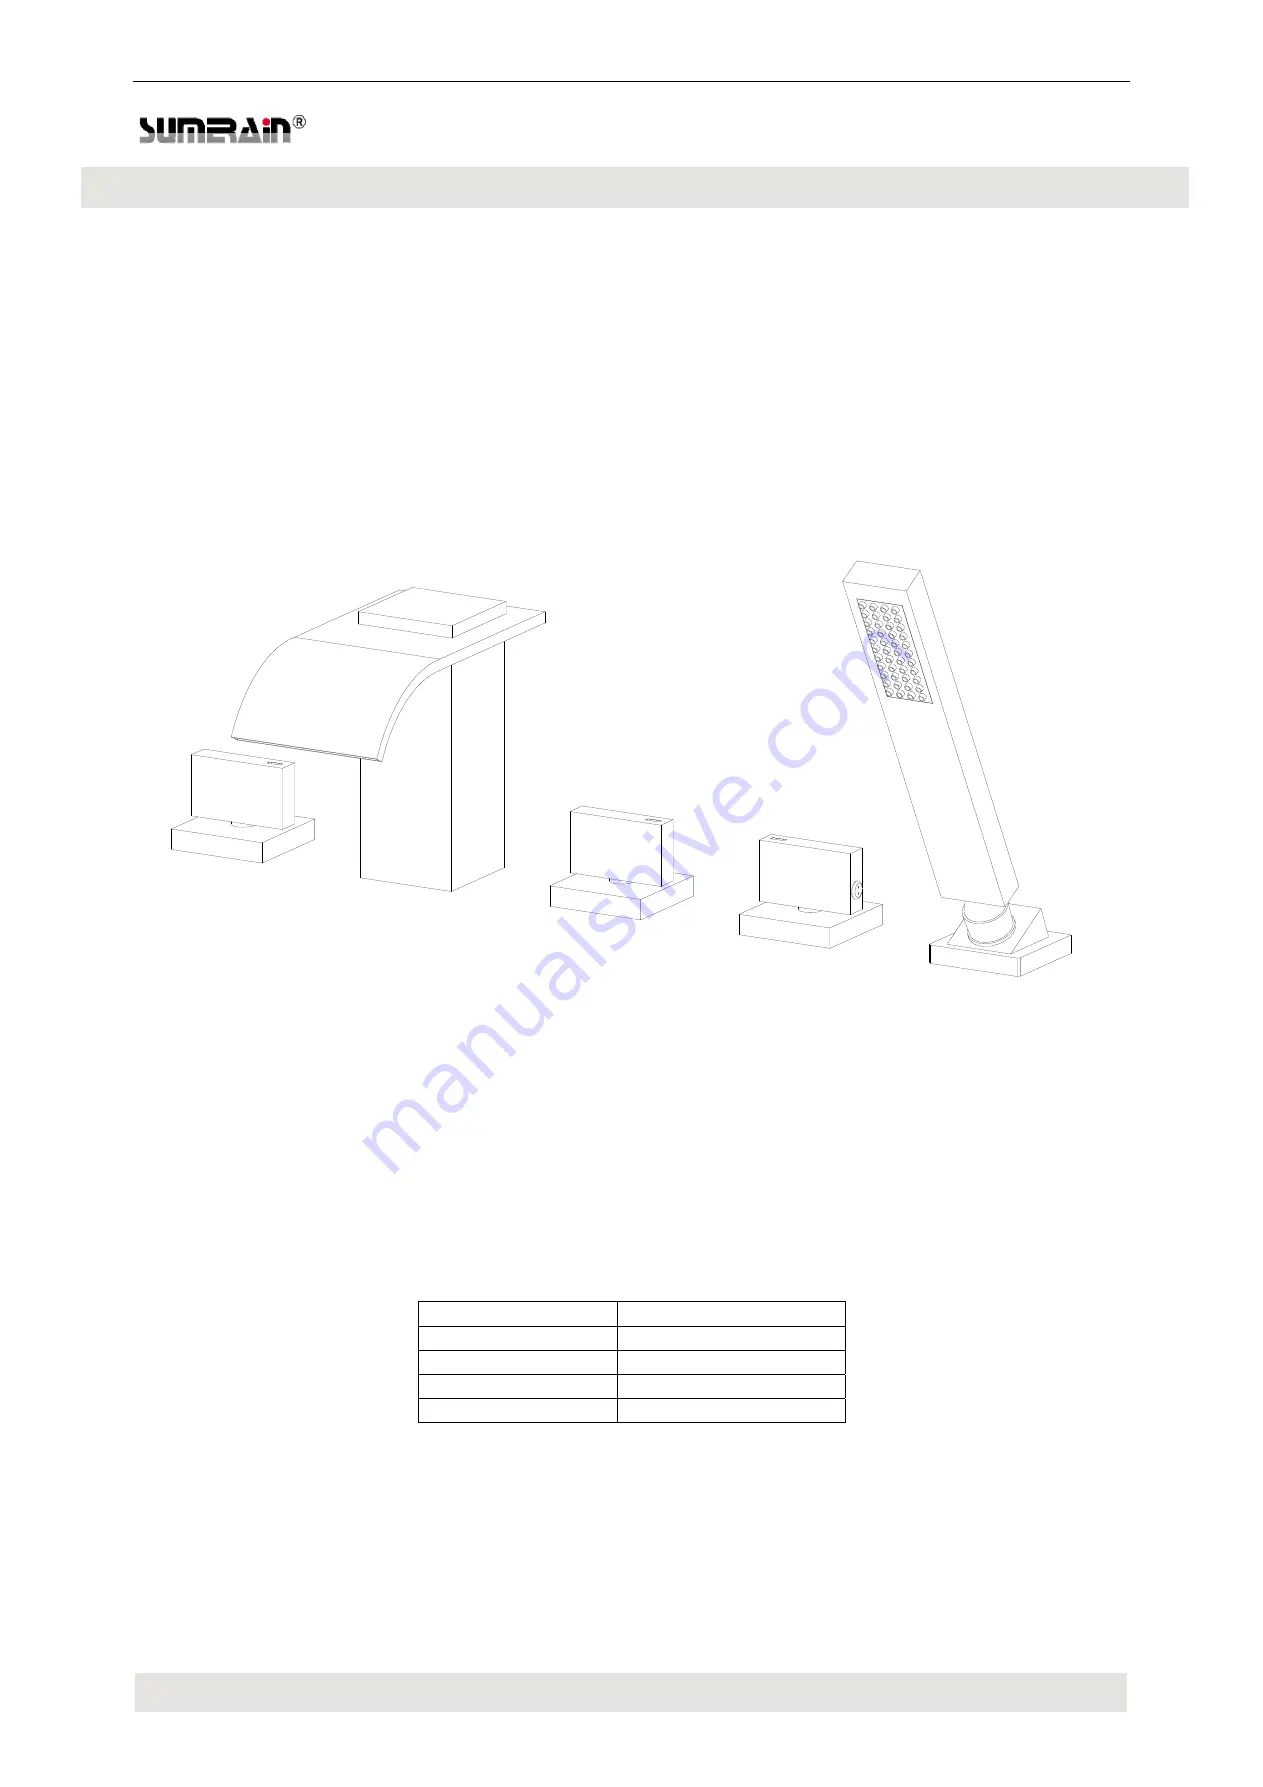
WATERFALL ROMAN TUB FAUCET
MODEL
FINISH
S2126CW
CHROME
S2126NW
BRUSHED
NICEKL
S2126DW
Matte
Black
S2126BGW
Brushed
Gold
Страница 1: ...SUMERAIN SANITARY GROUP WWW SUMERAIN COM INSTALLATION GUIDE Version 2 2 WATERFALL ROMAN TUB FAUCET MODEL FINISH S2126CW CHROME S2126NW BRUSHED NICEKL S2126DW Matte Black S2126BGW Brushed Gold...
Страница 2: ...you in the future If you have any questions regarding this product call 1 866 203 0866 or email to supports sumerain com Sincerely SUMERAIN customer service department 1 Unpack your new product and e...
Страница 3: ...one year with respect to SUMERAIN and commercial products THIS WARRANTY DOES NOT COVER AND SUMERAIN WILL NOT PAY FOR A Conditions malfunctions or damage not resulting from defects in material or workm...
Страница 4: ...of Handles Three knobs Spout total Height 5 7 64 Spout Reach 4 23 32 Spout Width 3 9 64 Spout Height 3 15 32 Hand shower height 7 7 8 Max deck thickness 1 3 32 Valve Type Ceramic Disc Valve Valve Body...
Страница 5: ...SUMERAIN SANITARY GROUP WWW SUMERAIN COM DIMENSION Front view of faucet Side view of fauce...
Страница 6: ...nsumer service by email to supports sumerain com CODE ITEM NAME QTY CODE ITEM NAME QTY 2126001 Spout assembly 1PCS 2126002 Spout shank 1PCS 2126003 O ring 1PCS 2126004 Rubber washer 1PCS 2126005 Lock...
Страница 7: ...TARY GROUP WWW SUMERAIN COM 4 INSTALLATION HOLES INSPECTION Verify that the hole sizes and positions in the wall are correct the optimal diameter of mounting hole optional is 1 3 8 the max deck thickn...
Страница 8: ...cold water supply pipe before connect to the faucet allow the water flush 3 5 minutes to flush out dirt and debris Shut off the water supply again after finish 5 2 Position spout onto the hole of mou...
Страница 9: ...COM 5 3 Disassemble hot and cold water valve assembly to prepare for next step s installation Take out the screws cover from knob and loose the inside set screw by Allen wrench anticlockwise disassem...
Страница 10: ...attach the rubber washer and locknut from underneath of mounting surface attached the O ring with the escutcheon Then reposition escutcheons as necessary to a desired height 5 5 Fasten the knobs with...
Страница 11: ...rter valve from underside of mounting surface screw handle Escutcheon flange for securing valve Install diverter valve assembly as step 5 4 Hold the diverter valve body in the proper position Assemble...
Страница 12: ...GROUP WWW SUMERAIN COM 5 7Install hand shower holder as below Secure with the rubber gasket and lock nut from underside of deck 5 8 Through the shower hose across the center hole of hand shower holder...
Страница 13: ...s outlet connecter to one of the Diverter s inlet connecter with G1 2 hose 5 10 2 Connect hot valve s outlet connecter to another Diverter s inlet connecter with G1 2 hose 5 10 3 Connect spout water i...
Страница 14: ...ctor to stop valve separately with flexible hose The water inlet connecting of hot and cold Valve body is G1 2 1 2 BSPP US CA customers may require NPT cover to BSPP adapter for connecting 6 INSPECTIO...
Страница 15: ...emover according to the label instructions The faucets might have some rusty if your faucet under hard water condition please rub it with aluminum foil dipped in water until the surface is nice and sm...