
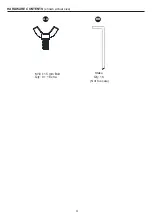


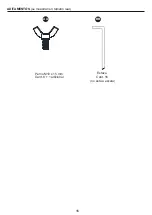


M10 x 15 mm Bolt
12
CARE AND MAINTENANCE
WARRANTY
1 YEAR WARRANTY FOR FRAME AND FABRIC.
•
WHAT IS COVERED
We provide warranty to the original purchase for 1 year for frame and fabric from the date of purchase,
and the fabric and frame will be replaced at no charge due to manufacturing defects.
•
WHAT IS NOT COVERED
We do not reimburse for transportation costs. This warranty does not cover the damage caused by commercial
use, acts of nature, fire, freezing, and abusive use. Discoloration or fading of the finish or fabrics as a result
of chemicals or spills is not covered.
Contact the Customer Service Team at
1-877-888-8225
.
•
For cleaning, use a mild detergent solution, rinse with water, and allow to air dry.
Do not use acetone, abrasive, or other special detergents as they would be harmful to the product’s finish.
•
Due to the nature of steel, surface oxidation (rusting) will occur if this protective coating is scratched.
This is a natural process. To minimize this condition, it is recommended that care be taken when assembling
and handling the product in order to prevent the paint from being scratched.
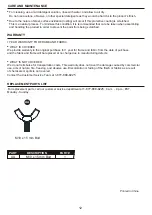
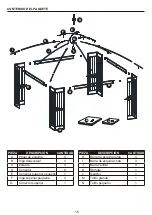
REPLACEMENT PARTS LIST
For replacement parts, call our customer service department at
1-877-888-8225
,
8 a.m. - 8 p.m., EST,
Monday - Sunday.
Printed in China
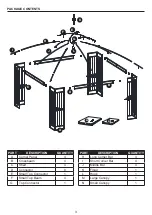
PART
DESCRIPTION
PART #
AA
1
M10 x 15 mm Bolt
AA