


6
Lowes.com
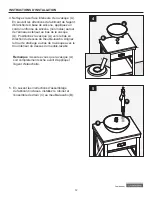
INSTALLATION INSTRUCTIONS
WARRANTY
The manufacturer warrants this item against defects in materials and workmanship for a period of one
(1) year from the date of original retail purchase. This warranty applies only to the original purchaser.
This warranty does not apply to any damage on the product by accident, misuse, or modified,
improper installation or by affixing accessories not produced by the manufacturer. The manufacturer
is not accountable whatsoever for product installation during the warranty period. There is no further
expressed warranty. The manufacturer shall not be legally responsible for incidental, consequential
or special damages arising at or in connection with product use or performance except as may
otherwise be accorded by law. The manufacturer disclaims any and all implied warranties.
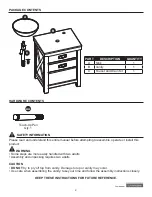
CARE AND MAINTENANCE
• Do not clean the sink with detergents, acids, abrasives or other harsh cleaners as they will dull the
finish.
• Dust the vanity regularly with a soft, non-lint producing cloth or household dusting product.
• You can clean the vanity with a gentle, non-abrasive household cleaner.
• Make sure to dry the wood immediately with a soft cloth or towel.
• Tips for using touch-up pen (AA): For scratches, stroke in direction of scratch; for worn areas,
stroke in direction of wood grain. Rub off excess colorant promptly with a soft cloth.
3
6
1
2
B
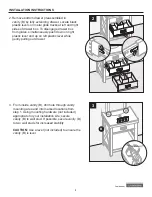
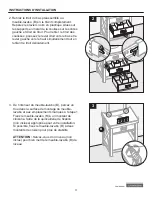
6.
To reinstall drawer, slide glide roller (on track
inside cabinet) to front of vanity (B). Carefully
align drawer box glide track (attached to sides of
drawer box) with glide track (attached to inside
of cabinet). Making sure drawer is aligned and
centered onto glides, gently push drawer. Keep
drawer box centered and straight.
CAUTION
DO NOT
force drawer or damage to glide may
occur. If drawer does not slide in with ease,
remove and try again from the start.


