P
7 f 11
FAN USE AND CARE
Check for damaged parts before each use. Carefully check that the tool will operate properly and
perform its intended function. Replace damaged or worn parts immediately. Never operate the
tool with a damaged part.
Do not use a tool with a malfunctioning switch. Any power tool that cannot be controlled with the
power switch is dangerous and must be repaired by an authorized service representative before
using.
Unplug the power cord from the outlet.. Such preventive safety measures reduce the risk of
starting the fan accidentally.
Store the fan when it is not in use. Store it in a dry, secure place out of the reach of children.
Inspect the tool for good working condition prior to storage and before re-use.
Use only accessories that are recommended by the manufacturer for use with your fan..
Keep guards in place and in working order. Never operate the fan without the guards in place.
Do not leave the tool running unattended.
Inspect the fan for damage or excessive wear before each use. If you find damage do not use the
fan.
Specific Operation Warnings
Be sure that both front and rear grille screws are completely tightened before operation
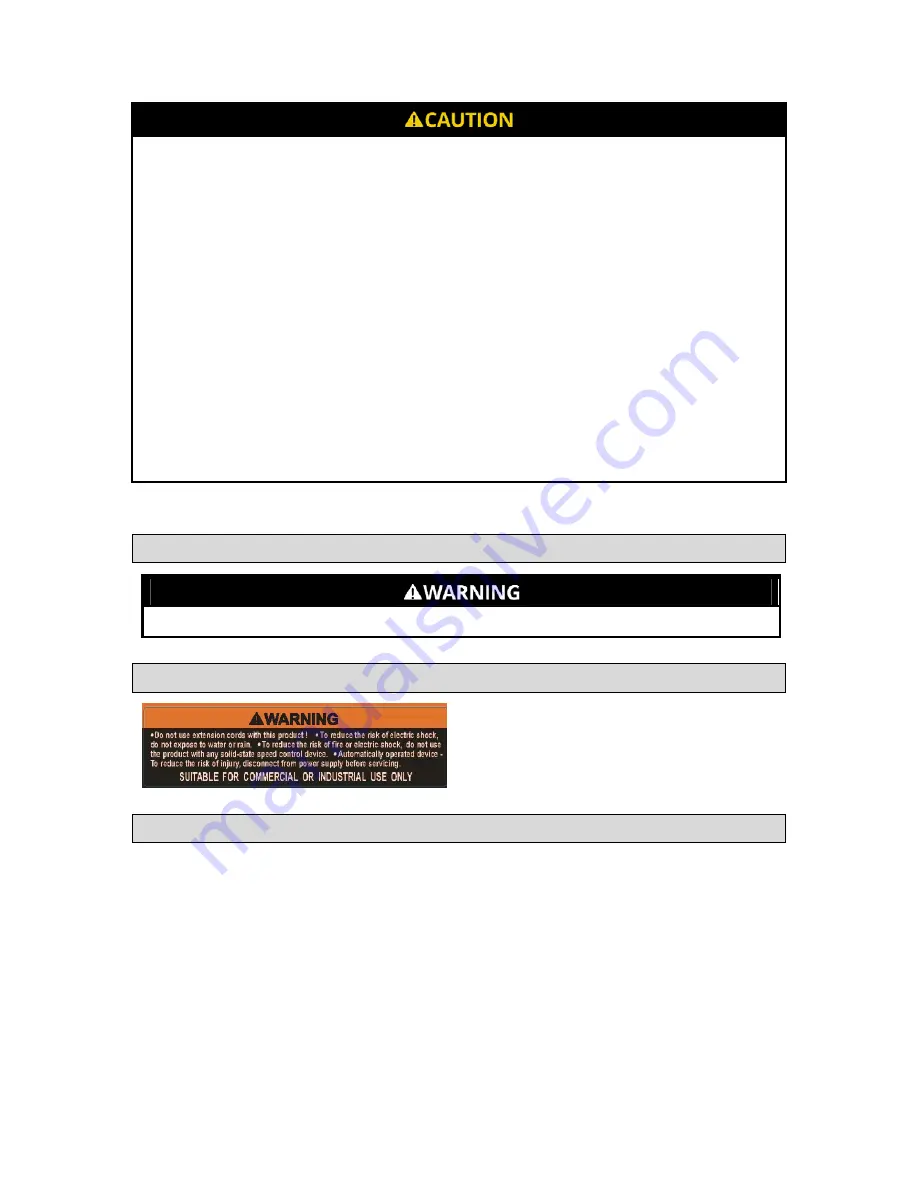
Safety Labels
Assembly
COLUMN / BASE ASSEMBLY INSTRUCTIONS:
1. Attach COUPLING to the BASE with the 4 screws as shown on the Diagram and Parts
list below.
2. Loosen set knob on coupling and extend inner tube to desired height.
3. Slide COVER RING down the OUTER TUBE to rest on top of the BASE.
CAUTION:
The set knob must be fully tightened before assembling the fan head to the
inner tube.
MOTOR / COLUMN ASSEMBLY INSTRUCTIONS:
1. Set the MOTOR FLANGE in the hole of top of the INNER TUBE. Insert the PIVOT BOLT,
WASHER into the INNER TUBE, then firmly fasten the NUT to lock in place.
2. Insert the POSITION KNOB, locking the motor to the INNER TUBE.
GRILLE / MOTOR ASSEMBLY INSTRUCTIONS
:


