36
English
35
6.6 Storage
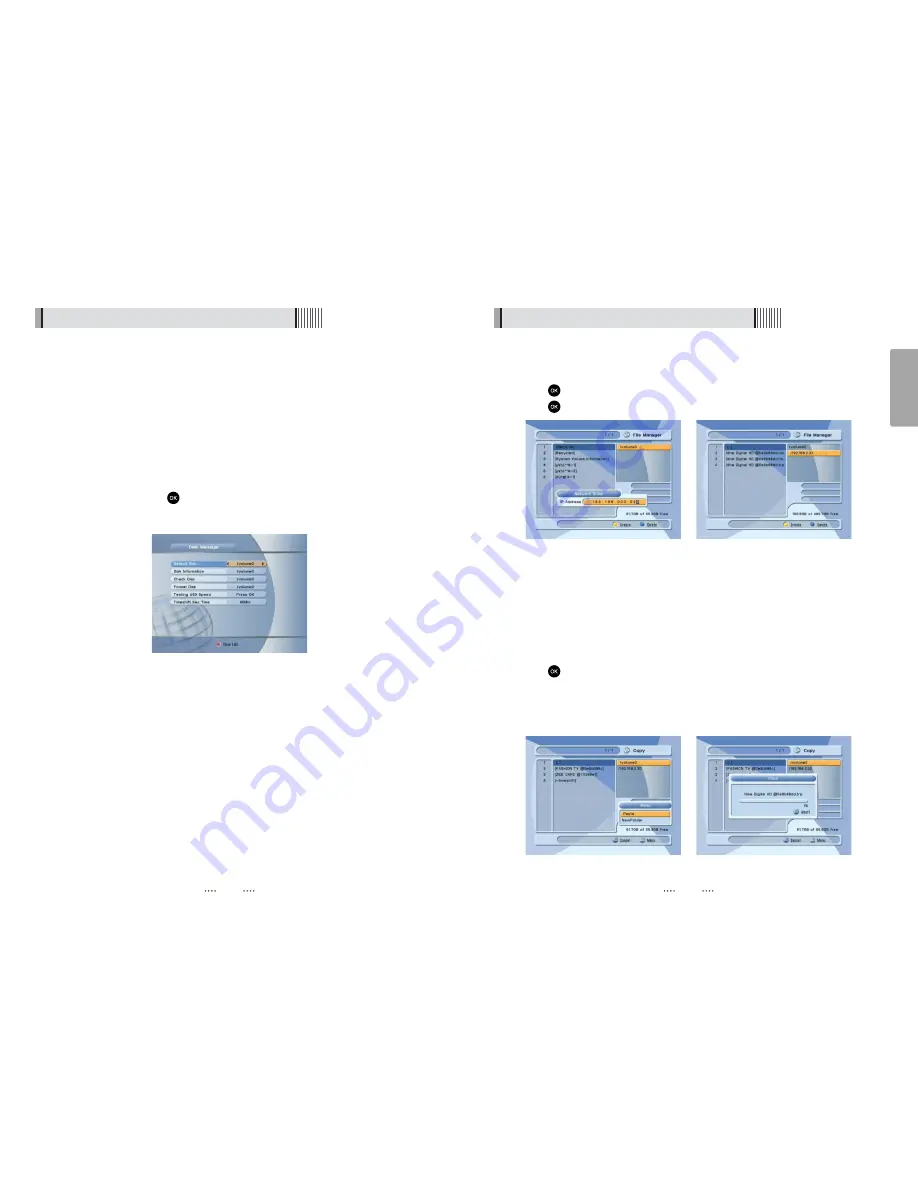
5) File Manager
⊹
Press the
YELLOW
button to connect to your PC.
⊺
Press
after the input of your IP address.
⊻
Press
after selecting the target file.
⍢
⍢
Note : Follow these instructions prior to connecting your receiver to your PC
A. Run the PC Tool program before connecting to your PC ( STB Daemon exec)
B. Select a sharing folder in your PC <Figure 6.6.10>
C. Press “OK” then select STB Daemon and the window will be hidden. You can
still see the icon on the bottom right of the windows screen <Figure 6.6.11>
D. To quit the program, right click on the icon using your PC mouse, then click
“EXIT” <Figure 6.6.12>
⊼
Press the right button and press
RED
to select files.
⊽
Press
to select Move/Copy/New Folder/Delete/Rename after pressing the
“Menu” button
⊾
If selecting Move or Copy press the button to move the target to paste.
⊿
Press
MENU
to paste to target
⋀
Select paste for copying or moving files.
<Figure 6.6.6>
<Figure 6.6.7>
6.6 Storage
4) Disk Manager
Use the cursor keys to activate the desired functions from this menu.
- Default Disk :
Set the DVR disk.
- Disk Information
: Choose the Hard disk volume or usb device with USB hub. You can
view a information of usb devices (used size, total size, free size)
- Chek Disk
: Choose the Hard disk volume or usb device with USB hub. You can check
the usb devices.
- Format Disk
: You can format the usb devices.
ҫ
Warning : All data will be lost to the disk.
- Testing USB Speed :
Press
to test usb speed for DVR.
- Timeshift Rec Time :
Set the Timeshift Recording Time.(10Min/30Min/60Min)
<Figure 6.6.5>
<Figure 6.6.8>
<Figure 6.6.9>


