Lisa LCD
12
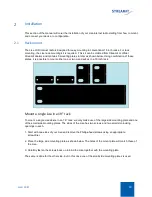
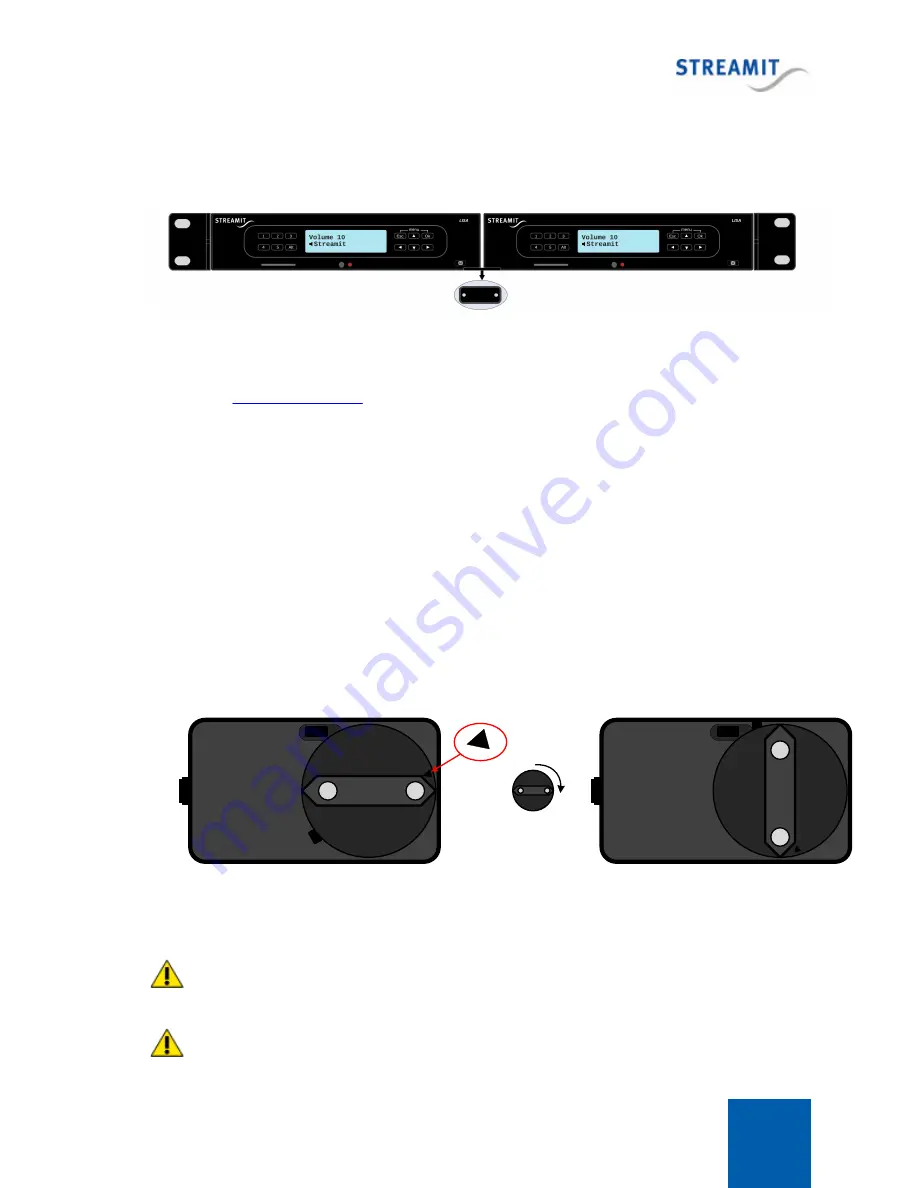
Now take the second device and remove the rubber feet just like you did with the first one then connect
the two devices together by screwing the rubber feet of the second device back on. When properly done,
the resulting setup will look same as the one shown below.
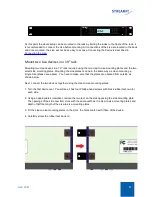
At this point the whole setup can be mounted in the rack by bolting the sides to the frame of the rack. It
is recommended to connect the Lisa devices before mounting. All connections of the Lisa are located in
the back and once mounted, the Lisa devices will not be as easy to access. Connecting the device is
described in
2.2
Table mount
When used in an office environment the Lisa can be placed on your office desk, next to your PC, while in
a professional environment your Lisa would typically be mounted in a rack.
2.3
Connecting the Lisa
Connecting the power supply
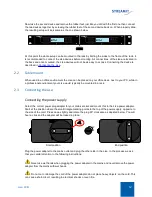
Select the correct power plug adapter for your mains socket and mount this to the Lisa power adapter.
Start at the position where the small triangle marking points to the top of the power supply, opposite to
the side of the cord. Press down slightly and rotate the plug 90° clockwise as depicted below. You will
hear a click and the adapter will be locked in place.
90
°
Start position
End position
Plug the power adapter to the mains outlet and plug the other side in the Lisa. In the process we ask
that you careful attention to the following instructions:
Never use wet hands when plugging the power adapter in the mains and never remove the power
adapter from the mains with wet hands.
Do not cut or damage the cord of the power adapter; do not place heavy objects on the cord. This
can cause short-circuit, resulting in electrical shocks or even fire.
Содержание Lisa LCD
Страница 1: ...Lisa LCD Updated on 13 6 2014 for software version 1 16 User Manual ...
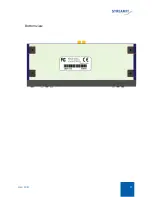
Страница 9: ...Lisa LCD 9 Bottom view ...
Страница 87: ... 2014 Streamit B V ...


