7
2. Insert rear end of cartridge (opposite from end
containing write-protect switch) into the aperture
behind the handle, right side up (name on top, with
arrows on front write-protect switch pointing down).
3. Push the cartridge assembly into the drive until the
cartridge reaches its full-stop position.
4. Push the insert/release handle closed by pushing
front edge back and down.
After you close the door, the green O
PERATE
H
ANDLE
indicator goes out and the yellow T
APE IN
U
SE
indicator
blinks to show that the tape is loading. When the tape is
at the BOT (beginning of tape) marker, the yellow T
APE
IN
U
SE
indicator lights steadily. The tape is then ready
for use.
5
Unloading a Tape Cartridge from
DLT Tape Drive
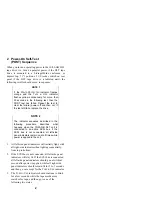
CAUTION
Remove a cartridge from the DLT tape
drive before turning off or powering down
the host system. Failure to remove a
cartridge can result in damage to the
cartridge and/or to the DLT tape drive.
To prolong the life of a cartridge, return the
cartridge to its plastic case and secure the
case cover when you remove the cartridge
from the DLT tape drive
The cartridge insert/release handle on the front of the
drive provides outline procedures for loading a cartridge
into the DLT tape drive (right side of handle) and
unloading a cartridge from the drive (left side of handle).
The following text is a more detailed version of the
procedure for unloading a cartridge, as illustrated on the
next panel.


