7
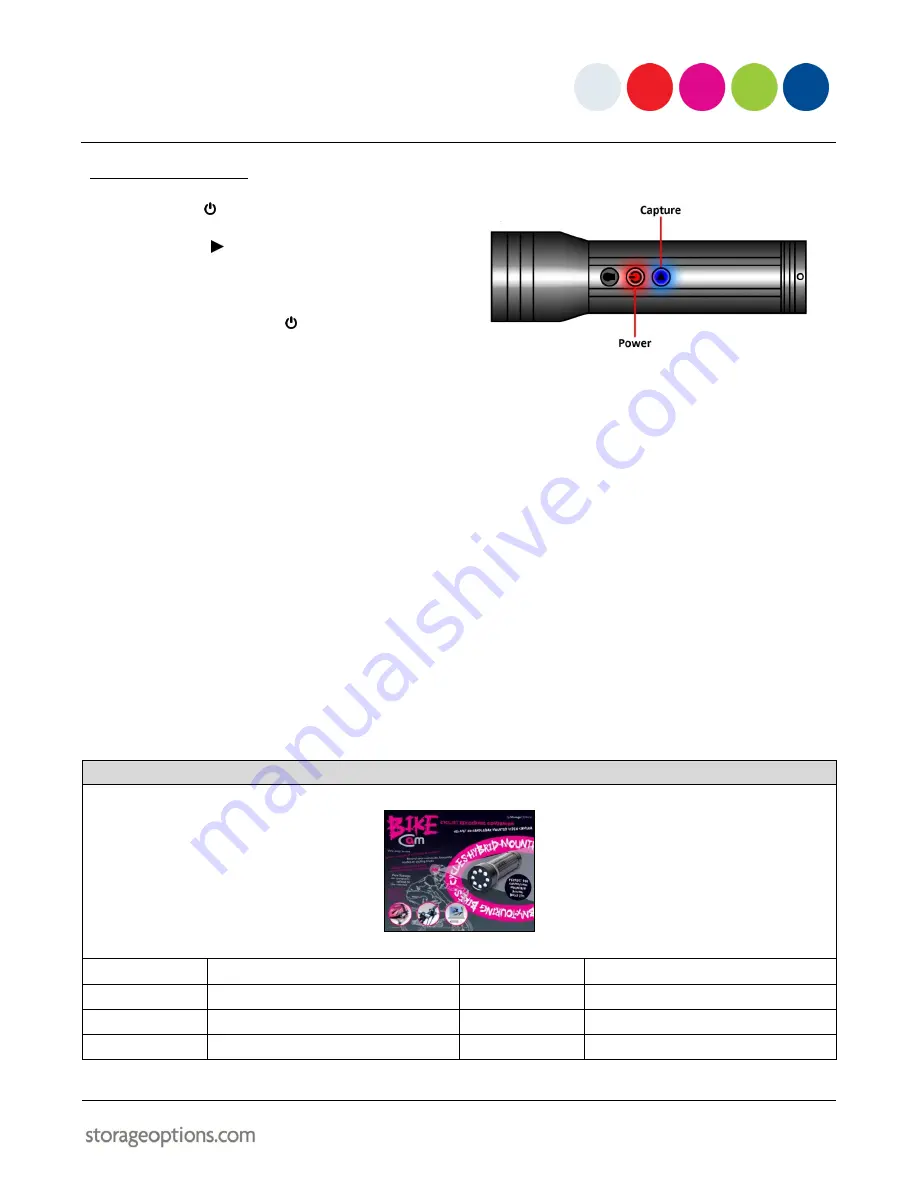
4.5 – CAPTURE A PHOTO
1.
Press the button to turn the camera on.
2.
Press the
button to capture a photograph.
Each time this button is pressed, another photo
will be captured.
3.
Press and hold the
button to switch the
camera off.
CONNECTING TO A COMPUTER
If your computer has a built-in Micro SD card reader, you can simply remove the Micro SD card from the Bike Cam
and insert it into the reader. The video and photo files will be available from within “My Computer” as usual.
If you do not have a built-in Micro SD card reader, you can actually use the Bike Cam as a card reader by connecting
it to your computer, using the supplied USB cable.
1.
Unscrew the Port Cover (anti-clockwise).
2.
Connect the mini USB plug to the mini USB socket under the Port Cover.
3.
Connect the full-size USB plug into a spare USB socket on your computer. The camera will appear as a new
drive letter in “My Computer”. Browse this drive to view your recorded video and photographs.
APPENDIX – PRODUCT SPECIFICATION
Bike Cam
Sensor:
¼ inch CMOS
Night Vision:
Up to 8 feet using flashlight
Power:
Built-in lithium-ion battery (800mAh)
Power Adapter:
AC 110 – 240V
Memory:
Up to 16GB SD Card
PC Connection:
Mini USB port
Recording Resolution:
Video: 720 x 480 @ 30fps, Photo: 1280 x 1024
OS Support:
Windows XP / Vista / 7, Linux


