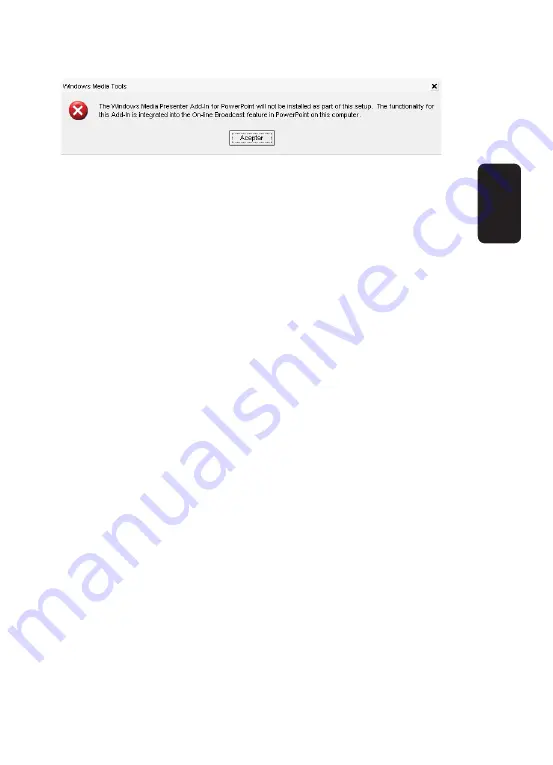
12.- Select the destination location and click Finish to begin
the installation process.
13.- Press OK in order to close the installation window.
14.- Connect the USB cable from the synthesizer in an
available USB 2.0 port on your computer.
15.- The system will detect the synthesizer and the NEW
HARDWARE ASSISTANT will run.
16.- Select Not in this moment, and press NEXT in order to
continue.
17.- Select the Install Software Automatically (recommend-
ed) option, press NEXT in order to continue.
18.- In case a warning message displays in the screen,
click next to continue, otherwise you will cancel the installa-
tion and the hardware won’t works.
19.- Press FINISH in order to close the window.
In the following two windows, select the NOT NOW option
and INSTALL SOFTWARE AUTOMATICALLY option mak-
ing sure to press NEXT after each option in order to con-
tinue. This process will install the audio driver.
20.- In the next two windows, select Not at this moment and
Install Software Automatically (recommended) options, be
sure to click Next in both windows to continue. This process
will install the audio driver.
21.- If a warning message displays in the screen, only click
OK to continue.
ENGLISH
ENGLISH-42


